My next keyboard I picked up from a local place called FreeGeek Chicago. This is a not-for-profit facility where you can drop off used computer equipment. They refurbish items and sell them to the public at a really nice discount. The facility also provides educational activities and PC/internet access to anyone interested. It’s a very cool place in the city providing some much needed services to the public.
This was my first time visiting so I didn’t really know what to expect. They did have some vintage equipment but that certainly wasn’t their focus. Nevertheless, there were some very helpful volunteers who assisted me in finding a few old keyboards that they had on hand. I purchased one of three Apple Extended Keyboard IIs that they had on hand.
Board Details
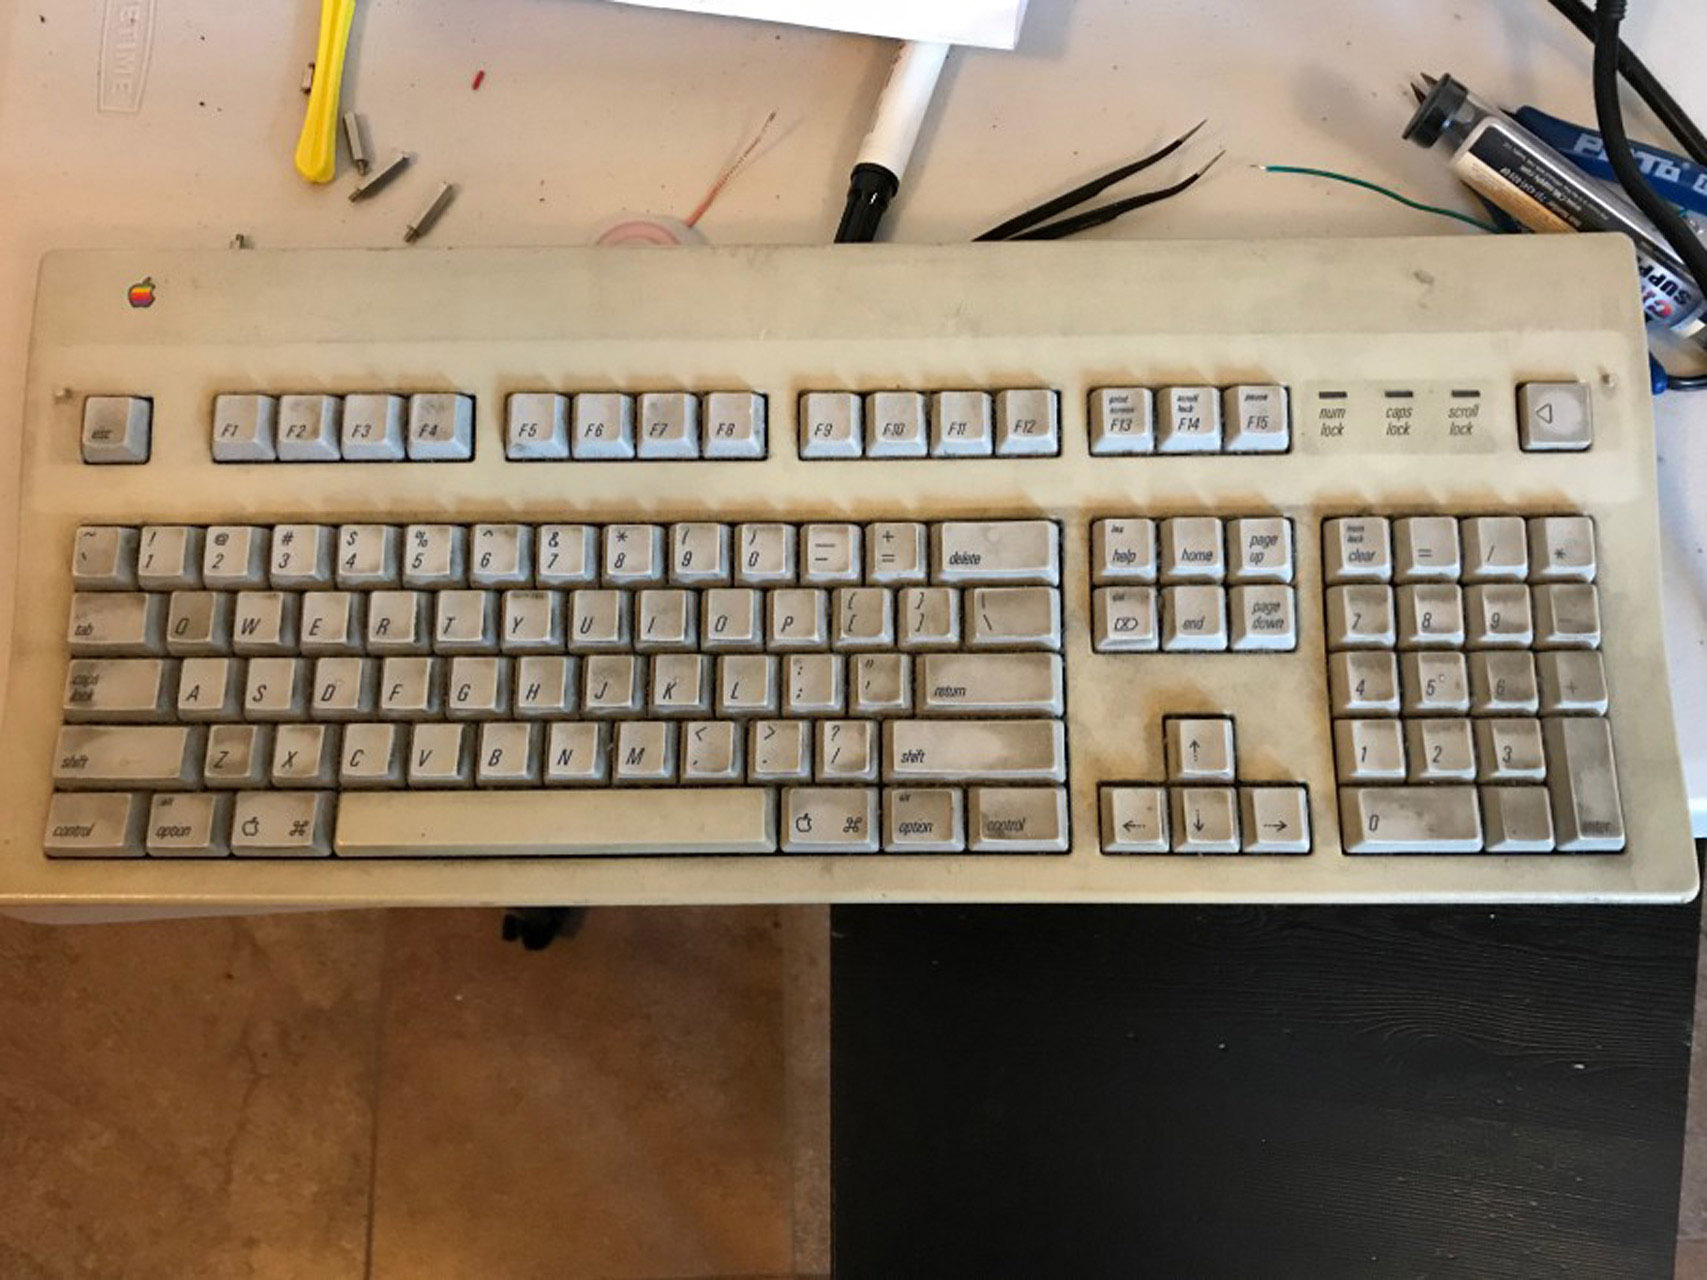
This was the first AEK II that I’ve had. The board was manufactured in 1990 in the United States and came with Alps SKCM dampened cream switches. These switches get a bit of a bad rap as a lot of people don’t like the little rubber bumpers on the switch slider. Personally they’re not my favorite switch but I really don’t mind them at all.
Process
Cleaning
The keyboard was pretty dirty but not beyond repair. I started my project with cleaning the keycaps and case by soaking in warm water with denture tablets for about 24 hours. This got most of the dirt and grime off the plastic. Then I put the caps in the ultrasonic cleaner to finish them off and set them aside for later.
All of the keys, save for the spacebar, are dye sublimated PBT plastic which tends to stay the same color over time. However, the spacebar and case are made from ABS plastic which yellows over time when exposed to the elements (light, air, heat, humidity) over many years.
Retrobright
To combat the yellowing, I took a shot at retrobright-ing the plastic. This is a fairly simple process where you use hydrogen peroxide, Oxiclean, and ultraviolet light to whiten ABS. I built a little soaking tub out of an old Amazon box cut down to size and lined with a garbage bag. Then I filled the tub with just enough peroxide to cover everything and added a bit of Oxiclean. Once this mixure is exposed to UV light, the chemical reaction starts to occur and you can see some tiny bubbles coming off the plastic as the mixture works.
It’s pretty dark and gray this time of year in Chicago so I took turns setting the tub by the window sill where it could get some sunlight and supplementing that with a blacklight for when it was too dark outside. I let this cycle for a couple of days until the plastic was nice and white again. It wasn’t perfect but there was minimal bleaching and I’m overall happy with the results.
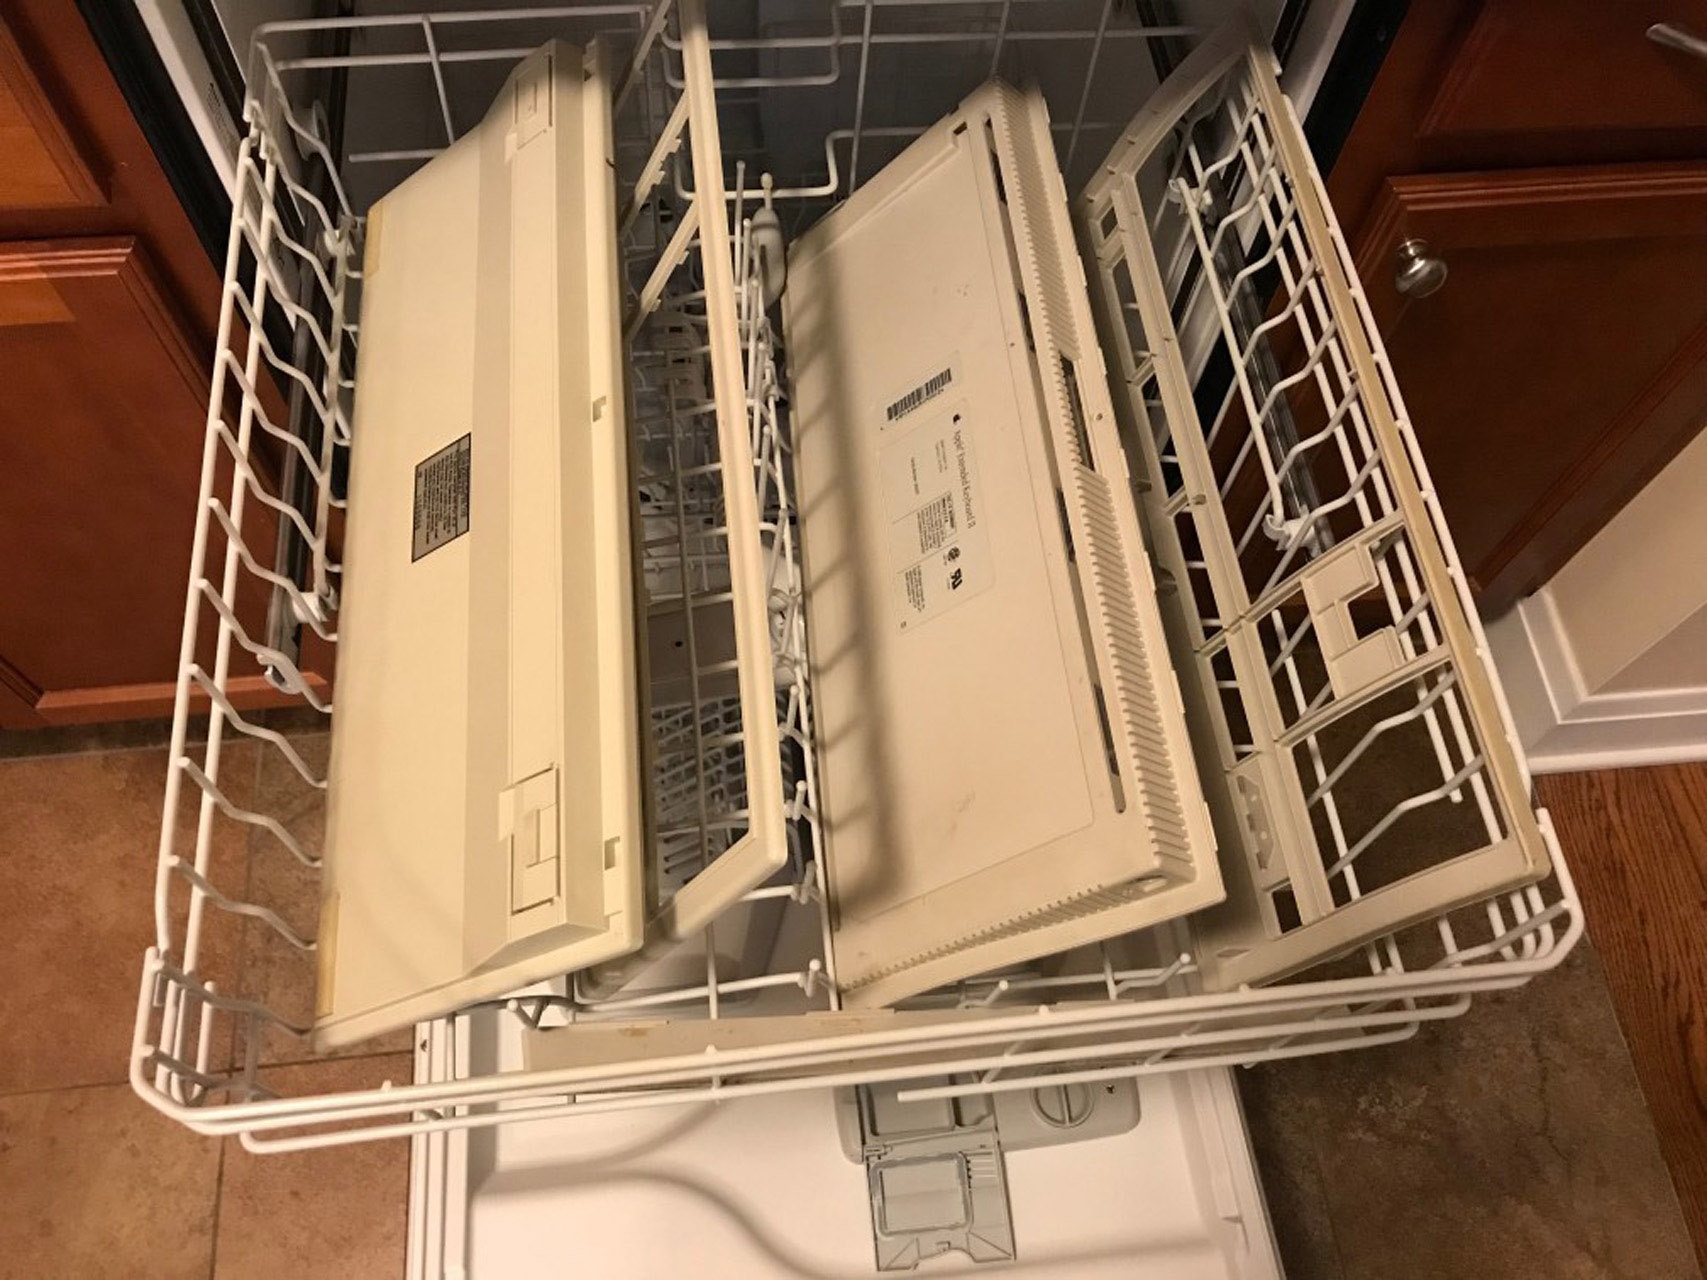
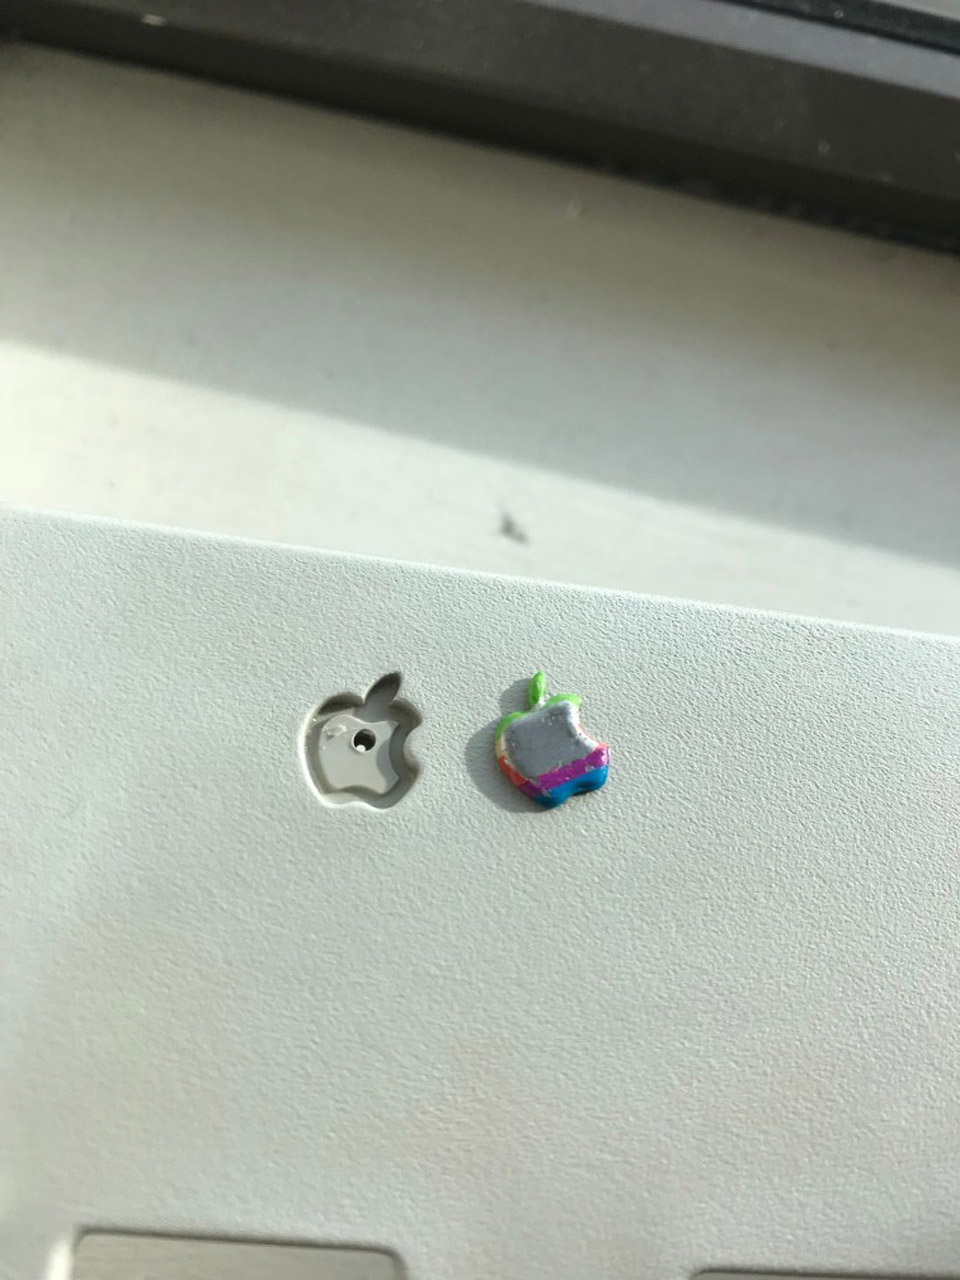
Then I put the case in the dishwasher on the low-heat quick cycle to finish it off. This part I made a mistake. I should have removed the little Apple logo/badge first because it didn’t survive the ride and the colors pealed off the sticker. I tried to purchase a new sticker on eBay but when it arrived I realized that it was way too big ¯\(ツ)/¯. That’s okay; I actually kind of like the imperfect look the ruined sticker gives this old board. Someone on /r/mechanicalkeyboards described this as “wabi sabi”; a term that I had never heard before but immediately fell in love with.
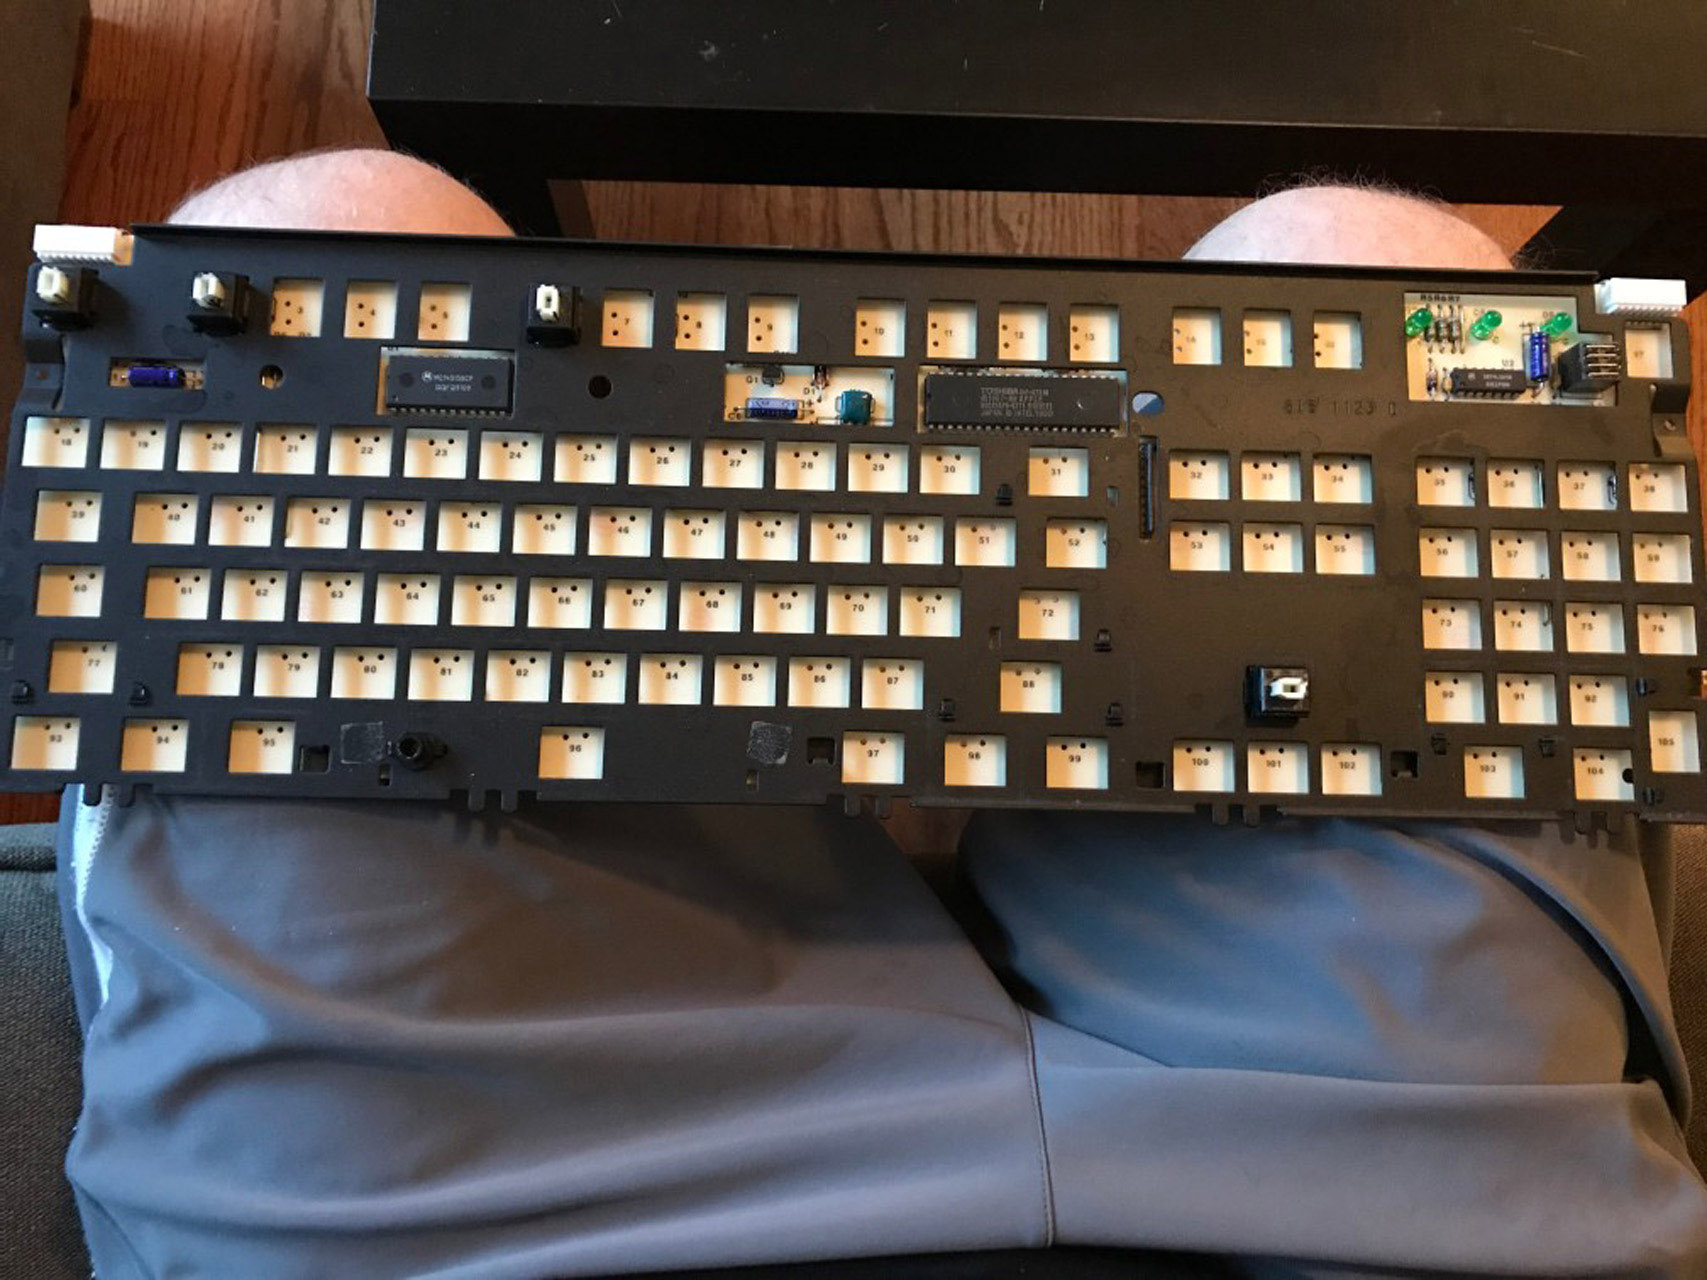
Switches
The switches were in decent condition but Alps are so suceptable to dust that I decided to do a full cleaning on them. I desoldered the whole board, disassembled the switches, and ran the components through the ultrasonic cleaner. Then I took a shot at lubing them using Sentry Solutions SMOOTH-KOTE. This is actually a gun lubricant but I had heard that it was a good dry-lube option for Alps switches. I unfortunately forgot to take any pictures of this process but I’m not sure how well it worked out anyways. The switches basically feel the same to me. After the lube dried and cured for about a day, I resoldered all of the switches back onto the board.
Here’s a cool little timelapse video I made of the soldering job.
Keycaps
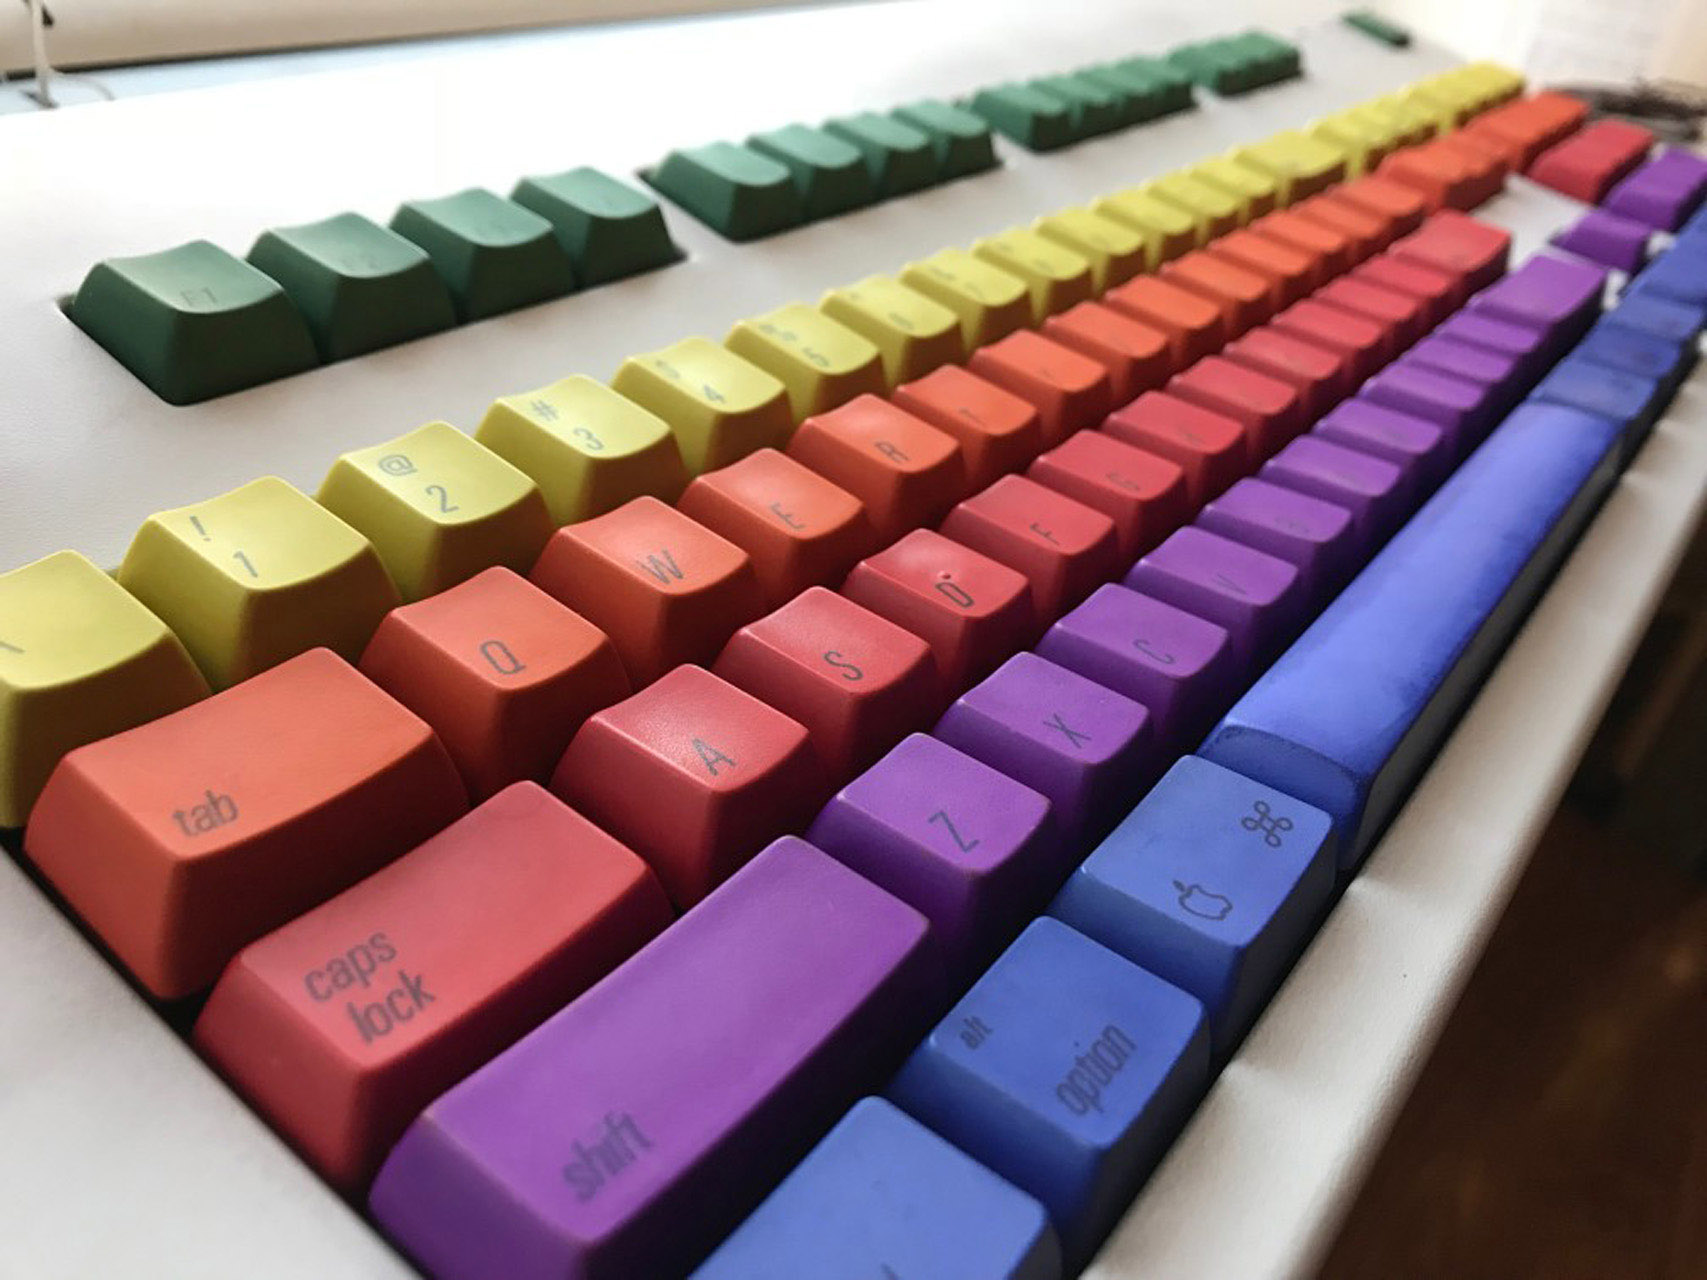
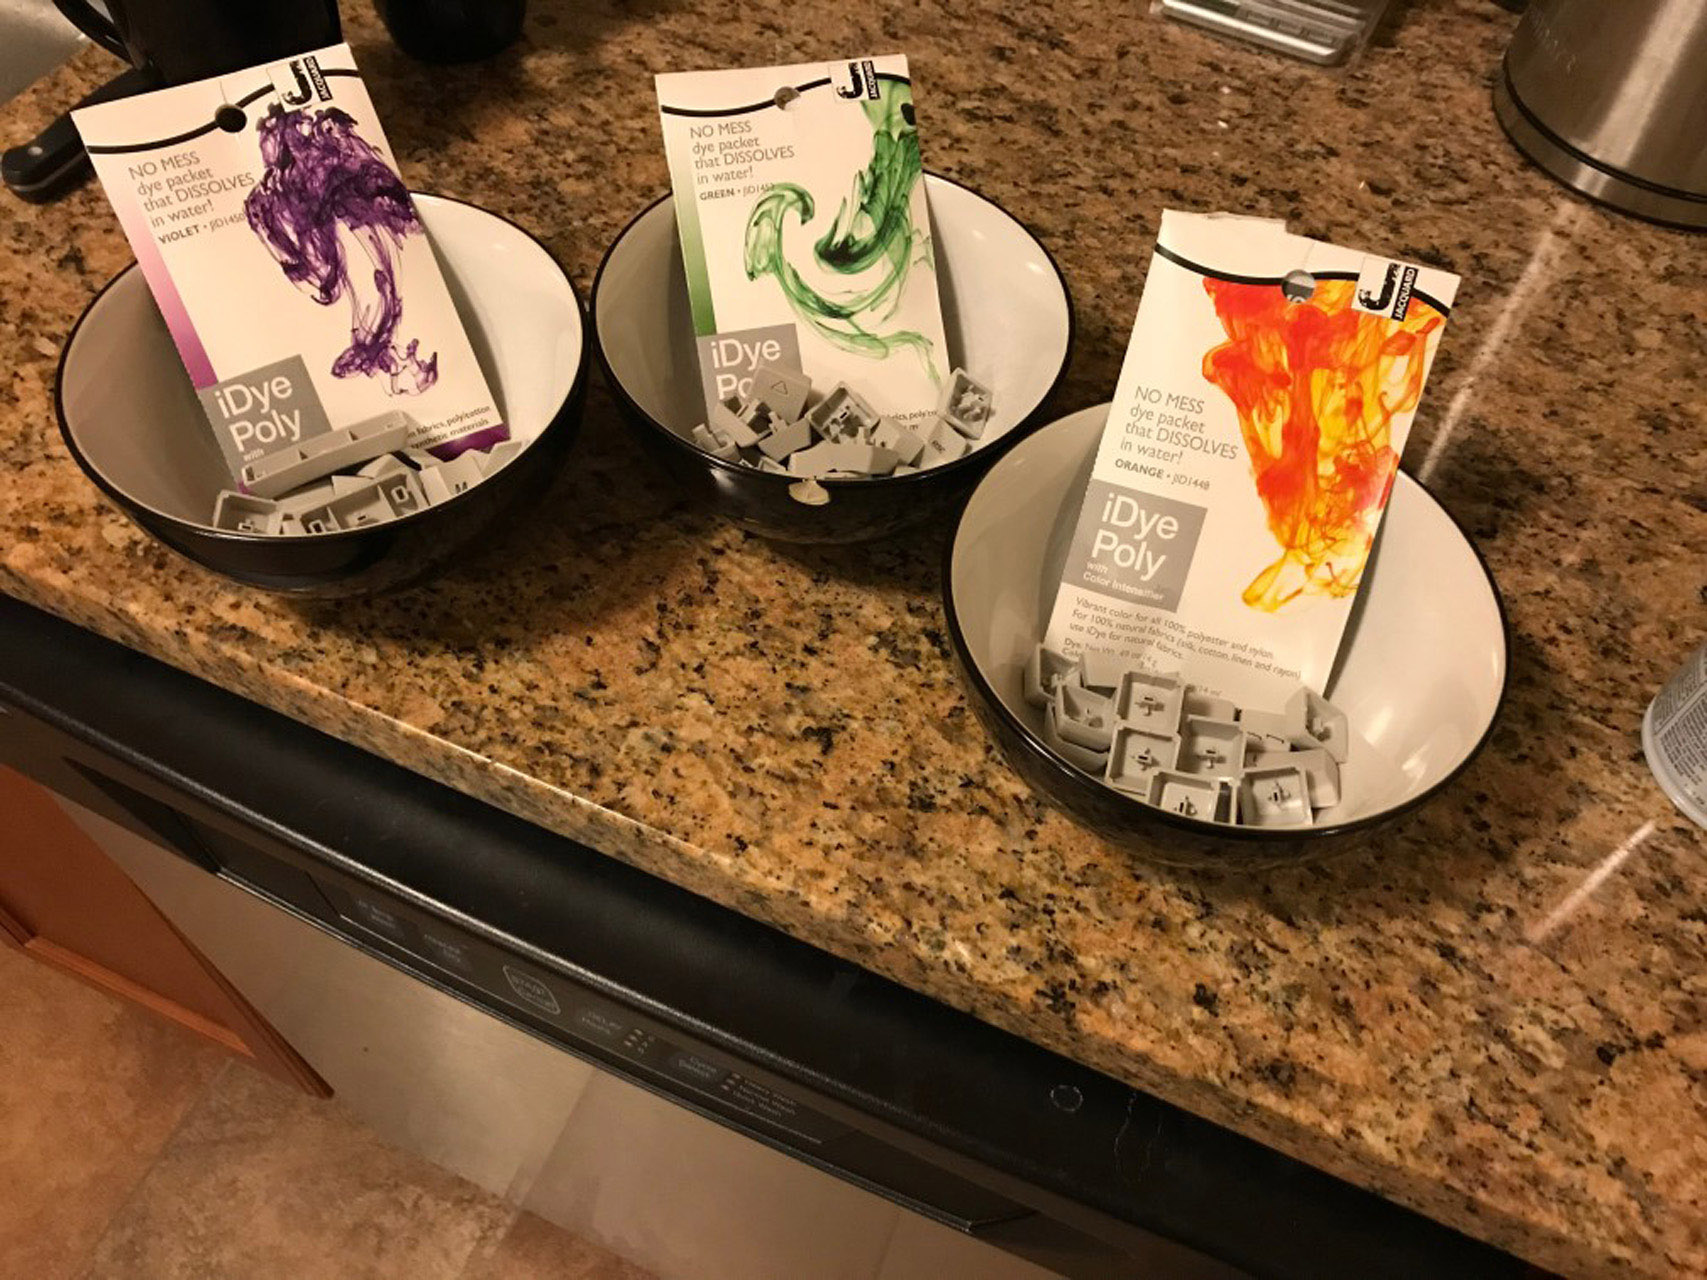
At this point I thought I was done and I planned to sell this keyboard since I have a few too many for my tiny apartment right now. Then I got the bright idea to instead take a shot at dyeing the keycaps. There are six colors in the old apple logo and six rows of keys. This seemed like too perfect of an opportunity to pass up!
People have had good results dyeing PBT plastic using iDye Poly which is a synthetic fabric dye available in many colors. I experimented with this product about a year back and played with different concentrations and submersion times. Based on my previous experiences, I used 2.5L of water with a pack of iDye Poly at 100°C. In my experimenting I found that I got the best results by erring on the side of caution and only submerging the caps in the hot dye for about a minute before checking the color, evaluating, and resubmerging them if they needed more pigment.
This is what I did for all of the PBT caps. However, the spacebar is ABS plastic and I had read some mixed results that people had. There are two main problems with dyeing ABS:
- The temperature is too high and will melt/warp the plastic
- The “color intensifier” included with the iDye Poly is a solvent that might damage the plastic
Based on these factors, I again erred even more on the side of caution. For the spacebar only, I kept everything the same but submerged the cap for only about four seconds at a time before removing and immediately dunking in water to keep the temperature down. I found that I only had to do this about three or four times before the cap was dyed to a color similar enough to the rest of the blue row. The dye was not as even on this material but it still turned out pretty nice.
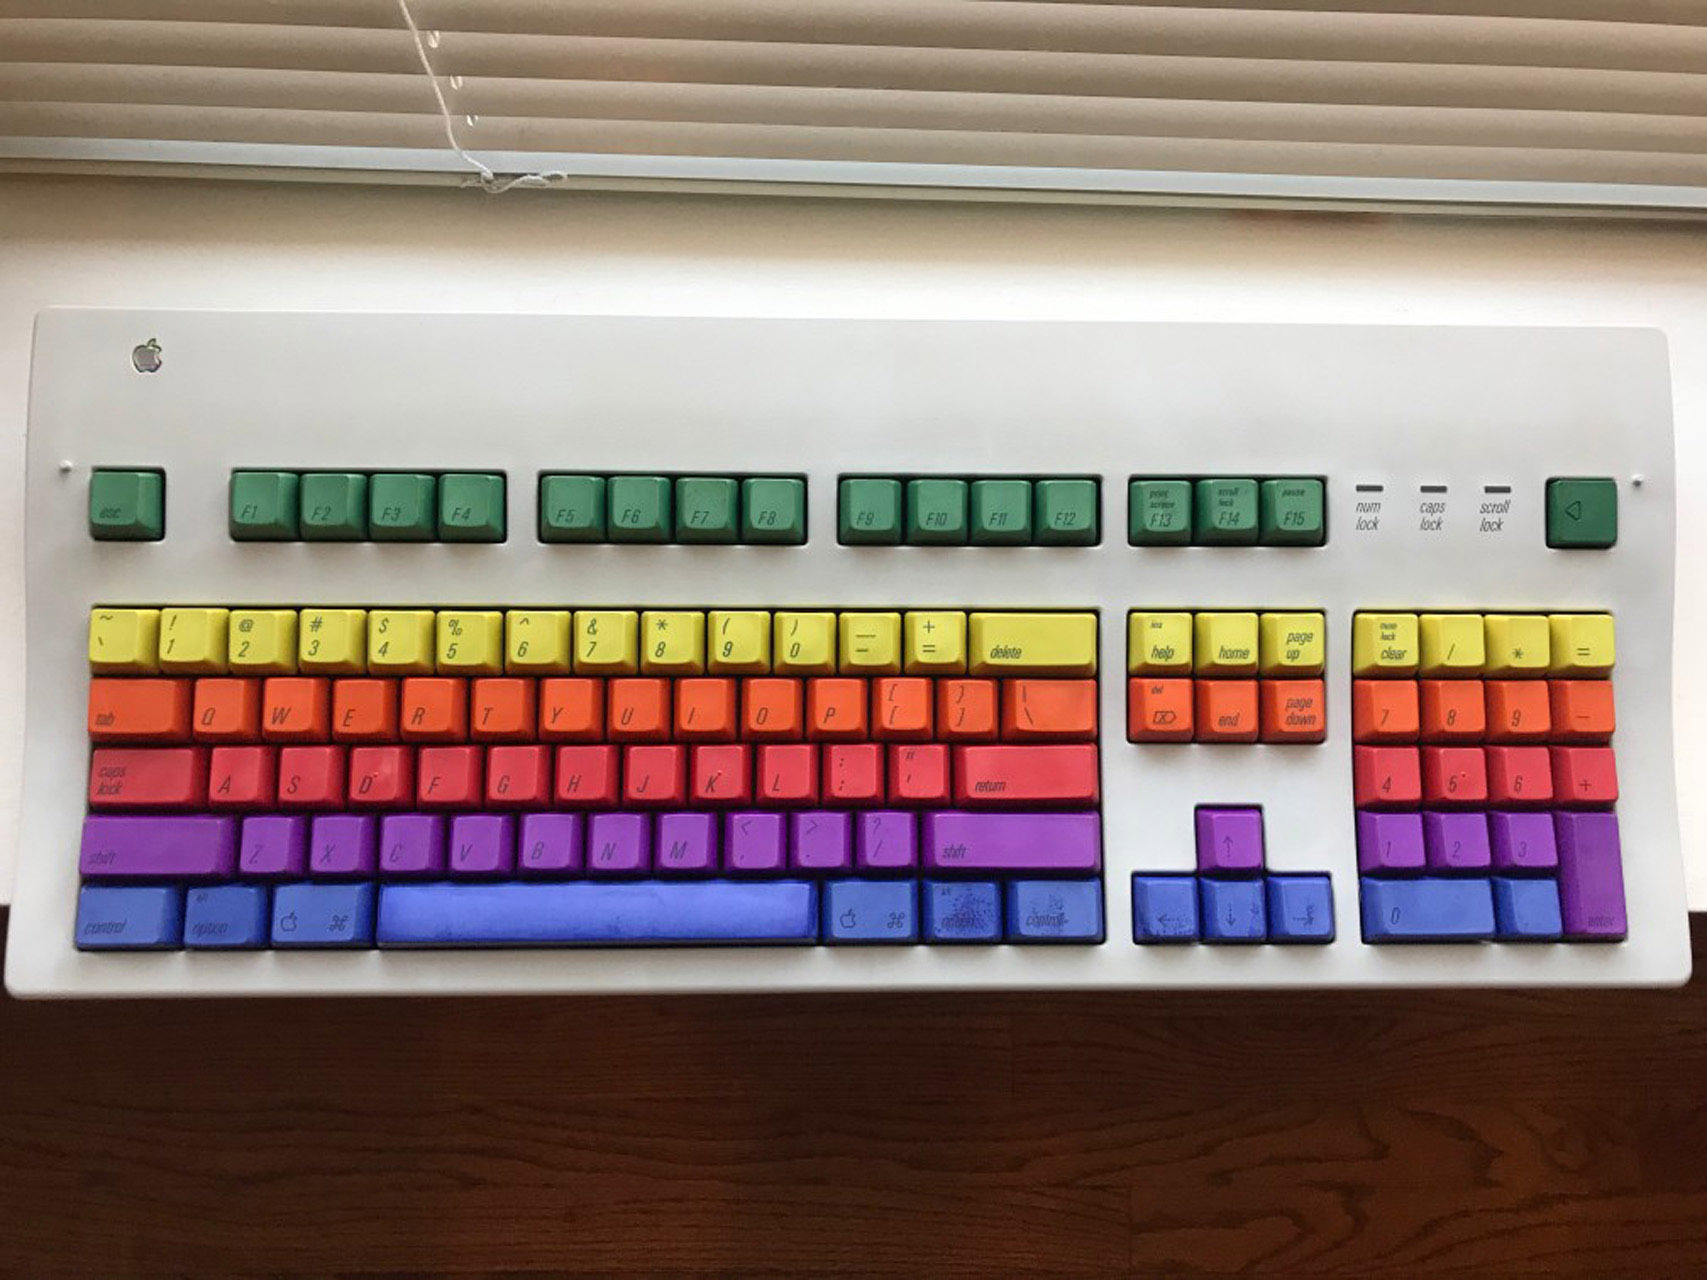
Final Thoughts
And that’s it! I’m happy with how this turned out. I’ll need to build an ADB-to-USB converter if I’d like to use this board but there is a great opensource project from Hasu on Geekhack to do this using a Teensy. I’m not sure if I’ll end up using this keyboard in my rotation but it certainly looks cool! Thanks for reading :)