Last updated 2023-06-19
Intro
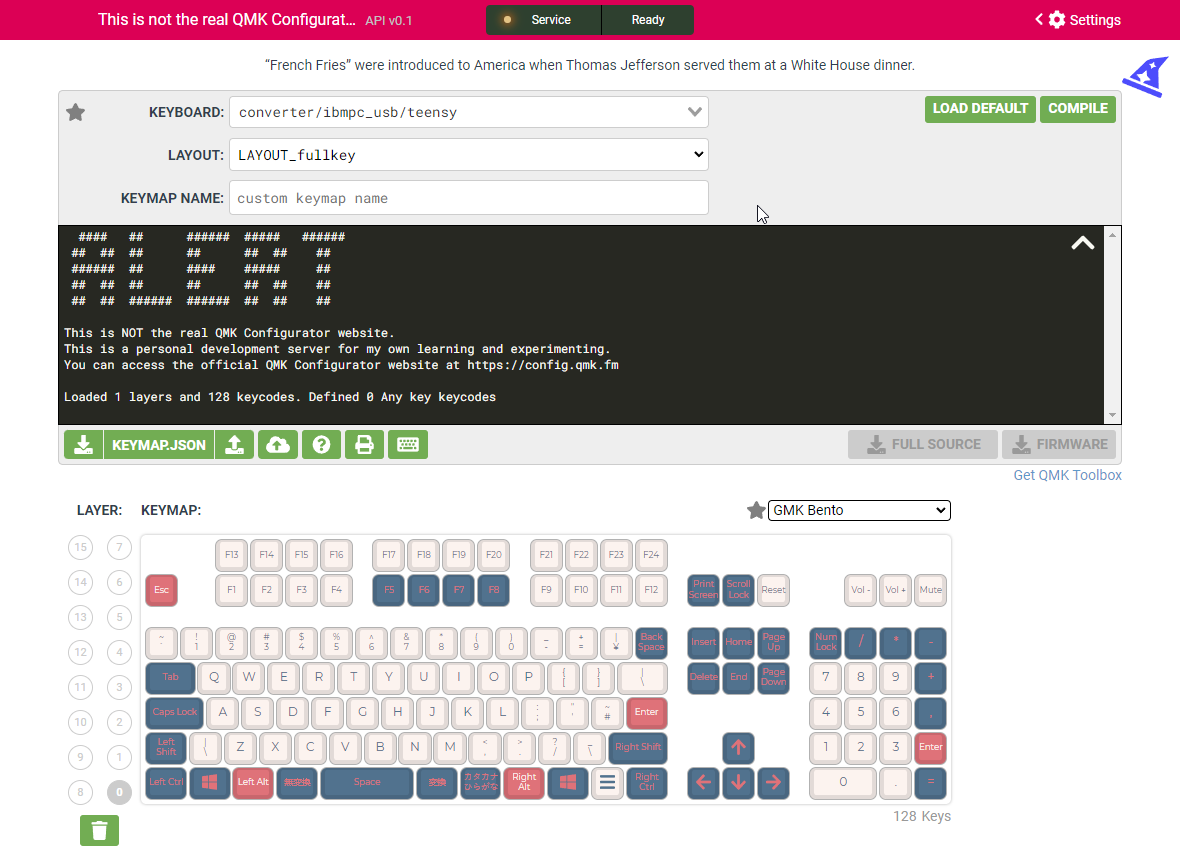
This guide explains the steps I went through to setup my own instance of QMK Configurator. These steps should serve as a general how-to guide and hopefully fill in some gaps for people who may have gotten stuck. Some of the details, specifically adding your own custom keyboard to the configurator, can be approached a few different ways; so the information in that section may be less prescriptive and more for reference.
I did this on a machine running Ubuntu Jammy. I was not able to get this all working locally due to some networking challenges I couldn’t figure out. Due to that issue (and since I wanted to give some people access over the Internet anyways), I hosted my configurator using a cloud service provider. I chose to use Kamatera since they offer a 30 day free trial for 1 server and pricing beyond that was reasonable, but anything similar would work.
As a prerequisite you’ll need to already have Docker and Docker Compose setup. Instructions for installing Docker on Ubuntu (and other distros) can be found on the Docker website. You don’t need Docker Desktop unless you find that useful for managing your containers.
I’d recommend reading through this full post first before trying to follow it step-by-step. I don’t explicity state it in any of the steps but you should try building the containers at various points along the way. The command is:
docker compose build
Setup
Clone QMK Web Stack Repo
Clone the qmk_web_stack repo from GitHub.
git clone --recurse-submodules https://github.com/qmk/qmk_web_stack.git
Run this script in the main project directory to update all submodules to their latest.
./fix-submodules.sh
Configuring the Web Stack
docker-compose.yml
Open docker-compose.yml in a text editor and update the configuration values.
Below is an example where I’ve highlighted the changes for my config.
Note: I couldn’t get the configurator working end-to-end on a local machine, so I ended up using a cloud hosting service. As such, this config assumes that you’re doing the same. You might still be able to get it to work locally.
Double Note: You should probably change to minio secret if you plan to host this online, but you may want to try to get everything up and running with the default secret first.
|
|
Additional Modification(s)
Add a Custom Keyboard
If you’re setting up your own Configurator, it’s likely that the reason for this is to test out your own keyboard firmware. The instructions below will explain how to do that.
It took me a lot of experimenting before I was able to get everything working. I wanted to avoid modifying any of the submodule files but found that some were unavoidable for various reasons.
Note: These instructions explain how to point the configurator to your own keyboard list. So the default list will no longer be available after doing these steps. The steps below are only necessary if that’s your intention.
Custom Keyboard Data
The configurator pulls both the list of keyboard and the individual keyboard info/readme files from keyboards.qmk.fm
These are the relevent endpoints and the structures to mimic:
keyboard_list.json
keyboards.qmk.fm/v1/keyboard_list.json
Structure:
|
|
info.json
keyboards.qmk.fm/v1/keyboards/<keyboard>/info.json
Structure:
|
|
readme.md
|
|
Structure:
(Just a normal readme.md file)
Explained
The easiest way I could think to serve these files up was to put them in a GitHub repositor with a folder structure mimicking the API path that the configurator is expecting.
Your JSON files or APIs will need to be accessible following the URL patterns above. So If I wanted to serve up this JSON data from GitHub, I would need to follow the URL pattern, which directs to the raw text content of an uploaded file:
https://raw.githubusercontent.com/snacksthecat/qmk_web_stack_files/main/v1/keyboards/<keyboard_name>/info.json
|--------------------------base url------------------------------------|----path----|----kb name----|--file--|
qmk_configurator
Dockerfile
Once I had my APIs setup, I added the necessary environment variable to the qmk_configurator Dockerfile so that it gets picked up by the constants declaration file
ENV VITE_API_URL=/api
ENV VITE_KEYBOARDS_URL=https://raw.githubusercontent.com/snacksthecat/qmk_web_stack_files/main
Define a Default Layout
If you were to spin up the configurator at this point, it should load, but with a totally blank layout. The steps below explain how to create a default layout that gets picked up by the configurator when the keyboard first loads.
qmk_configurator
public/keymaps
The default keymaps for the configurator are all located in:
/qmk_web_stack/qmk_configurator/public/keymaps/
They’re organized by letter, so navigate into the folder with the first letter of your keyboard’s name.
You’ll need to create a new file with a filename that follows this pattern:
<keyboard_name>_default.json
Note: If your keyboard name has slashes in it, you’ll need to replace them with underscores. For instance, my default filename was: converter_ibmpc_usb_teensy_default.json
Below is an example of the contents of one of these default layout files (excuse the formatting):
|
|
The “layers” node is basically a JSON-ified version of your keymap.c file.
You can read more about the specifics of the default keymap file on the QMK website. It’s the same file that you can download/upload to the configurator to save/load your keymap.
Docker Compose
Finally it’s time to build and launch the containers which should bring your configurator online and make everything work end-to-end with all of your changes.
Navigate to the main project directory:
cd ~\qmk_web_stack
Run the following command to build all of the Docker containers. It will take some minutes.
docker compose build
Hopefully it builds OK. If so, launch all of the containers using the following command:
docker compose up
You’ll want to keep an eye on the log output and make sure that all service workers get launched. If you see some ugly errors, most likely one of these failed to launch and you’ll need to backtrack.
Now you should be able to visit your configurator at: http://<your_url>:5000

Read Part 2 of this guide to setup a reverse proxy and SSL.
