Introduction
This post is a summary of a keyboard conversion that I did with CommonSense in 2019. Originally described in this deskthority thread.
Overview
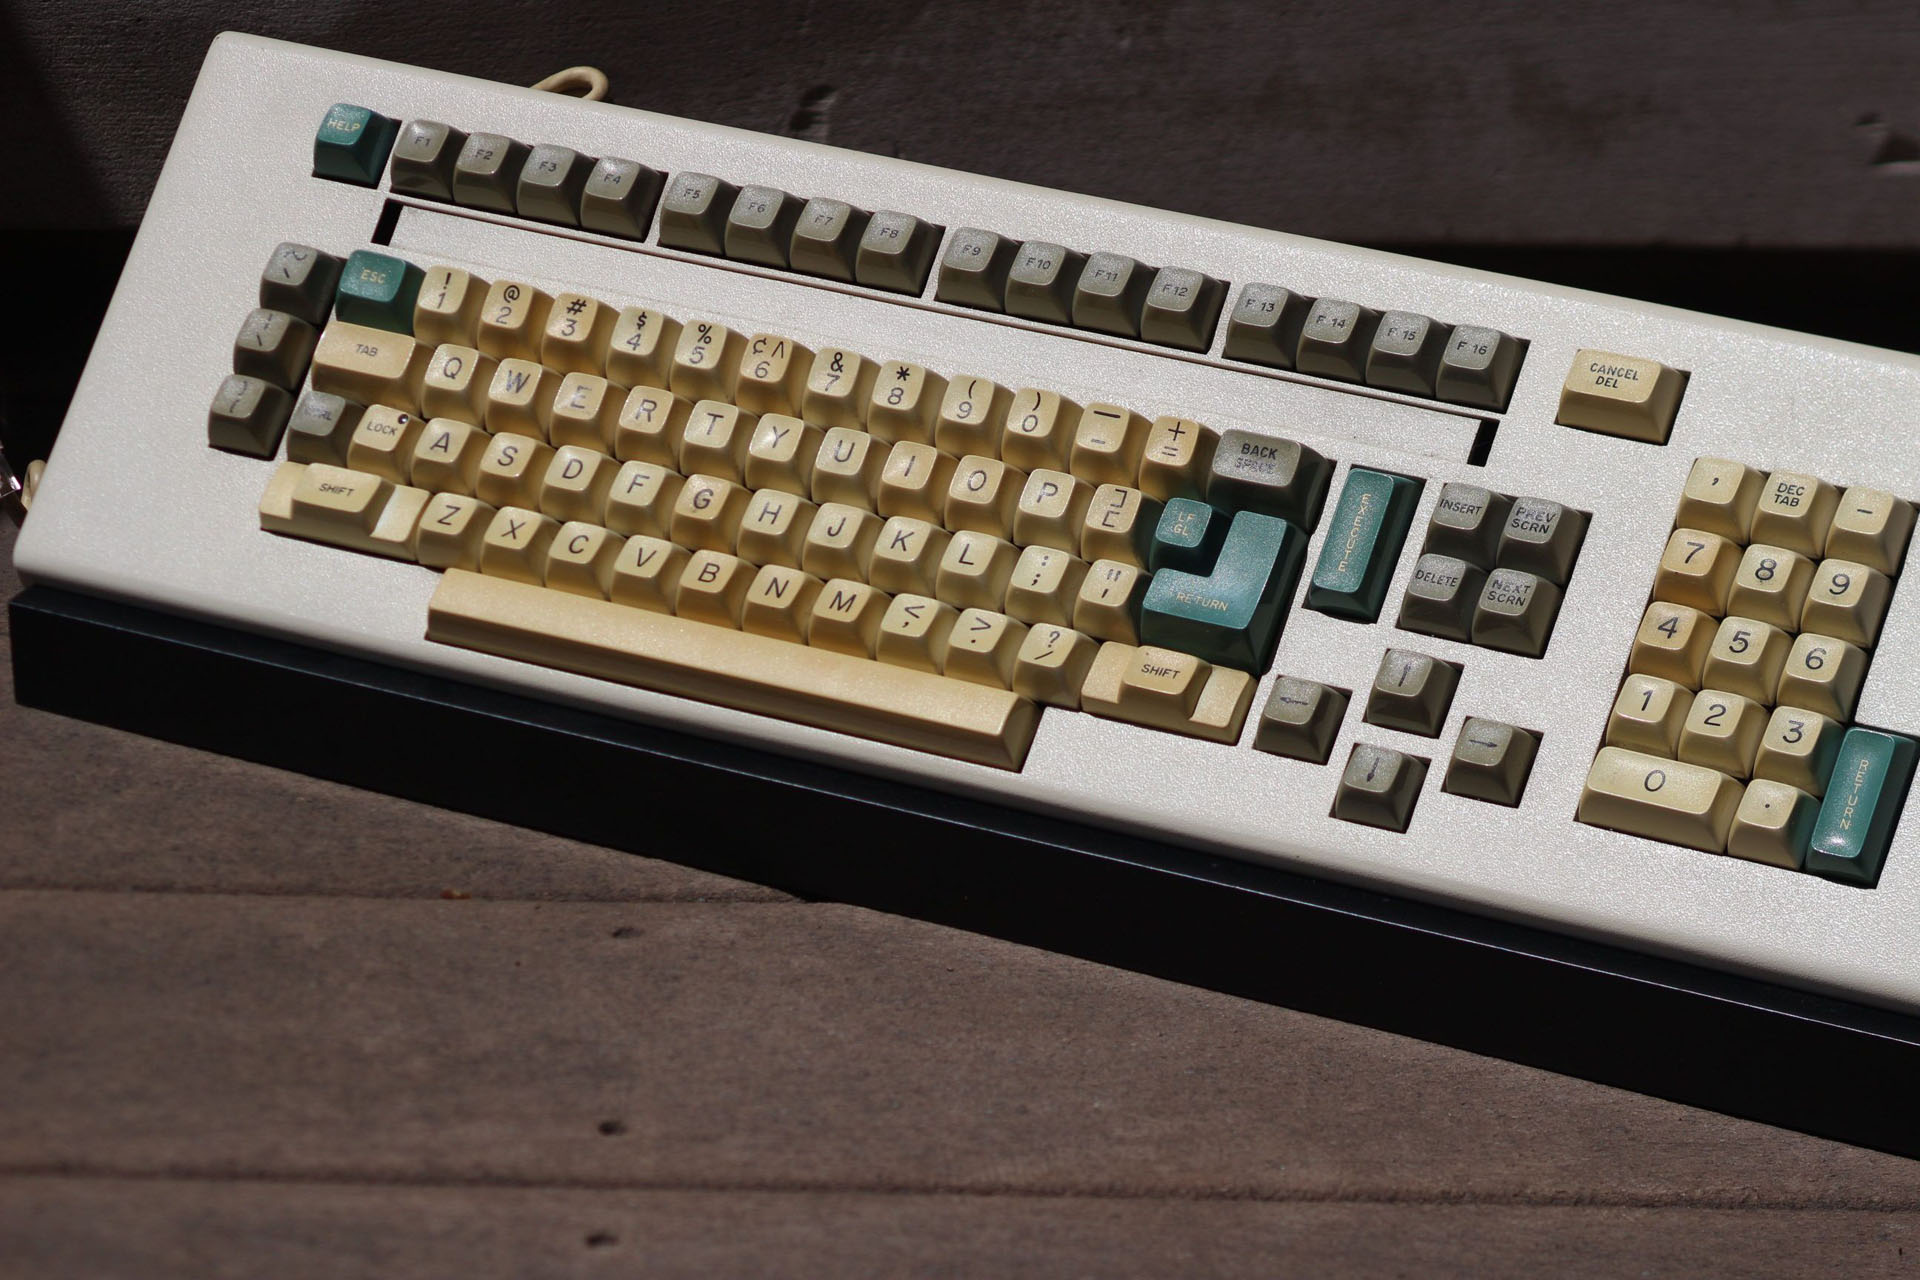
Someone reached out asking if I could help convert their Fortune Systems keyboard and I took on the task. I meant to do some research ahead of time but unfortunately other stuff got in the way and I never got around to it. Having never done any capacitive conversions, I’m admittedly a little bit out of my depths. Nevertheless, I know this should very much be doable, based on what I’ve seen other people be able to do. Here’s a great overview video about this keyboard from Chyrosran22 on YouTube.
Parts
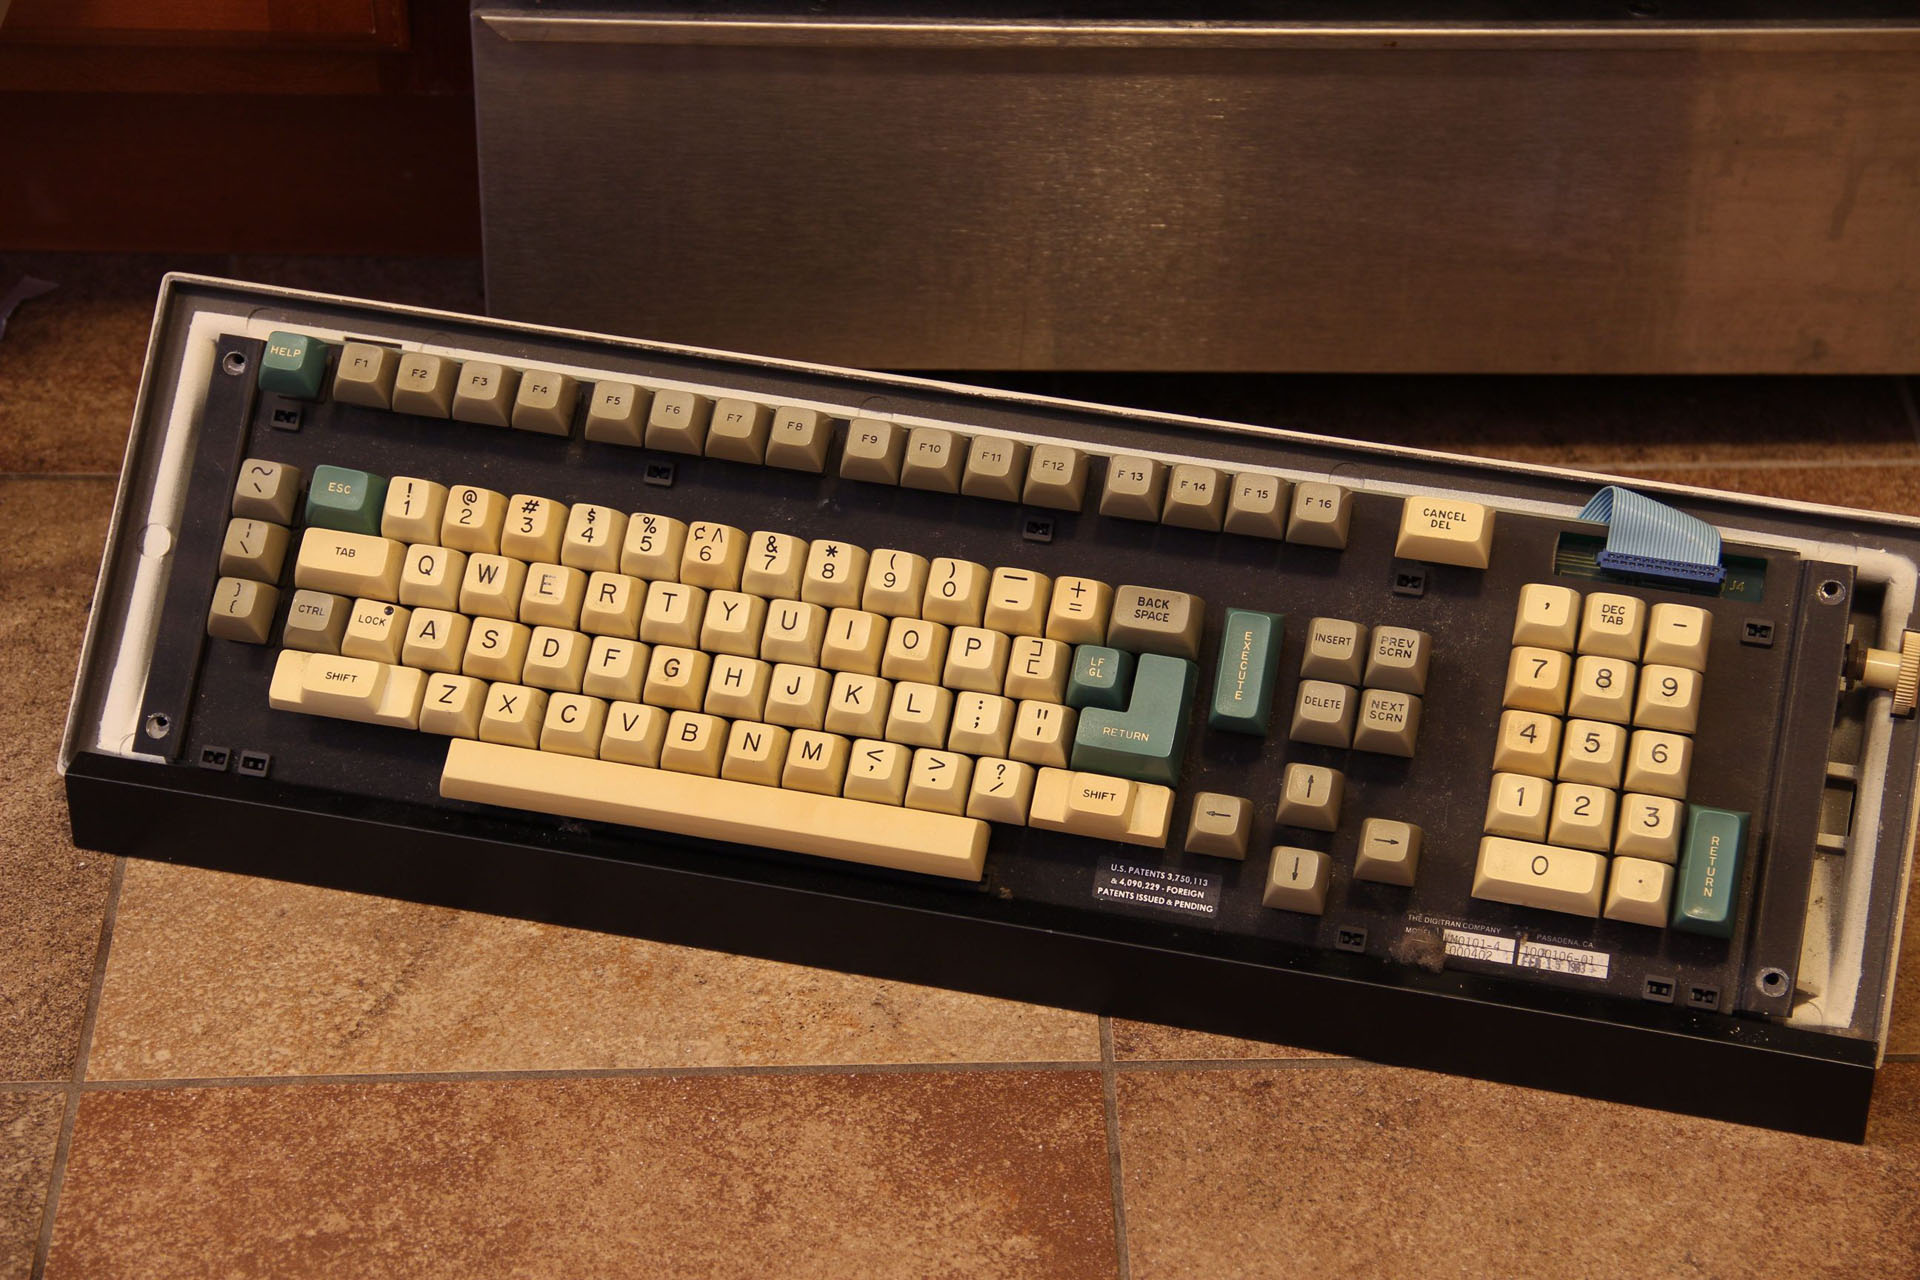
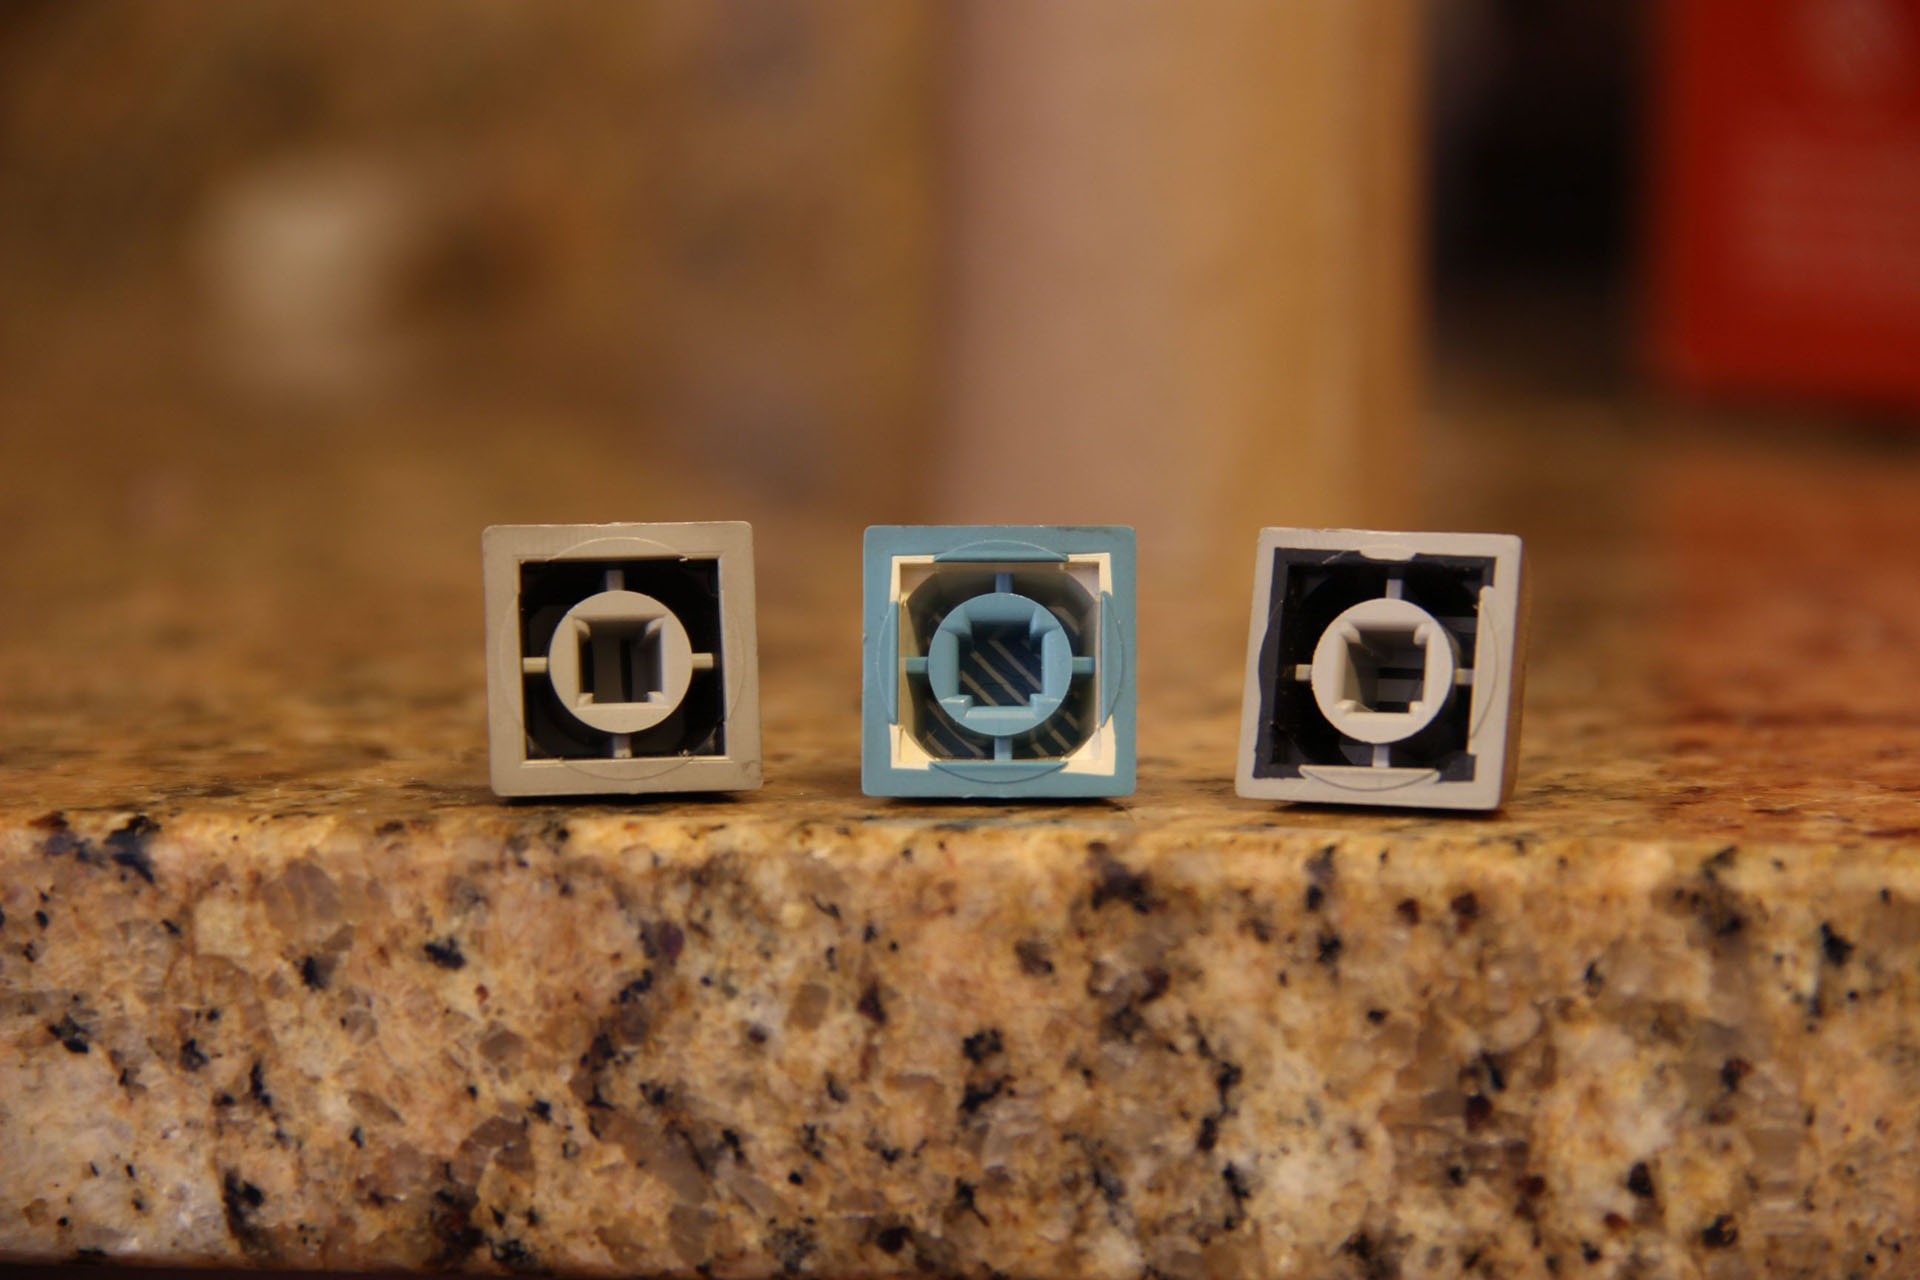
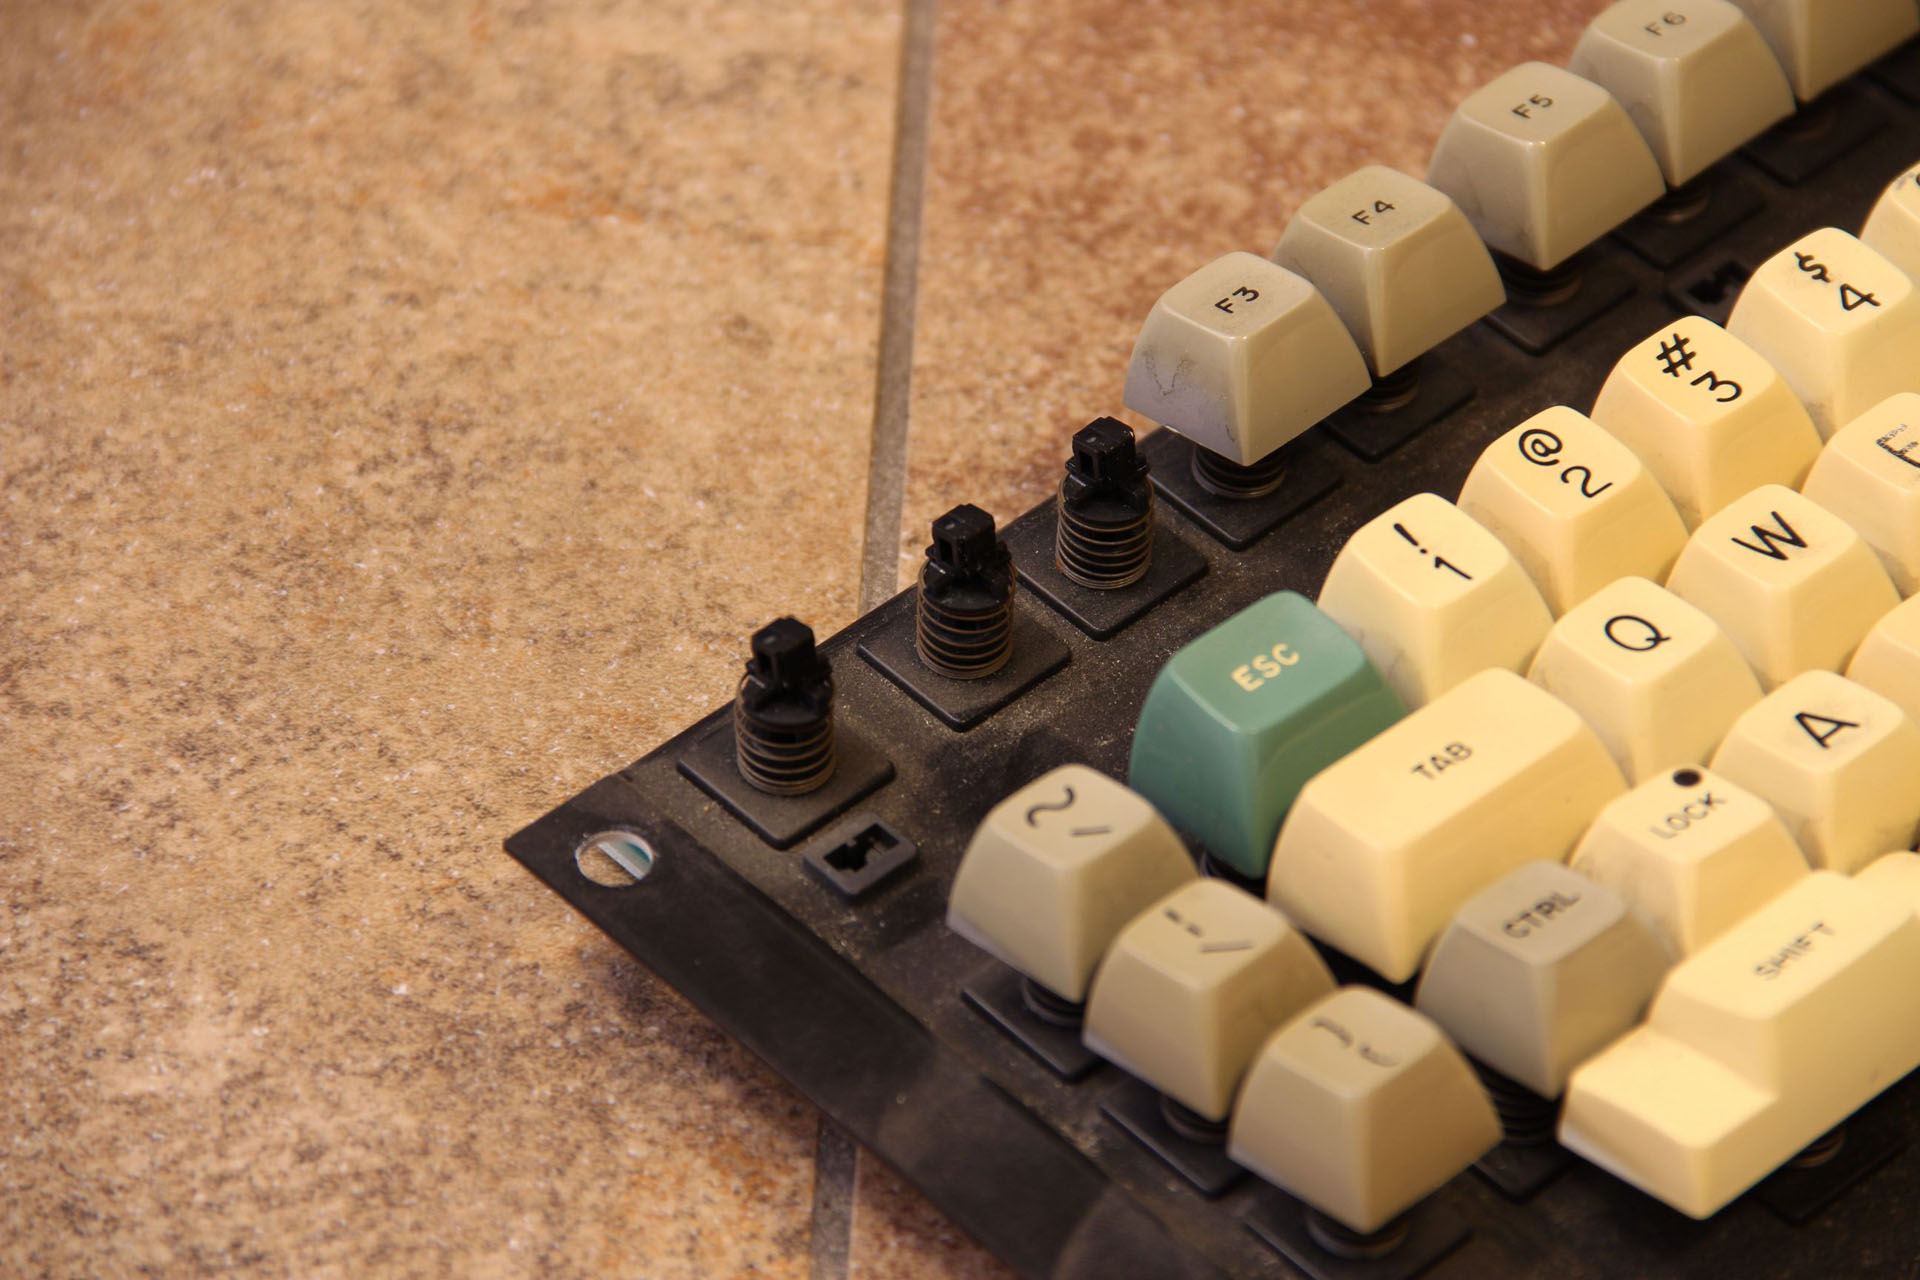
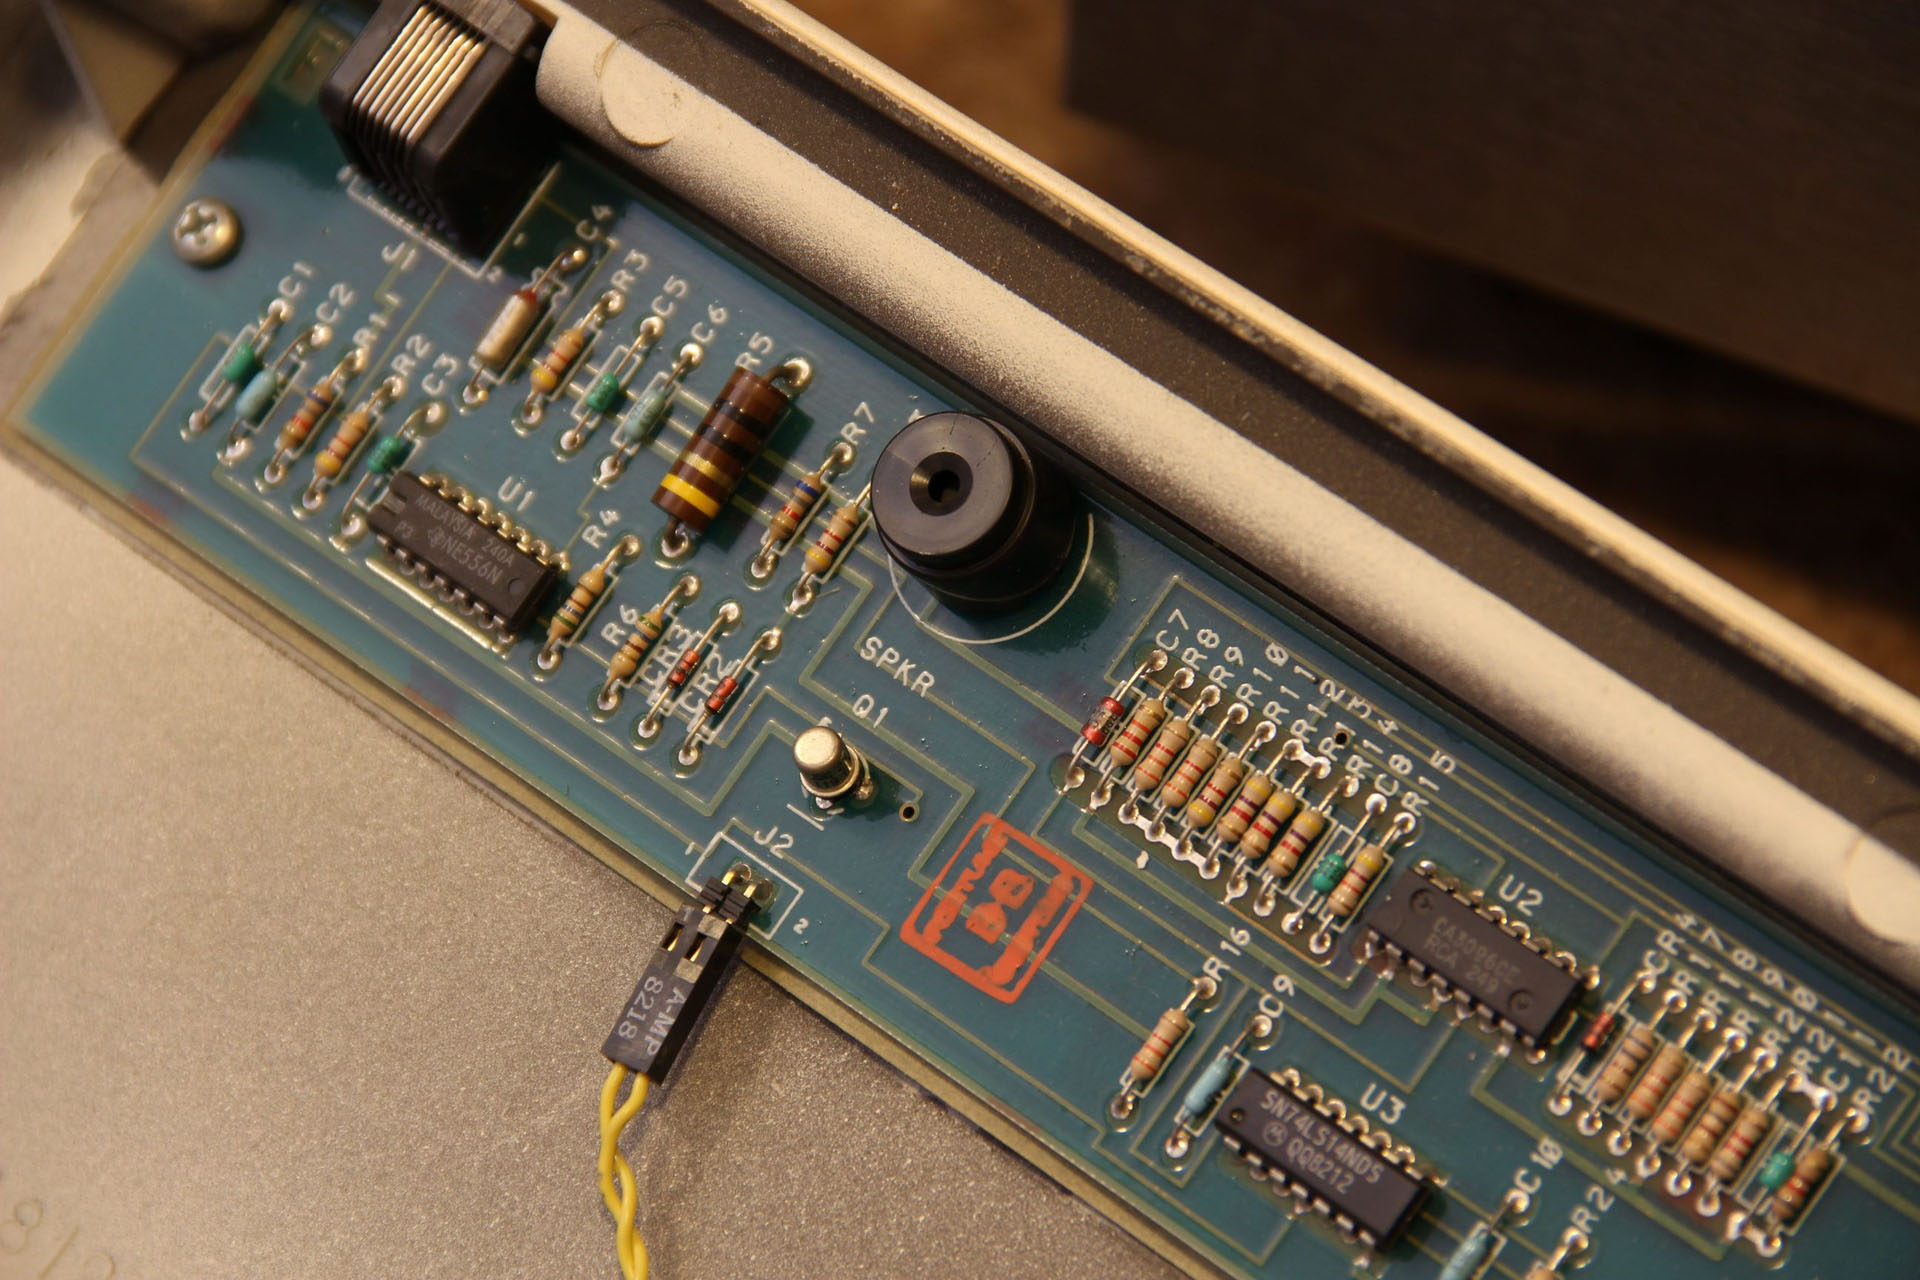
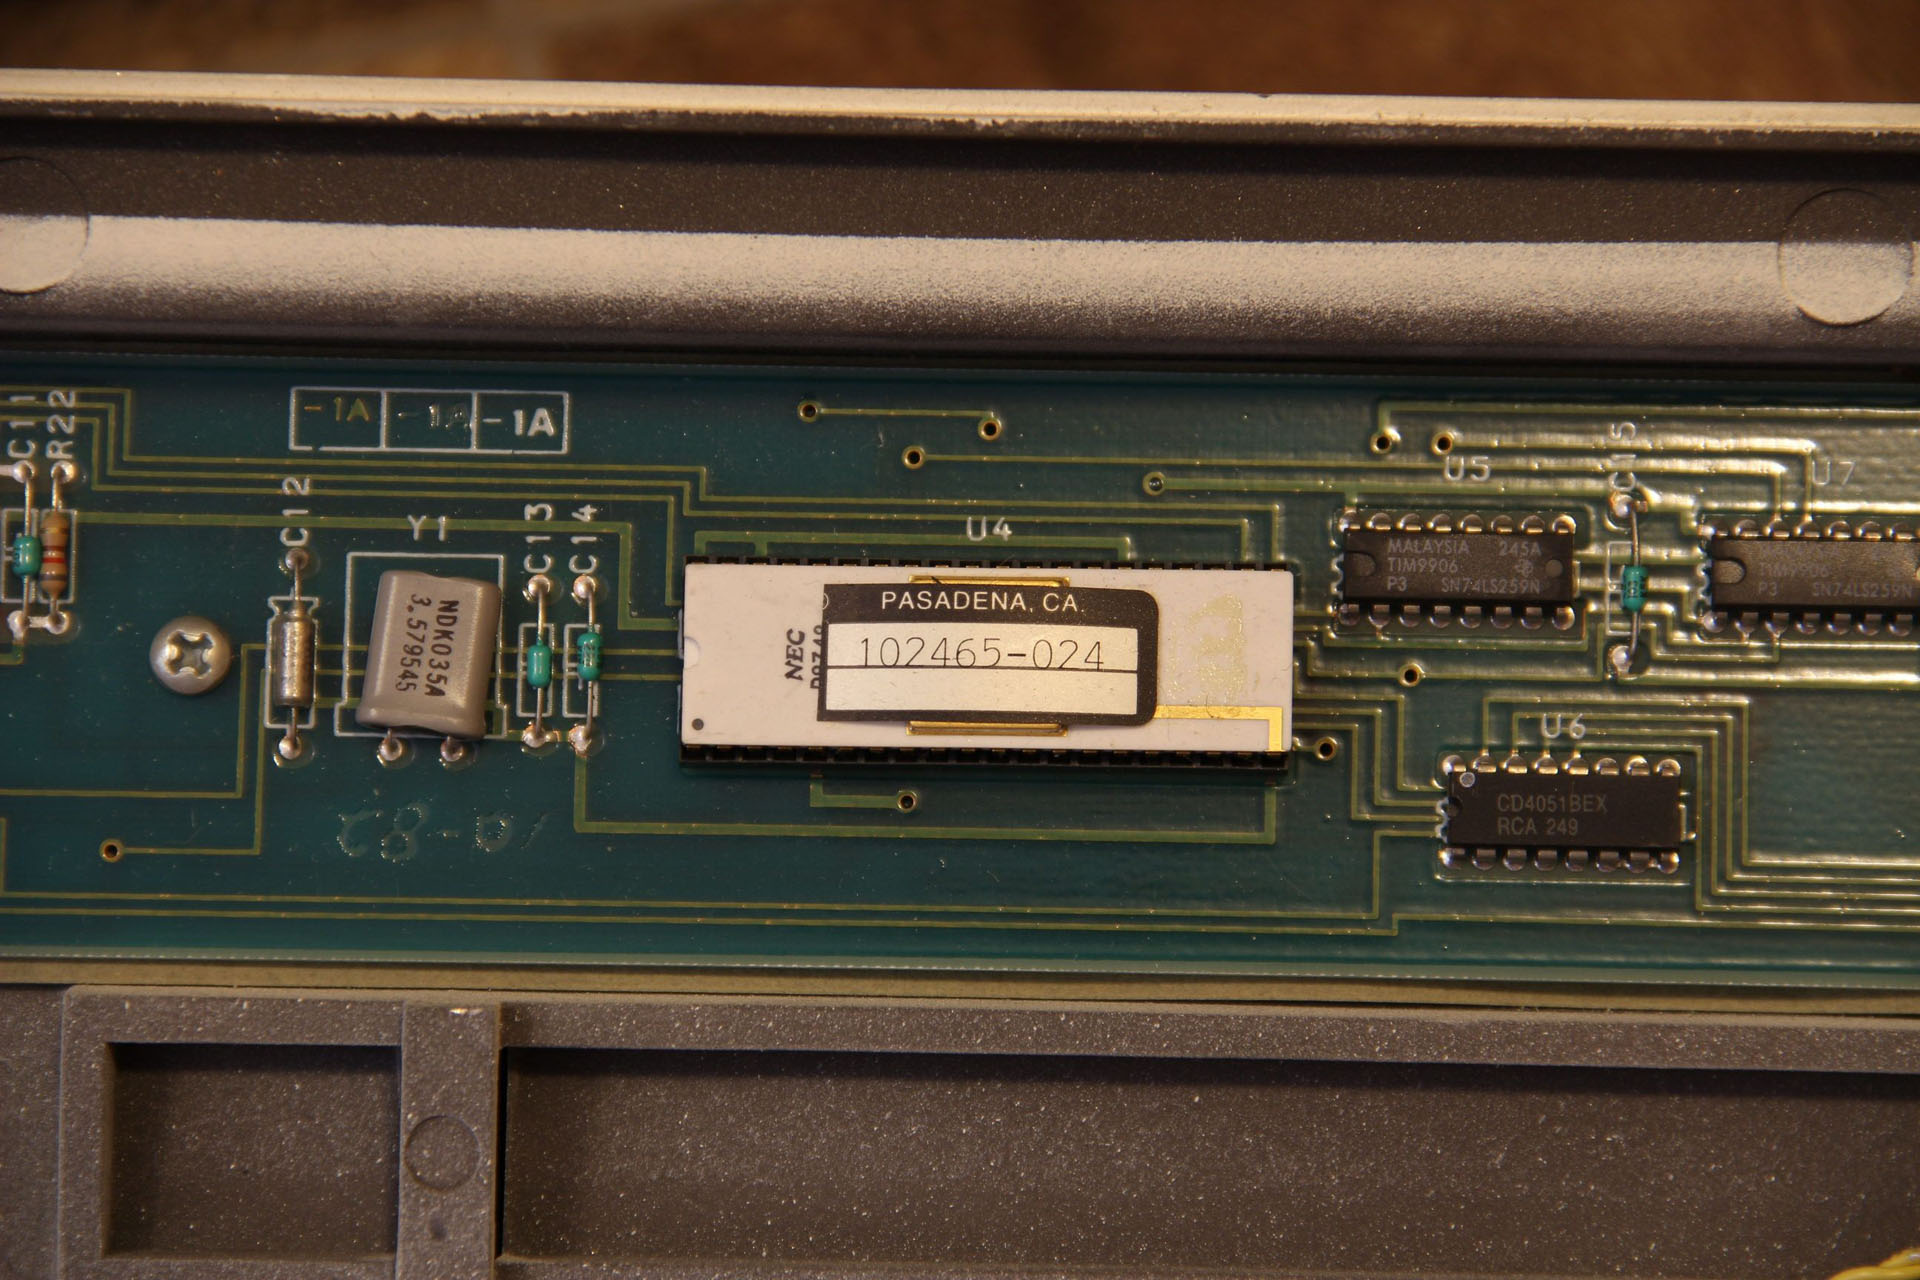
All of the components on this board were high quality and the board itself was in very good condition.
Electronics
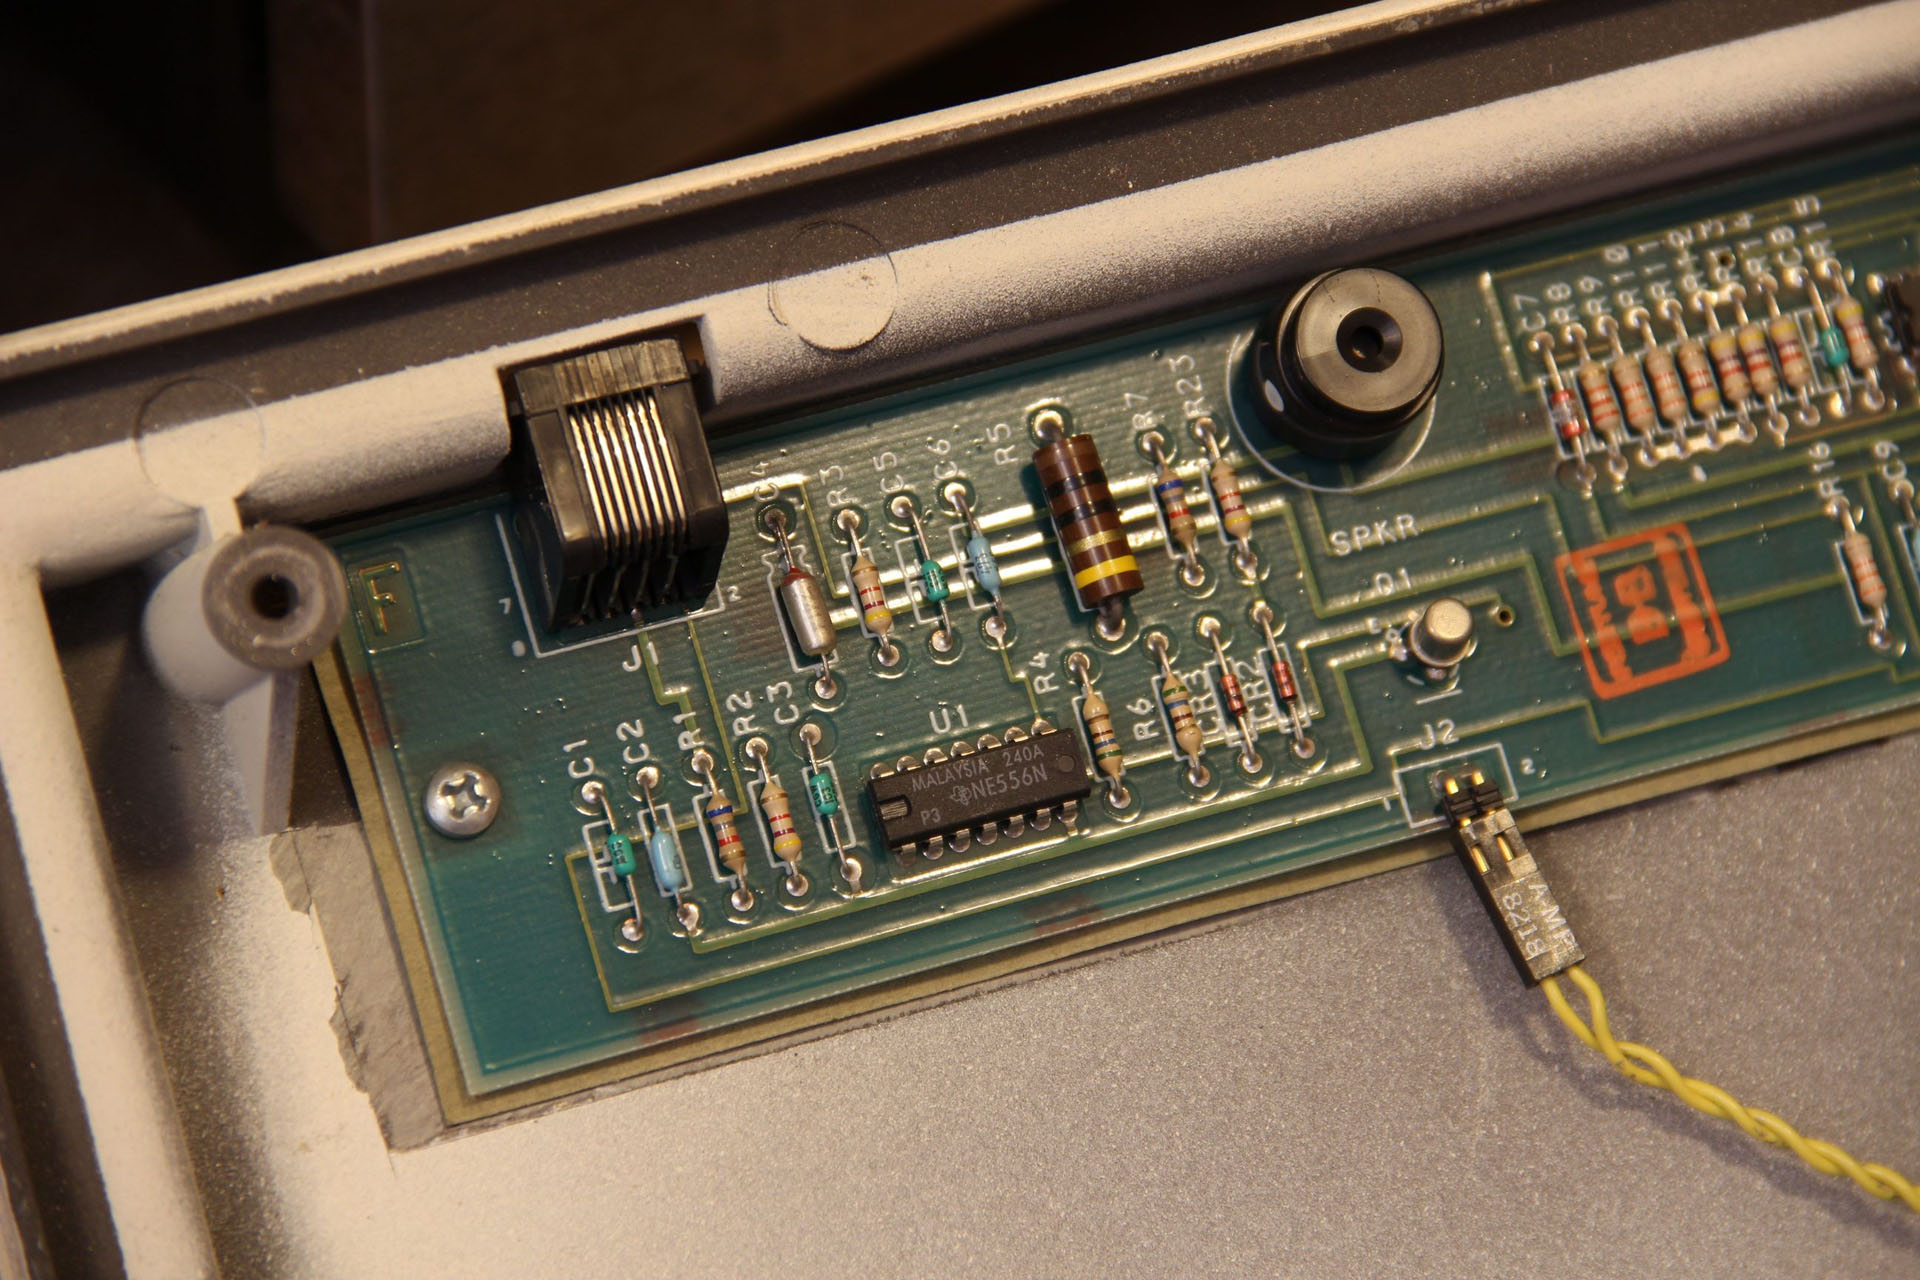
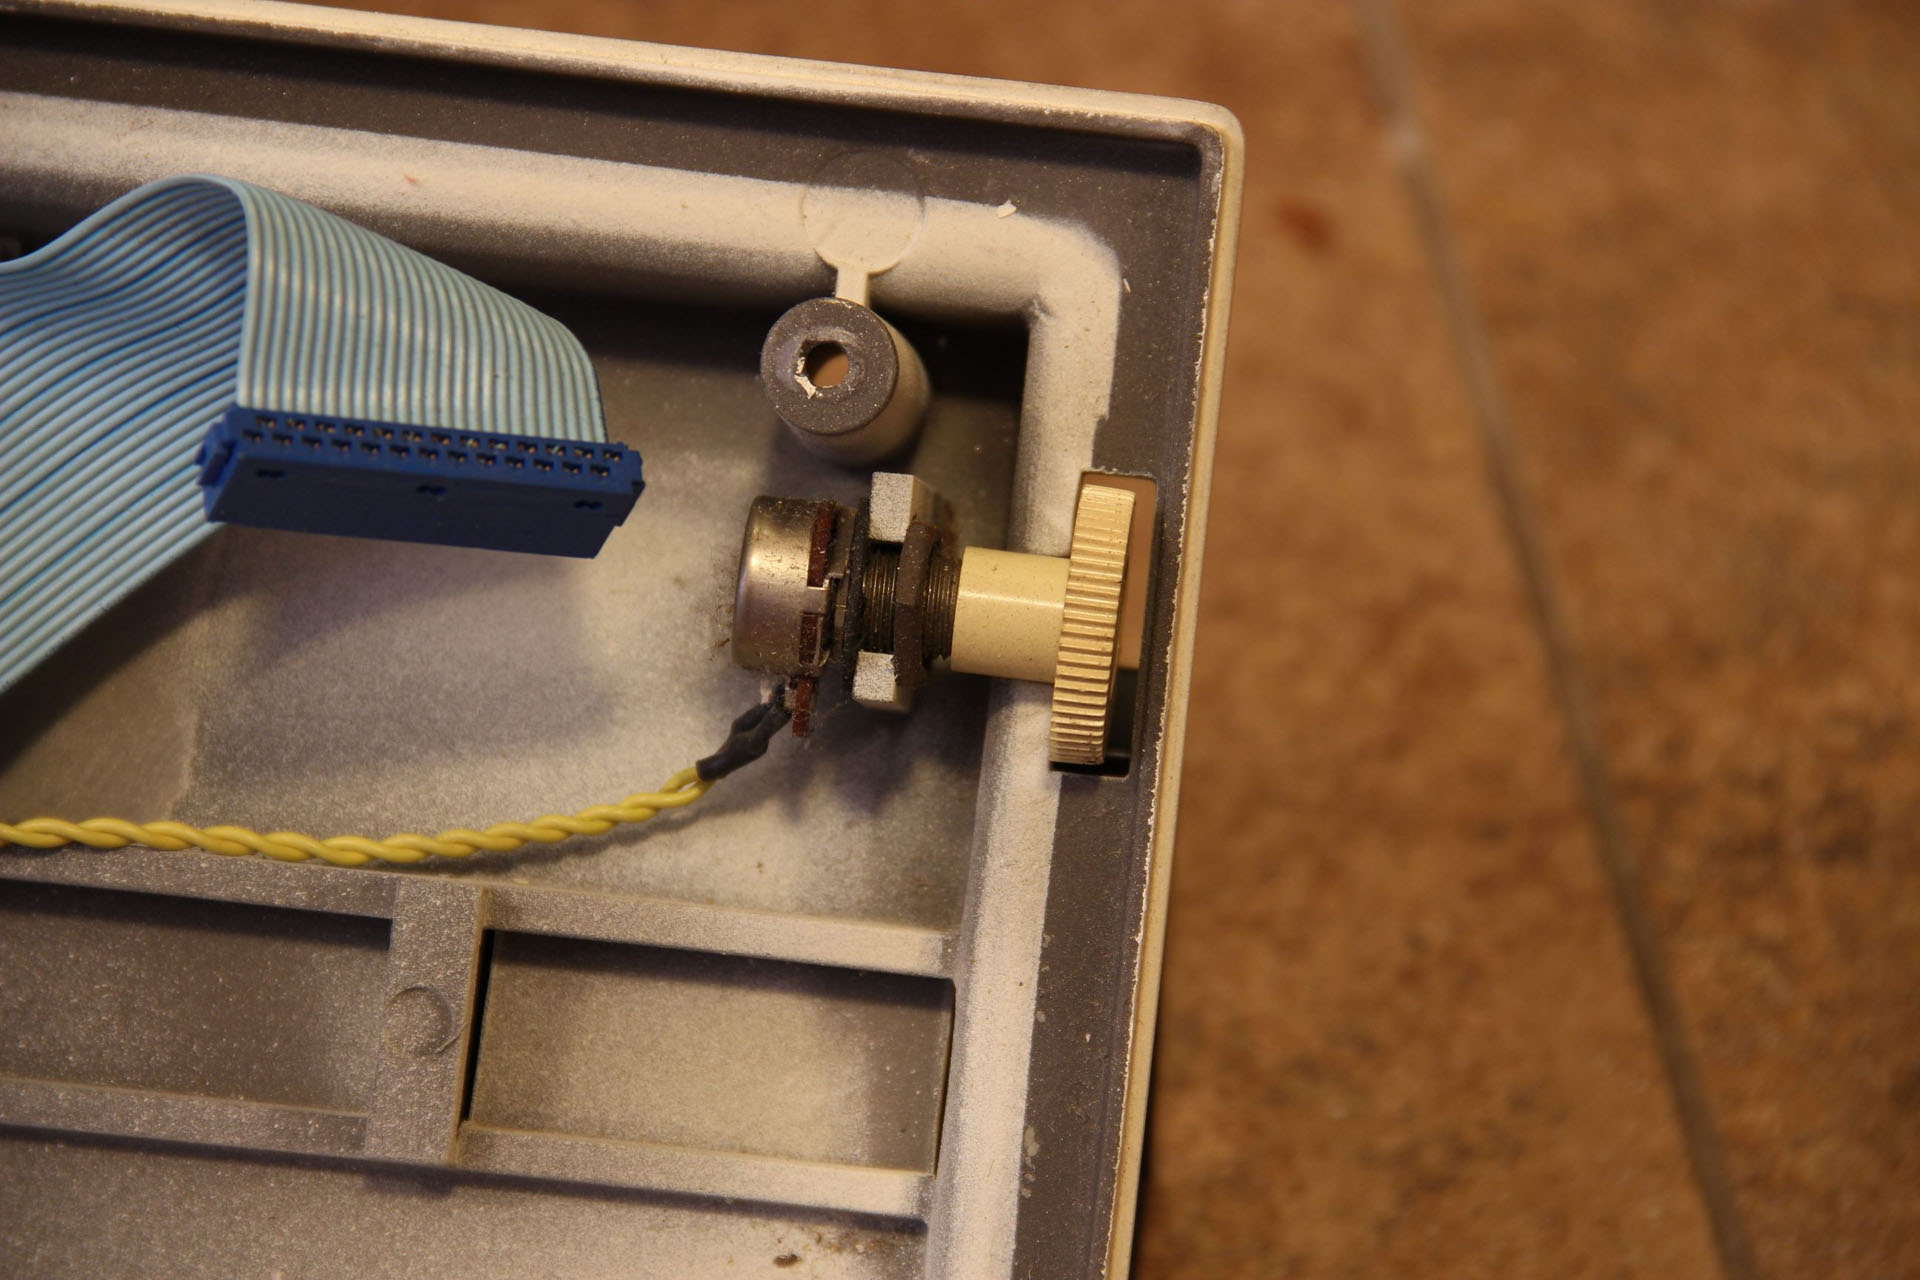
Here you can see the electrical components, including the buzzer which features its very own volume knob.
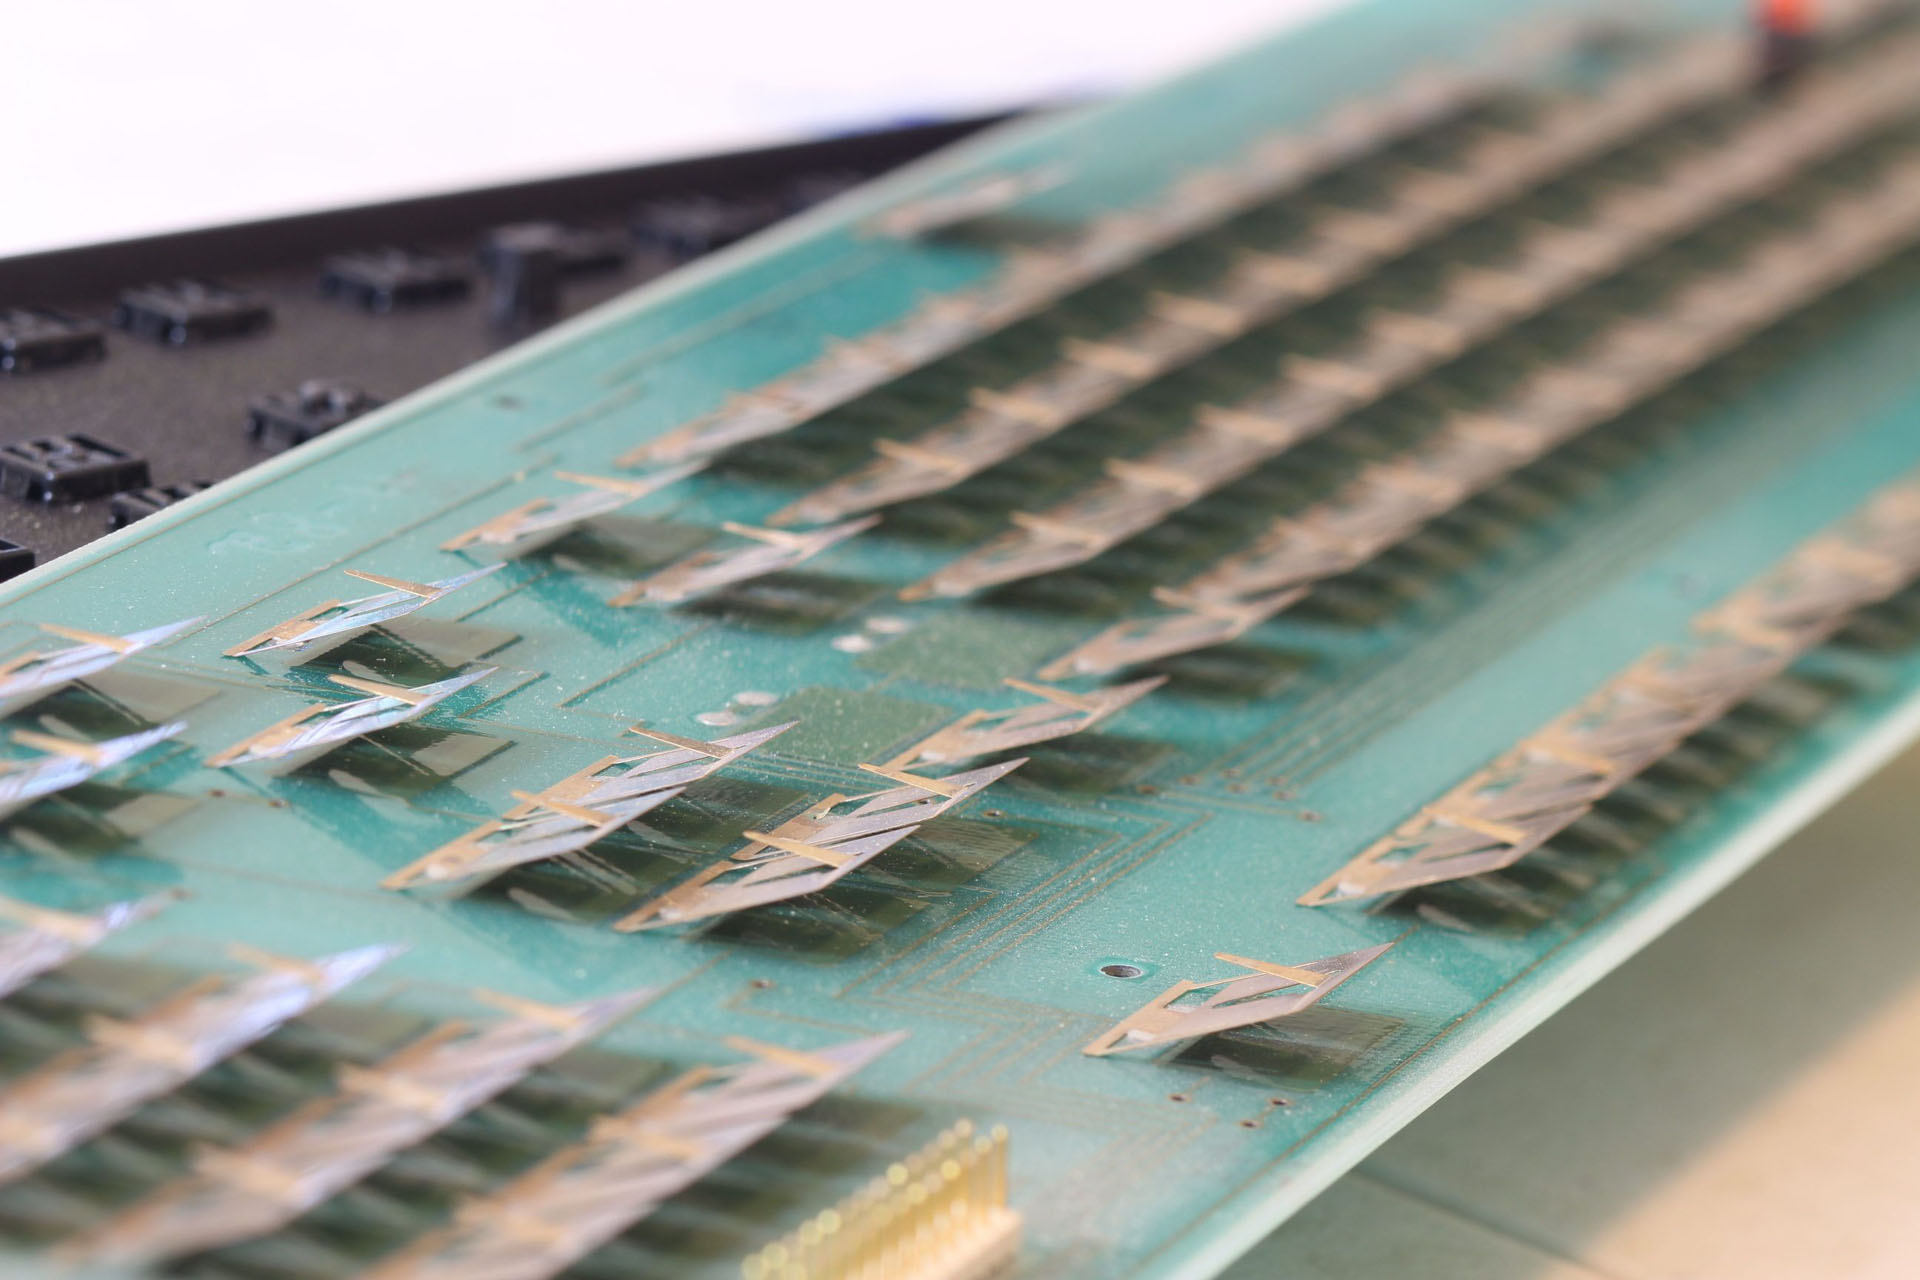
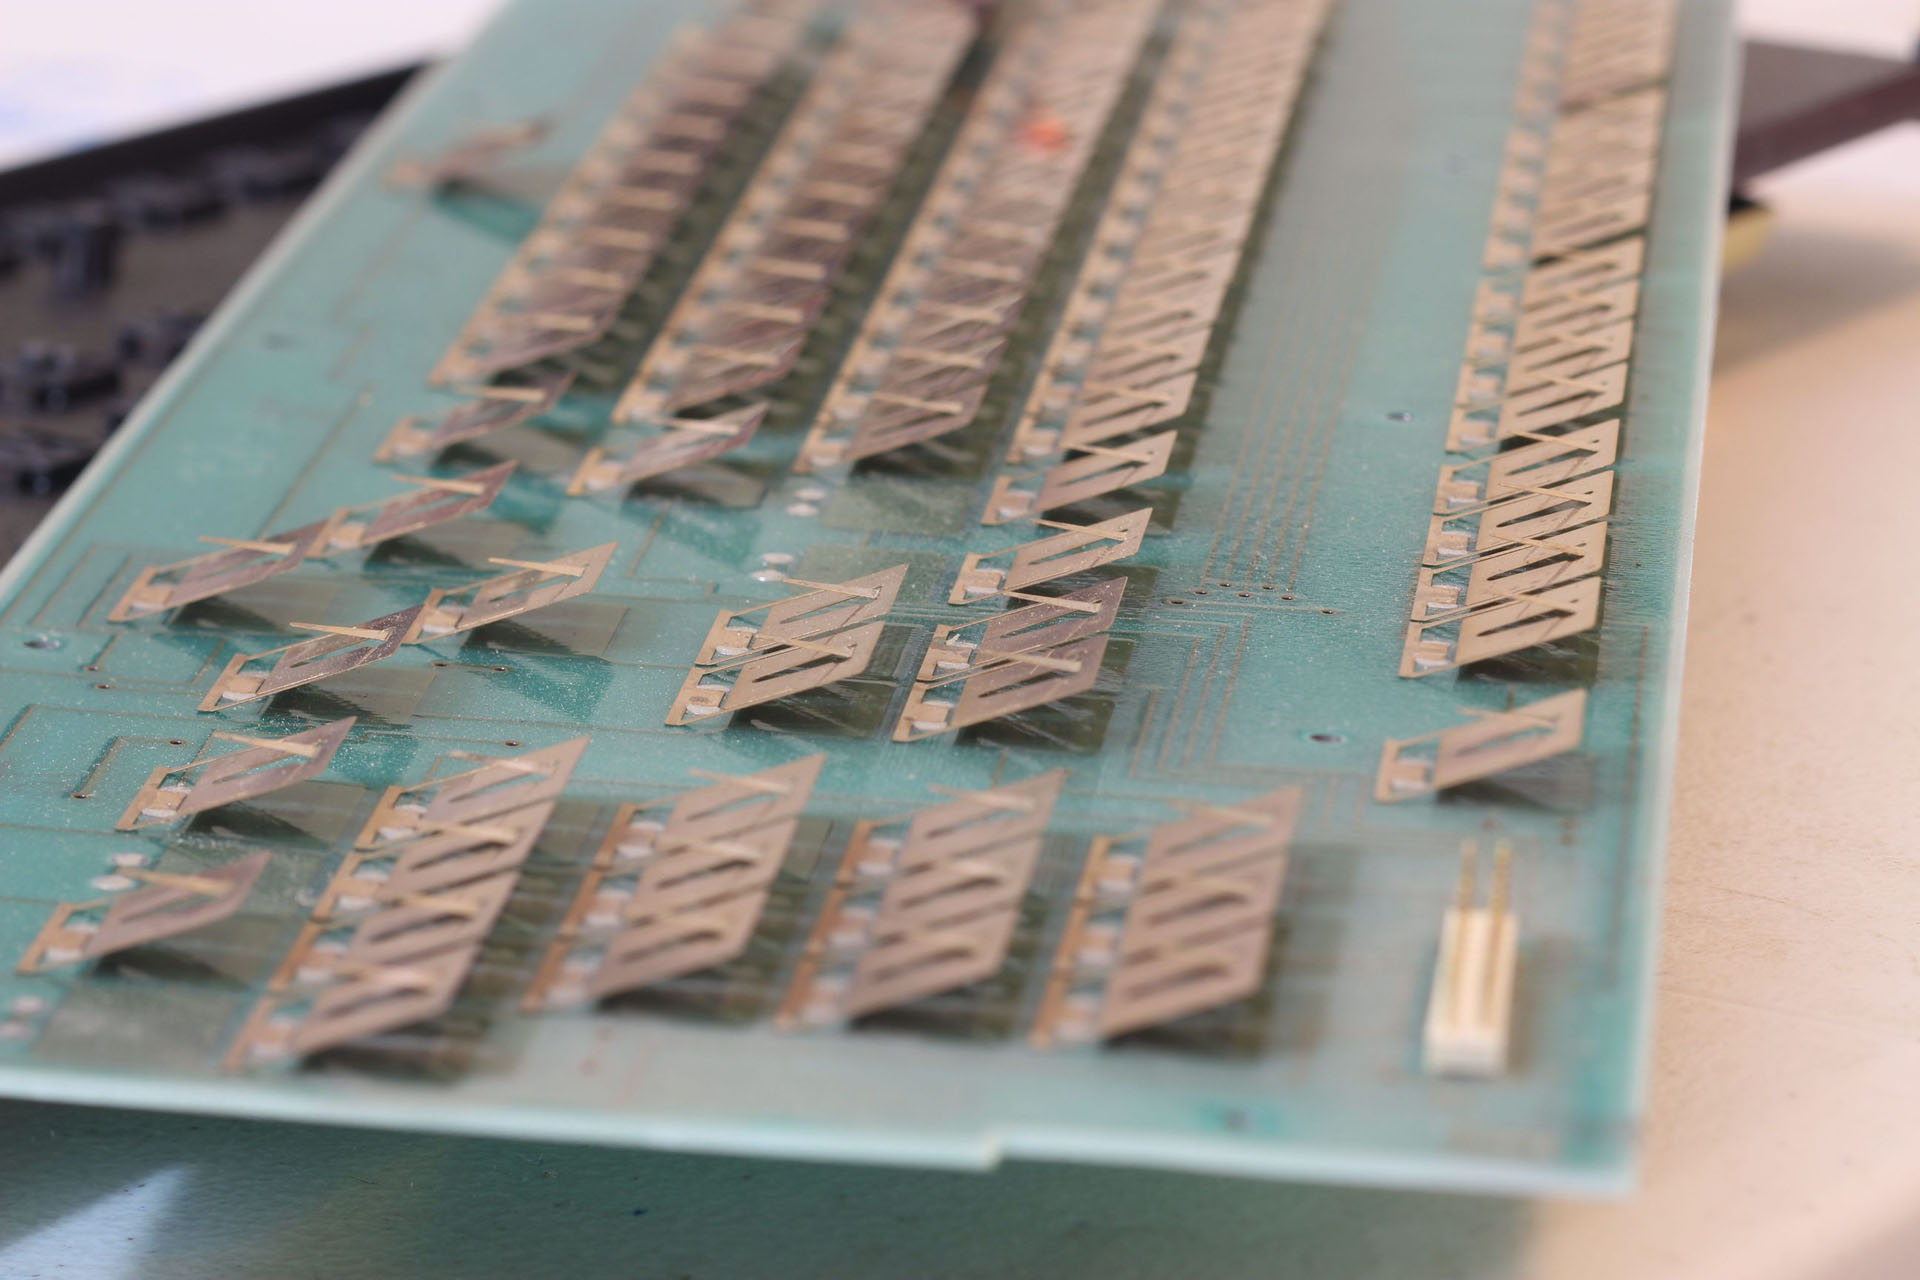
Leaf Springs
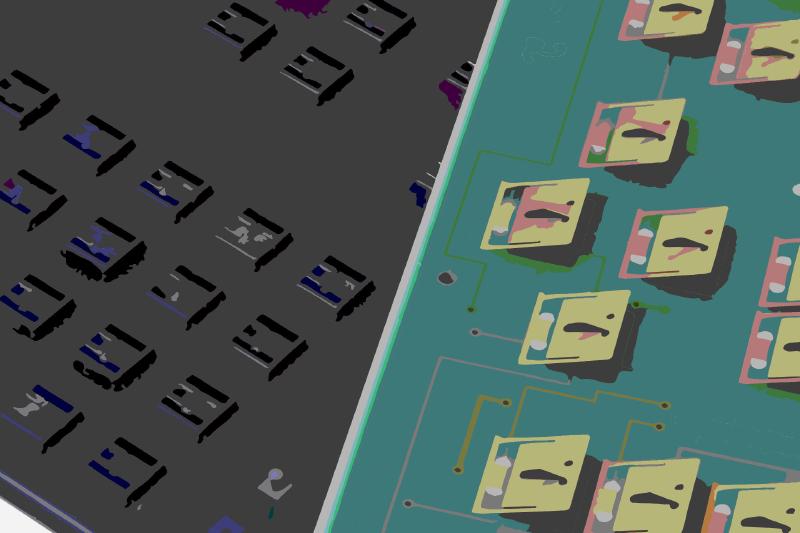
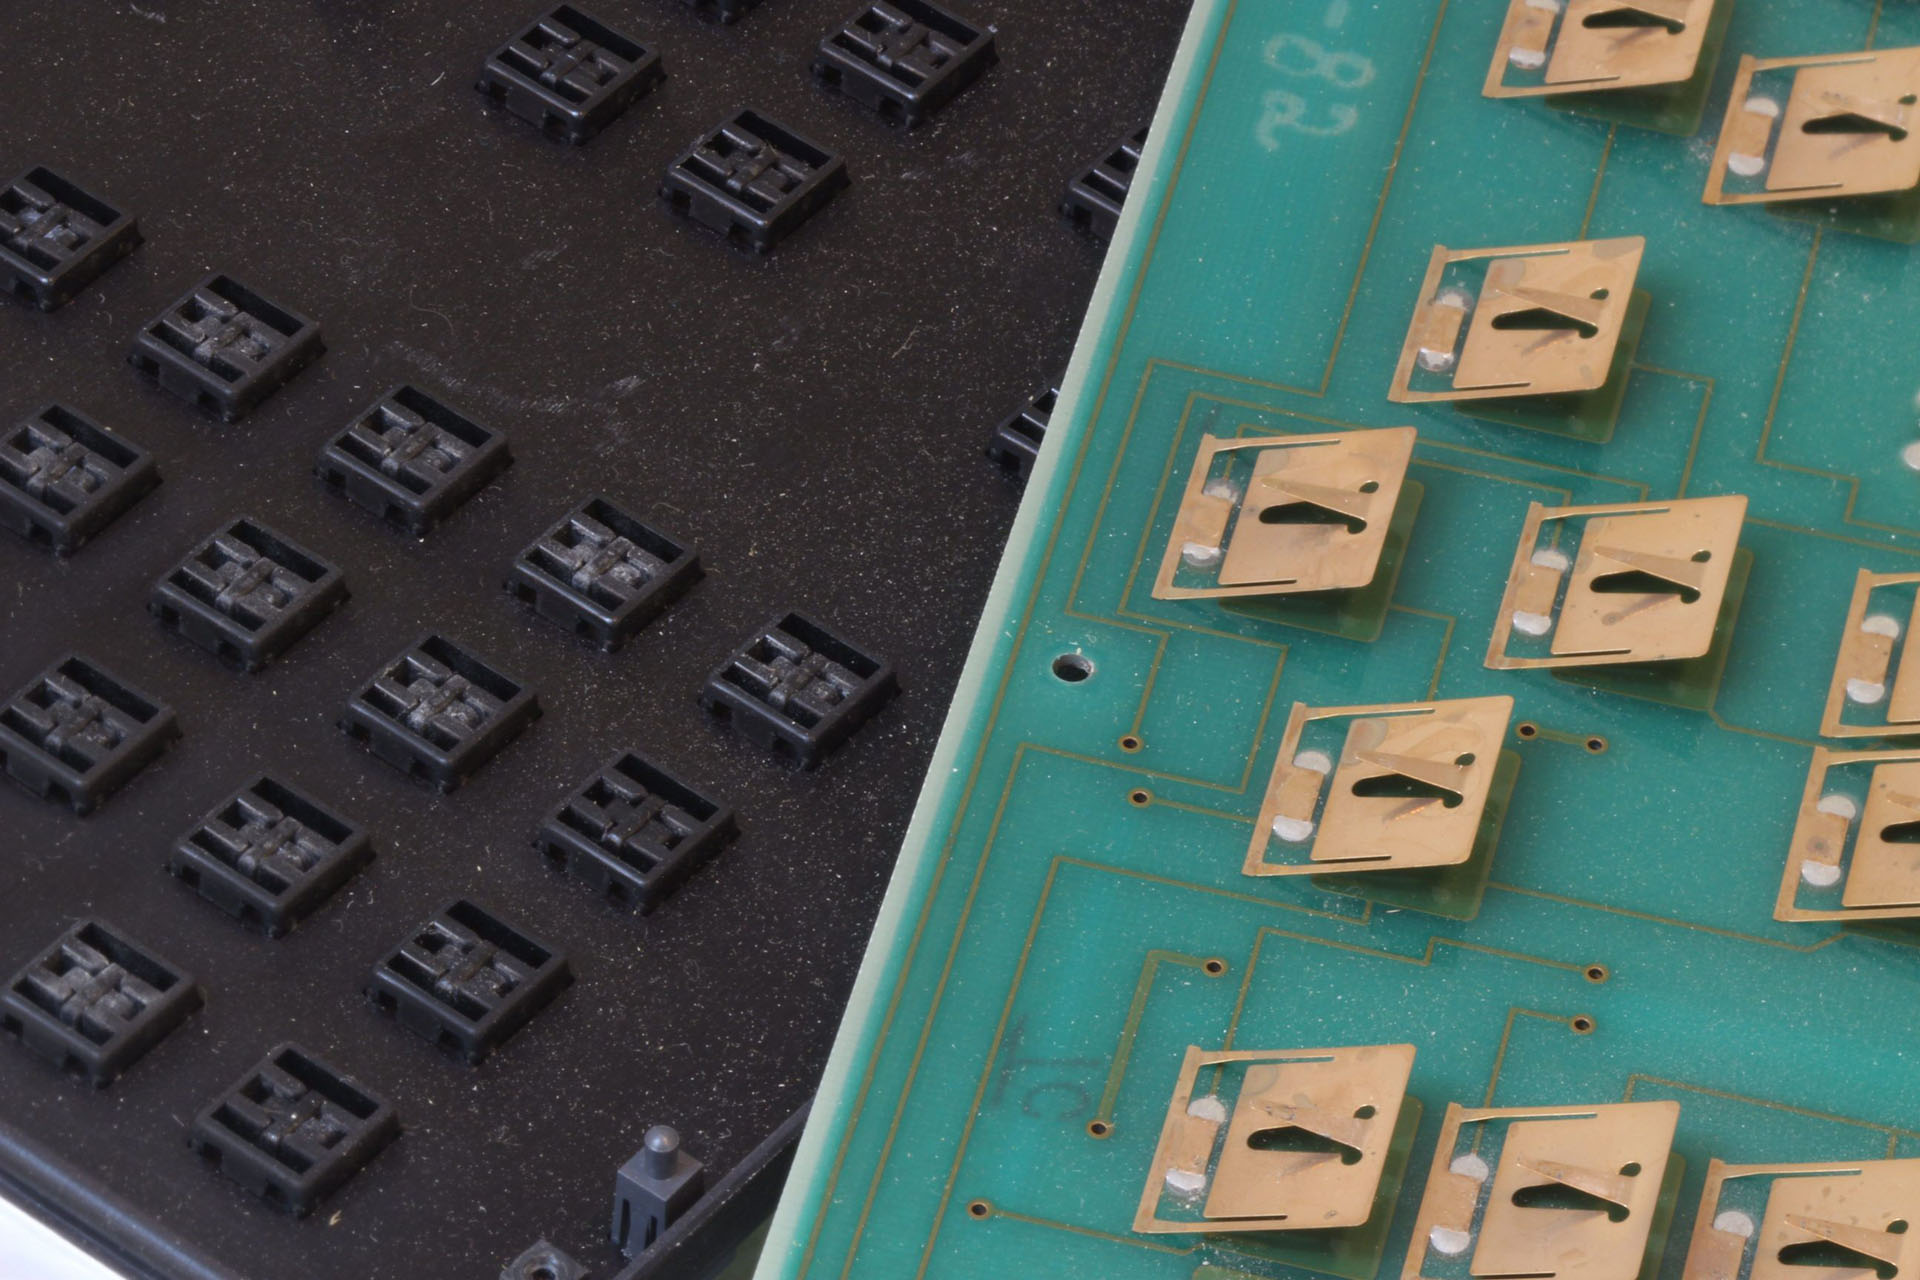
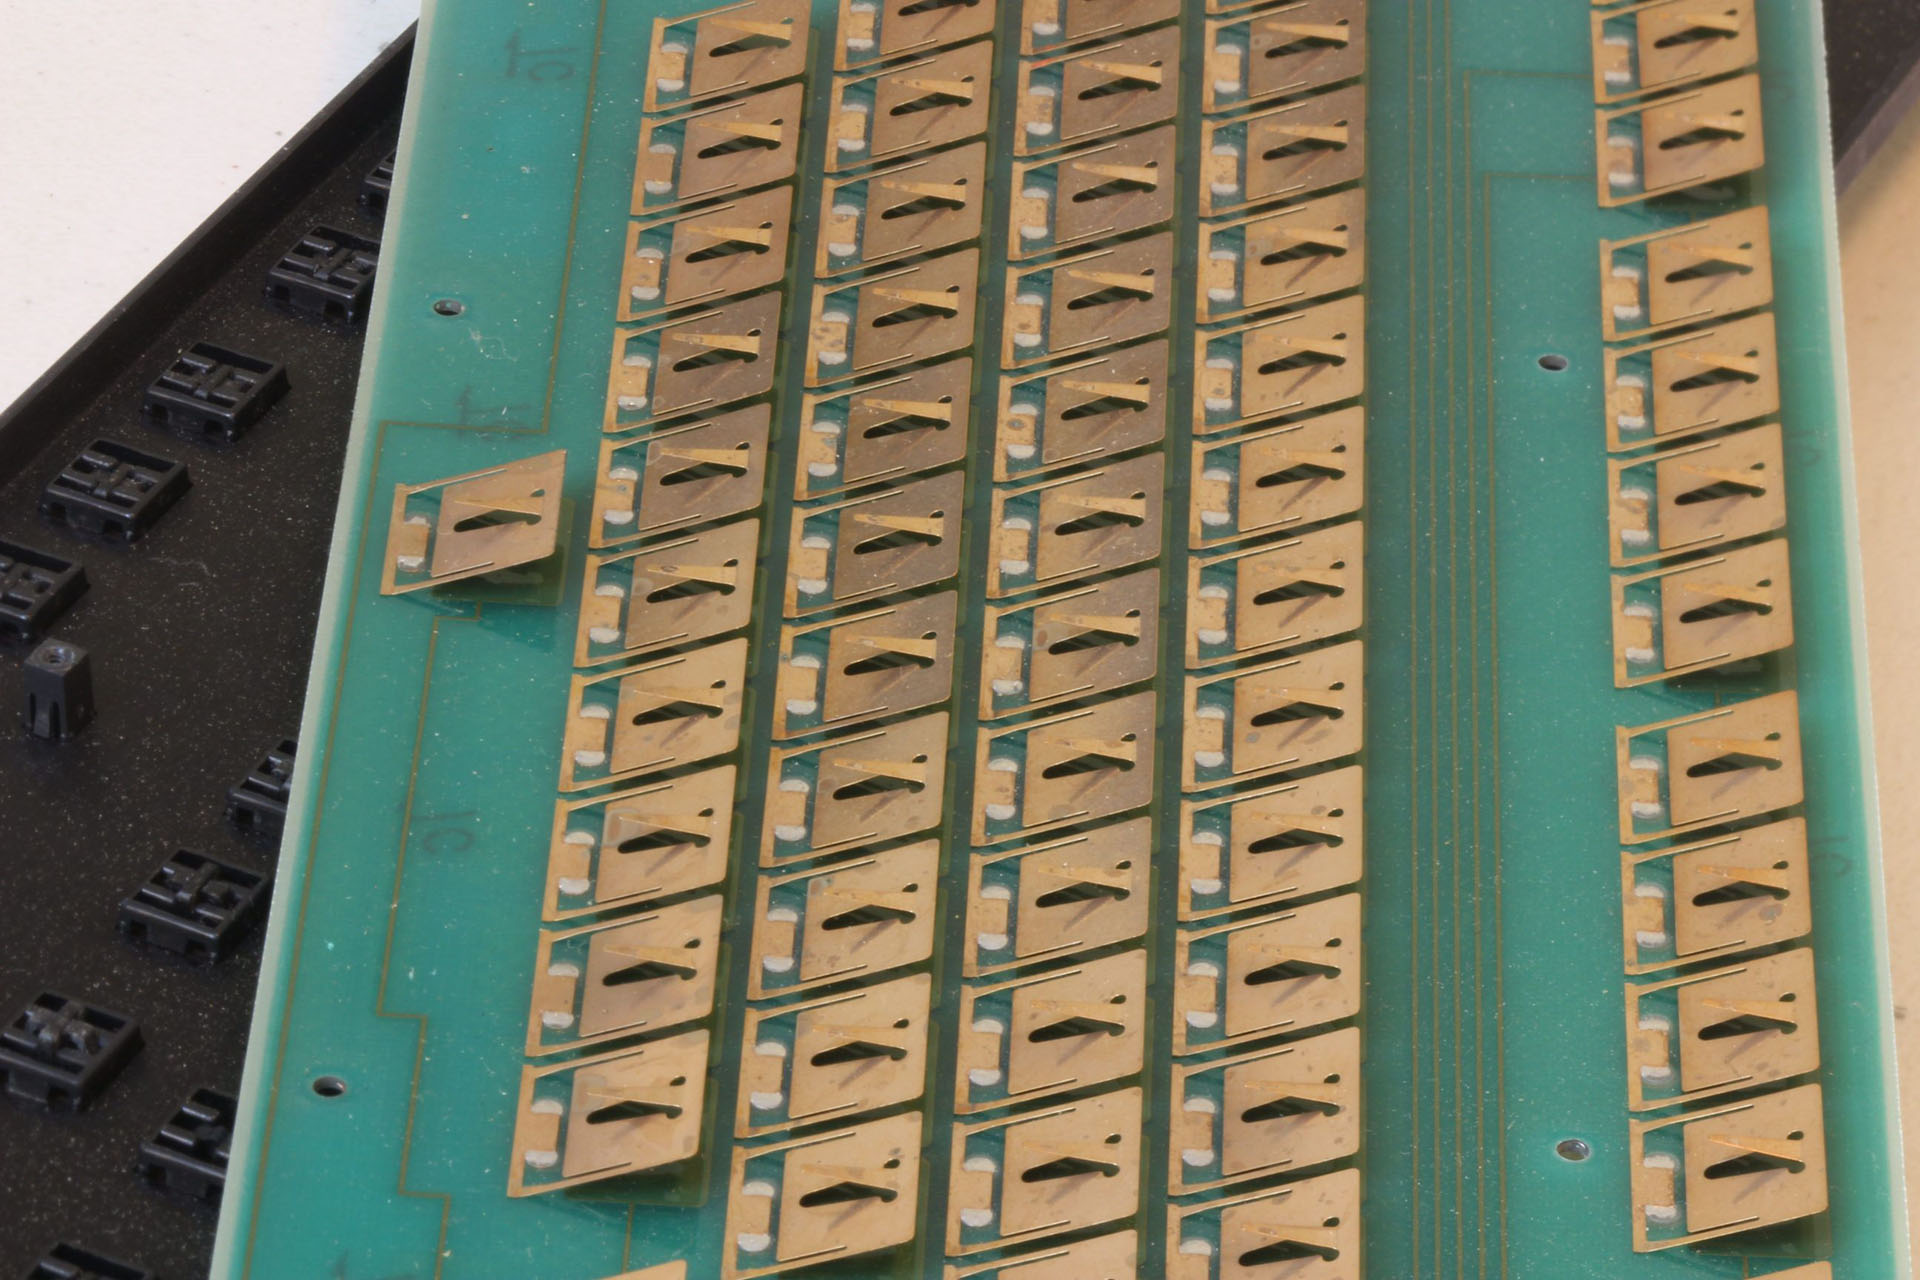
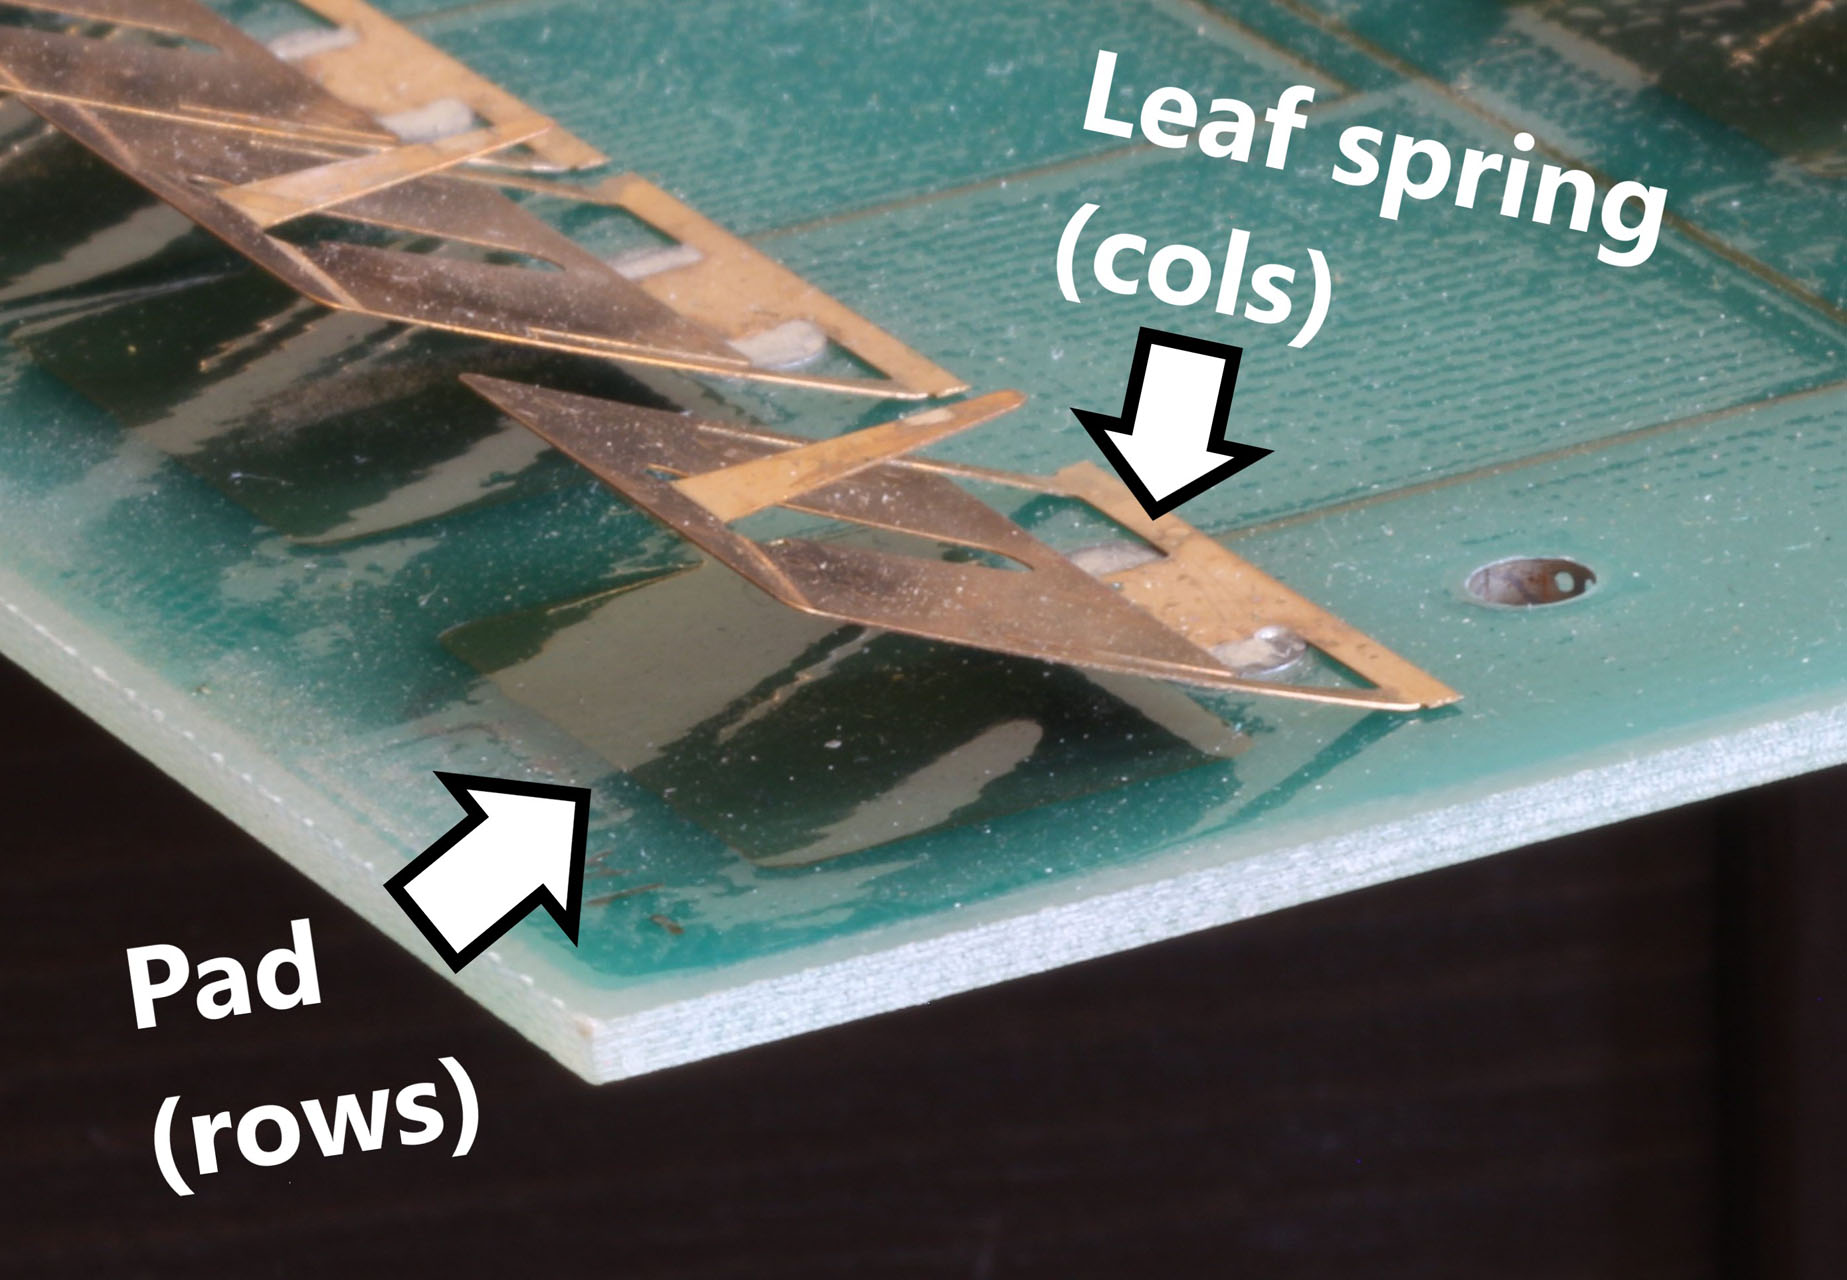
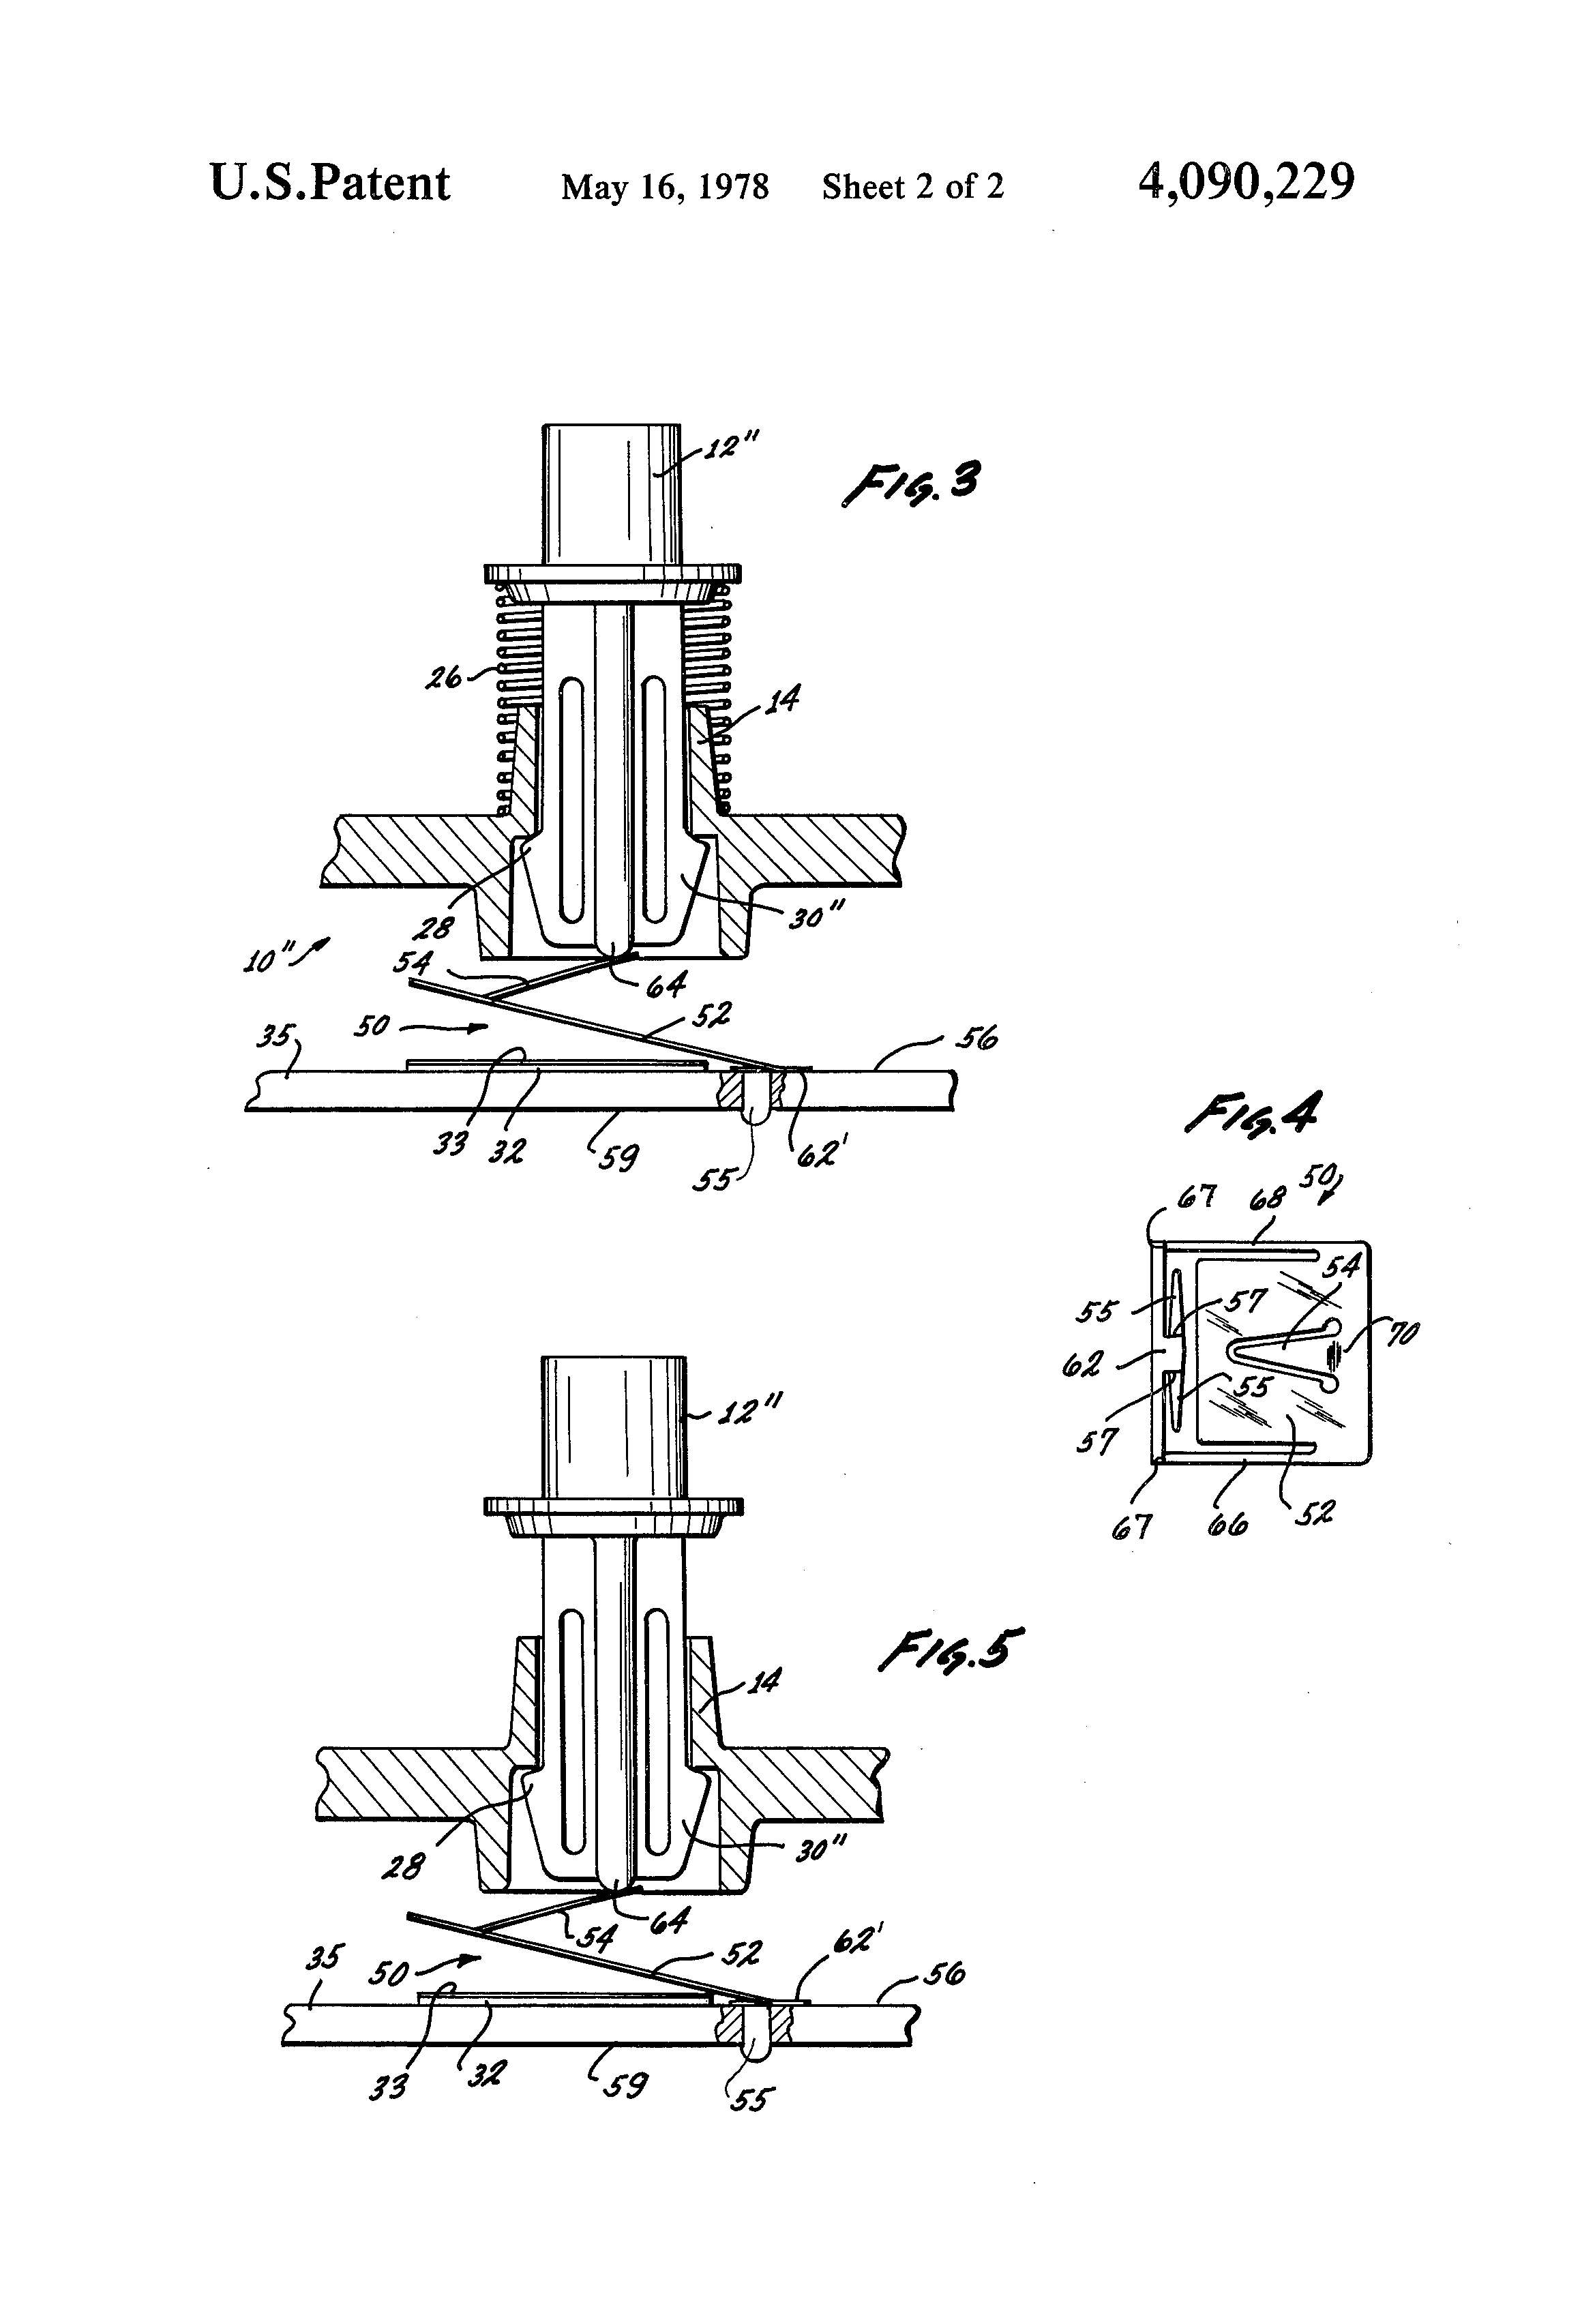
The leaf springs are thin pieces of copper that get pressed down to the PCB when you hit a key which causes a change in capacitance to let the keyboard know which key was pressed.
CommonSense
CommonSense is a firmware and utility for converting capacitive keyboards. The software was written by deskthority user DMA, who has made the project open source on GitHub.
PCB Tracing
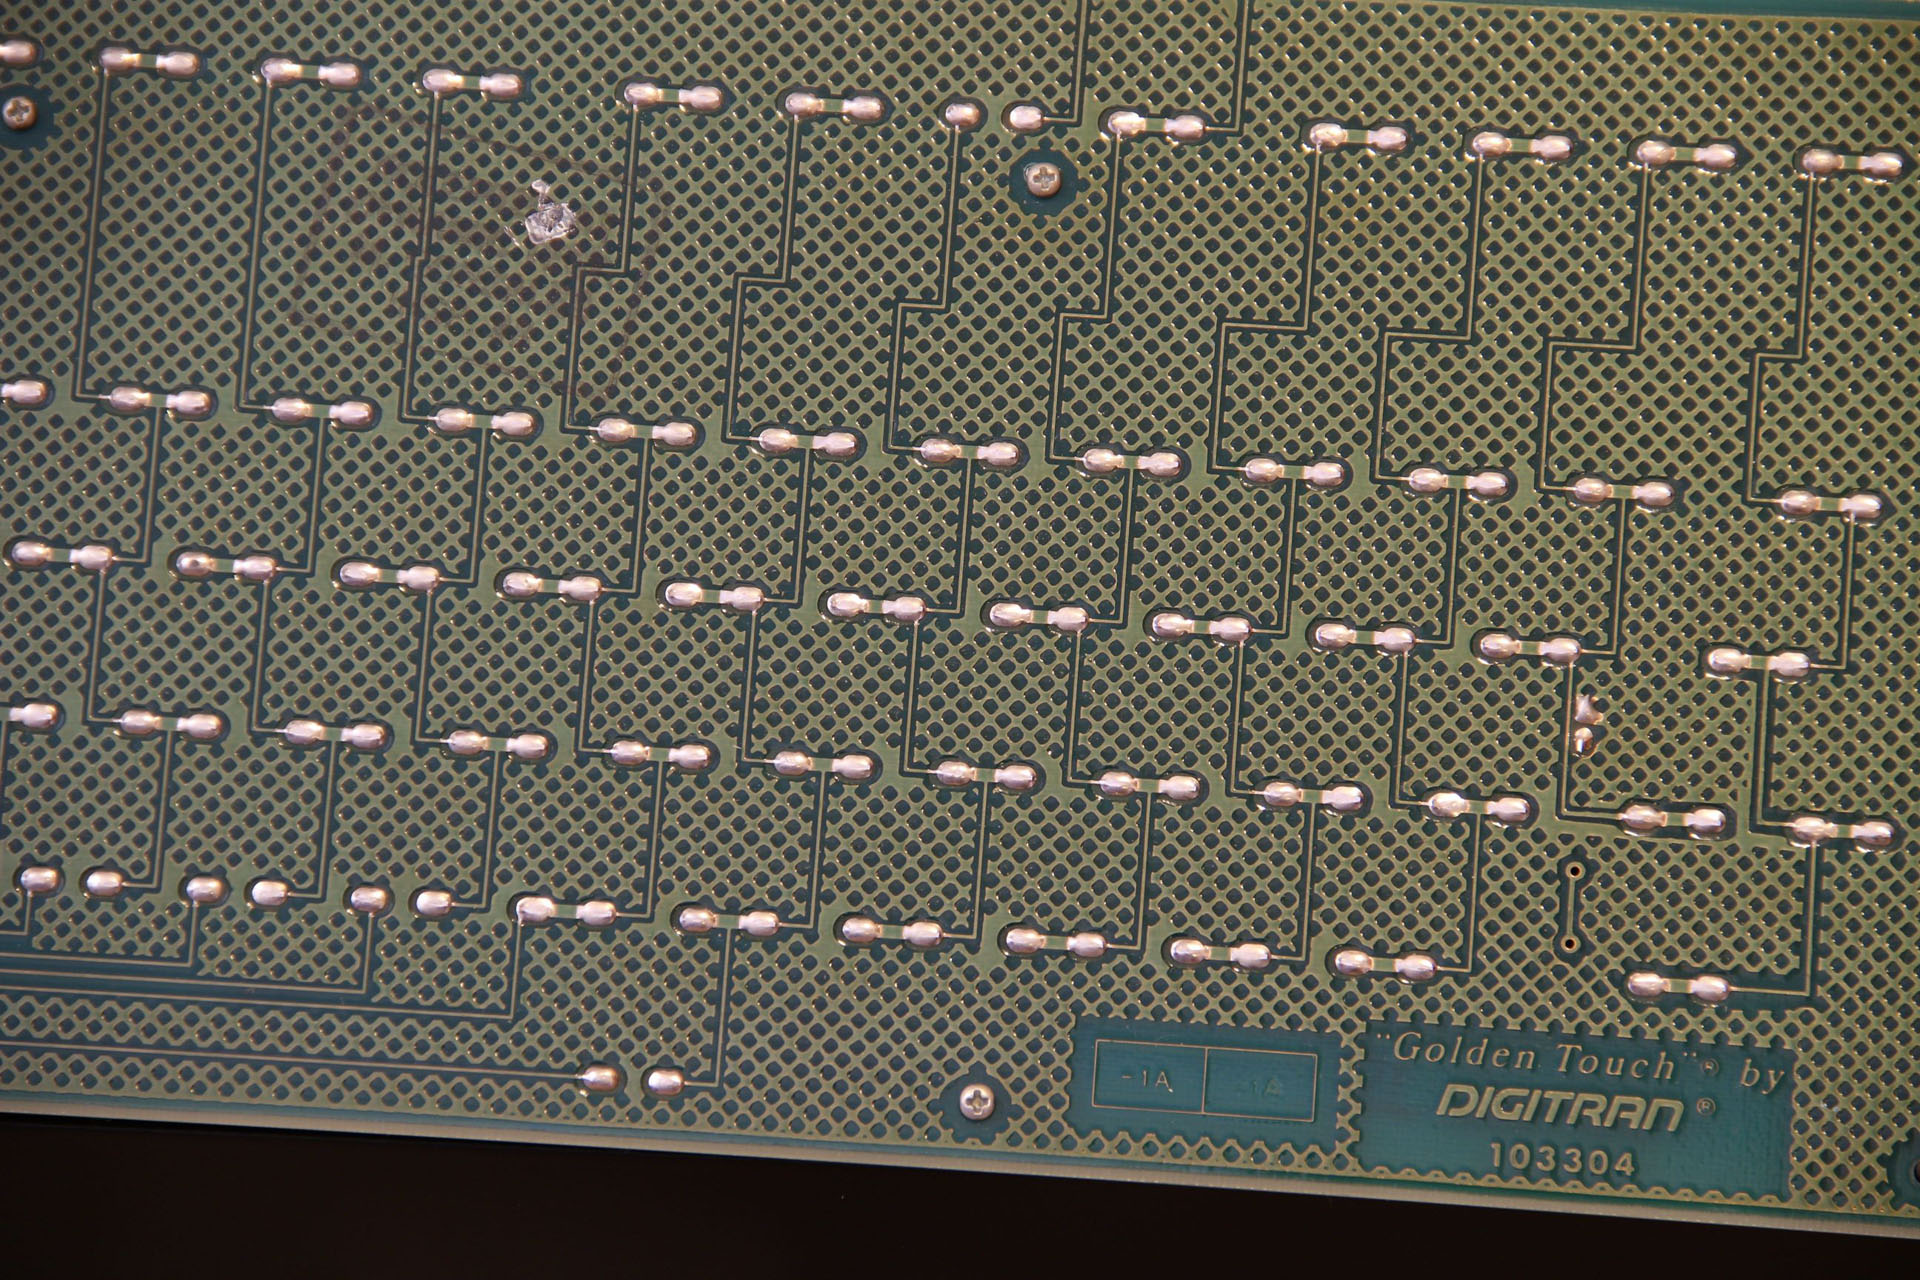
The first step in the process was to trace the PCB and identify the rows and columns of the keyboard matrix.
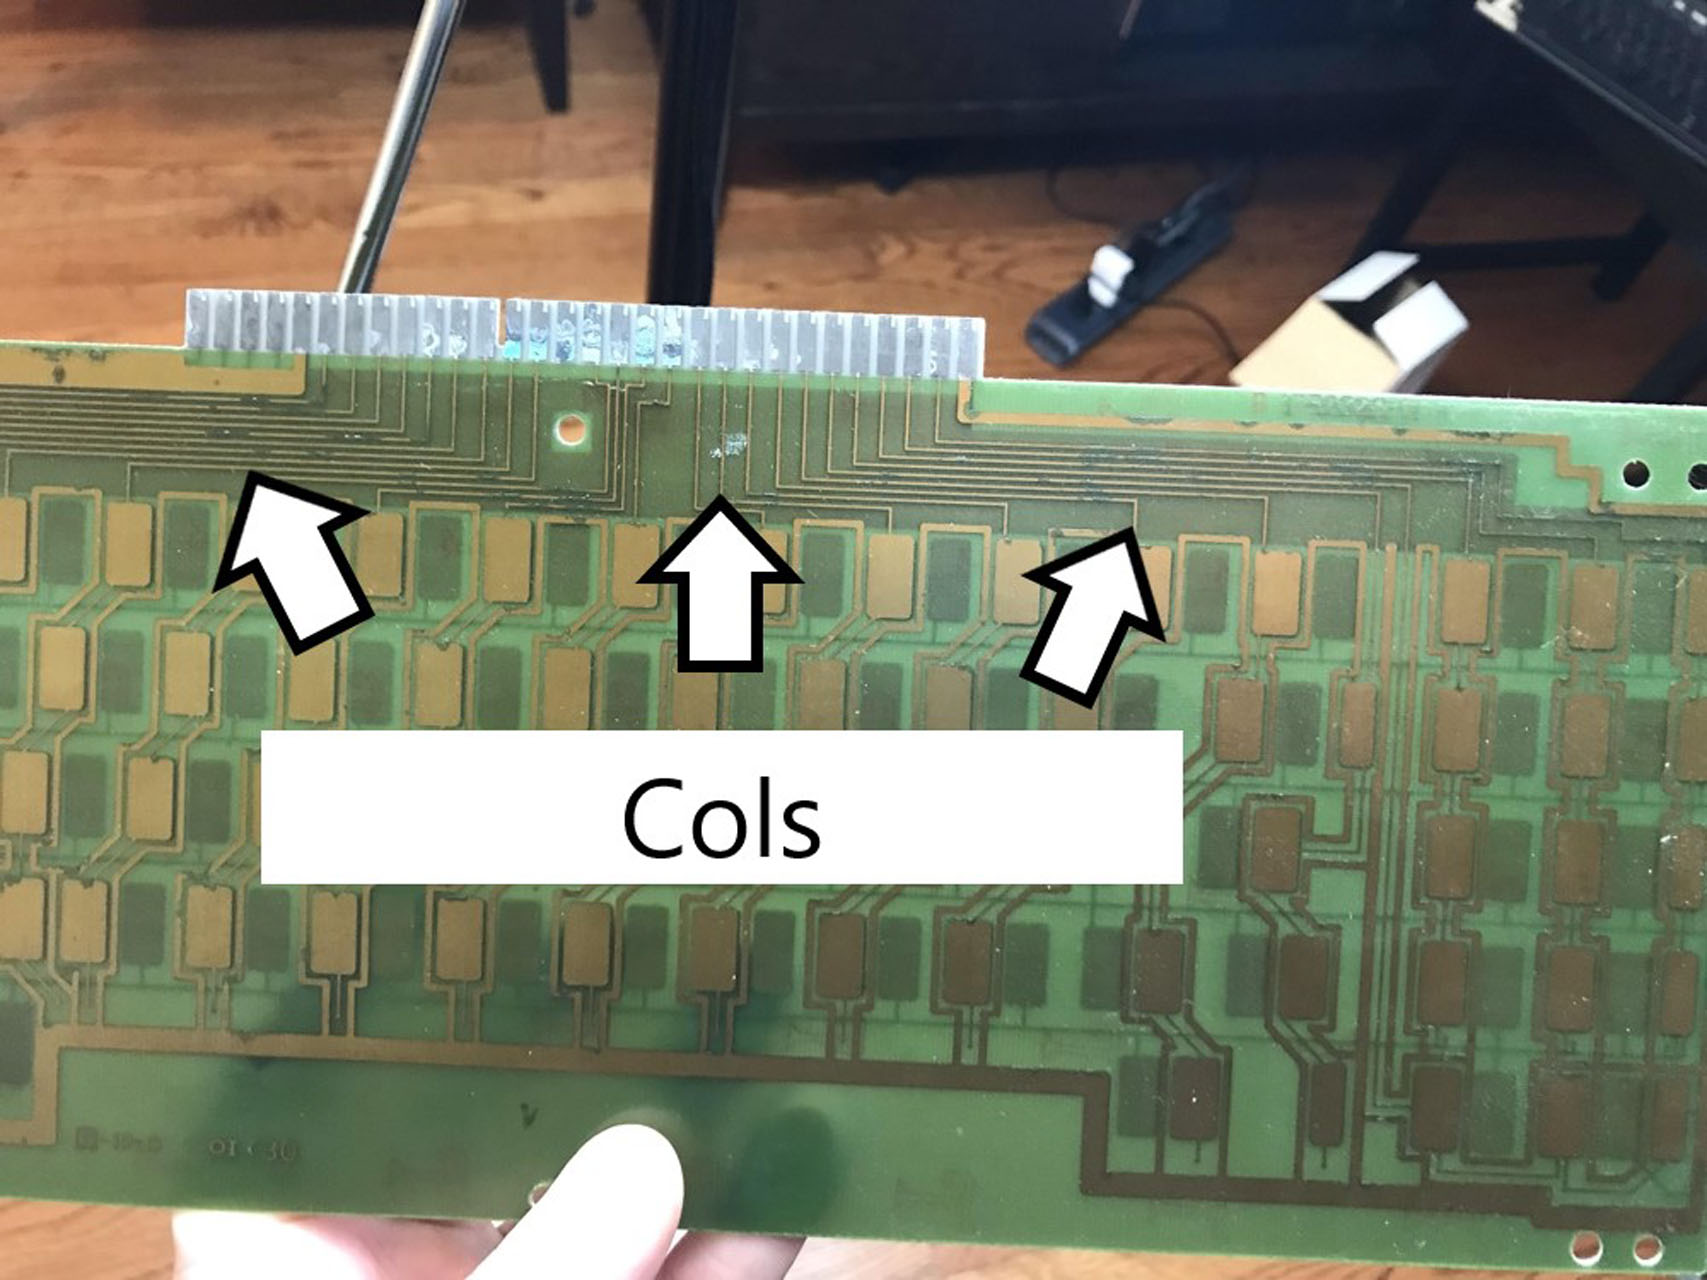
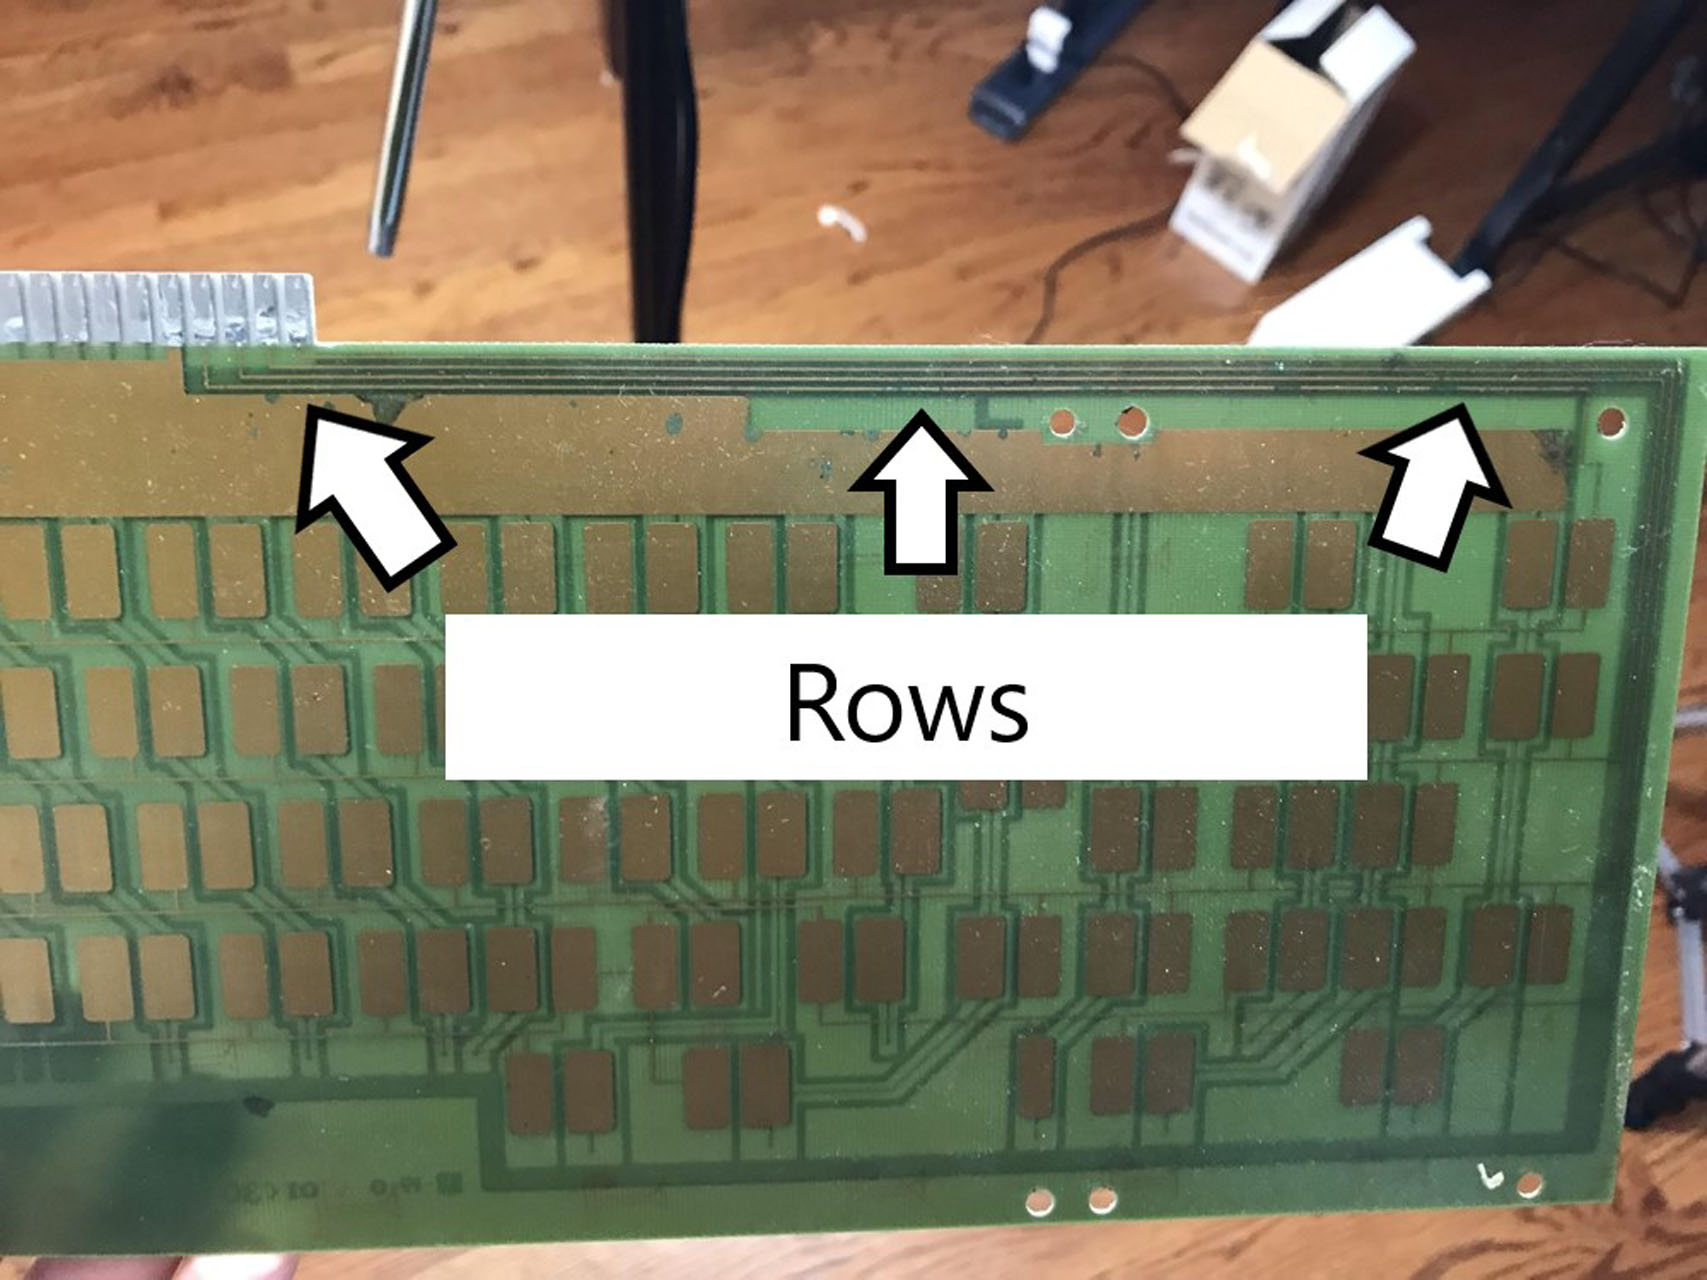
From that I learned that the pads on the board are connected to the rows and the springs are connected to the columns. You need to know whether the rows/columns are either “strobe” or “sense” in order to properly configure CommonSense. In my case the pads were strobe and rows were sense.
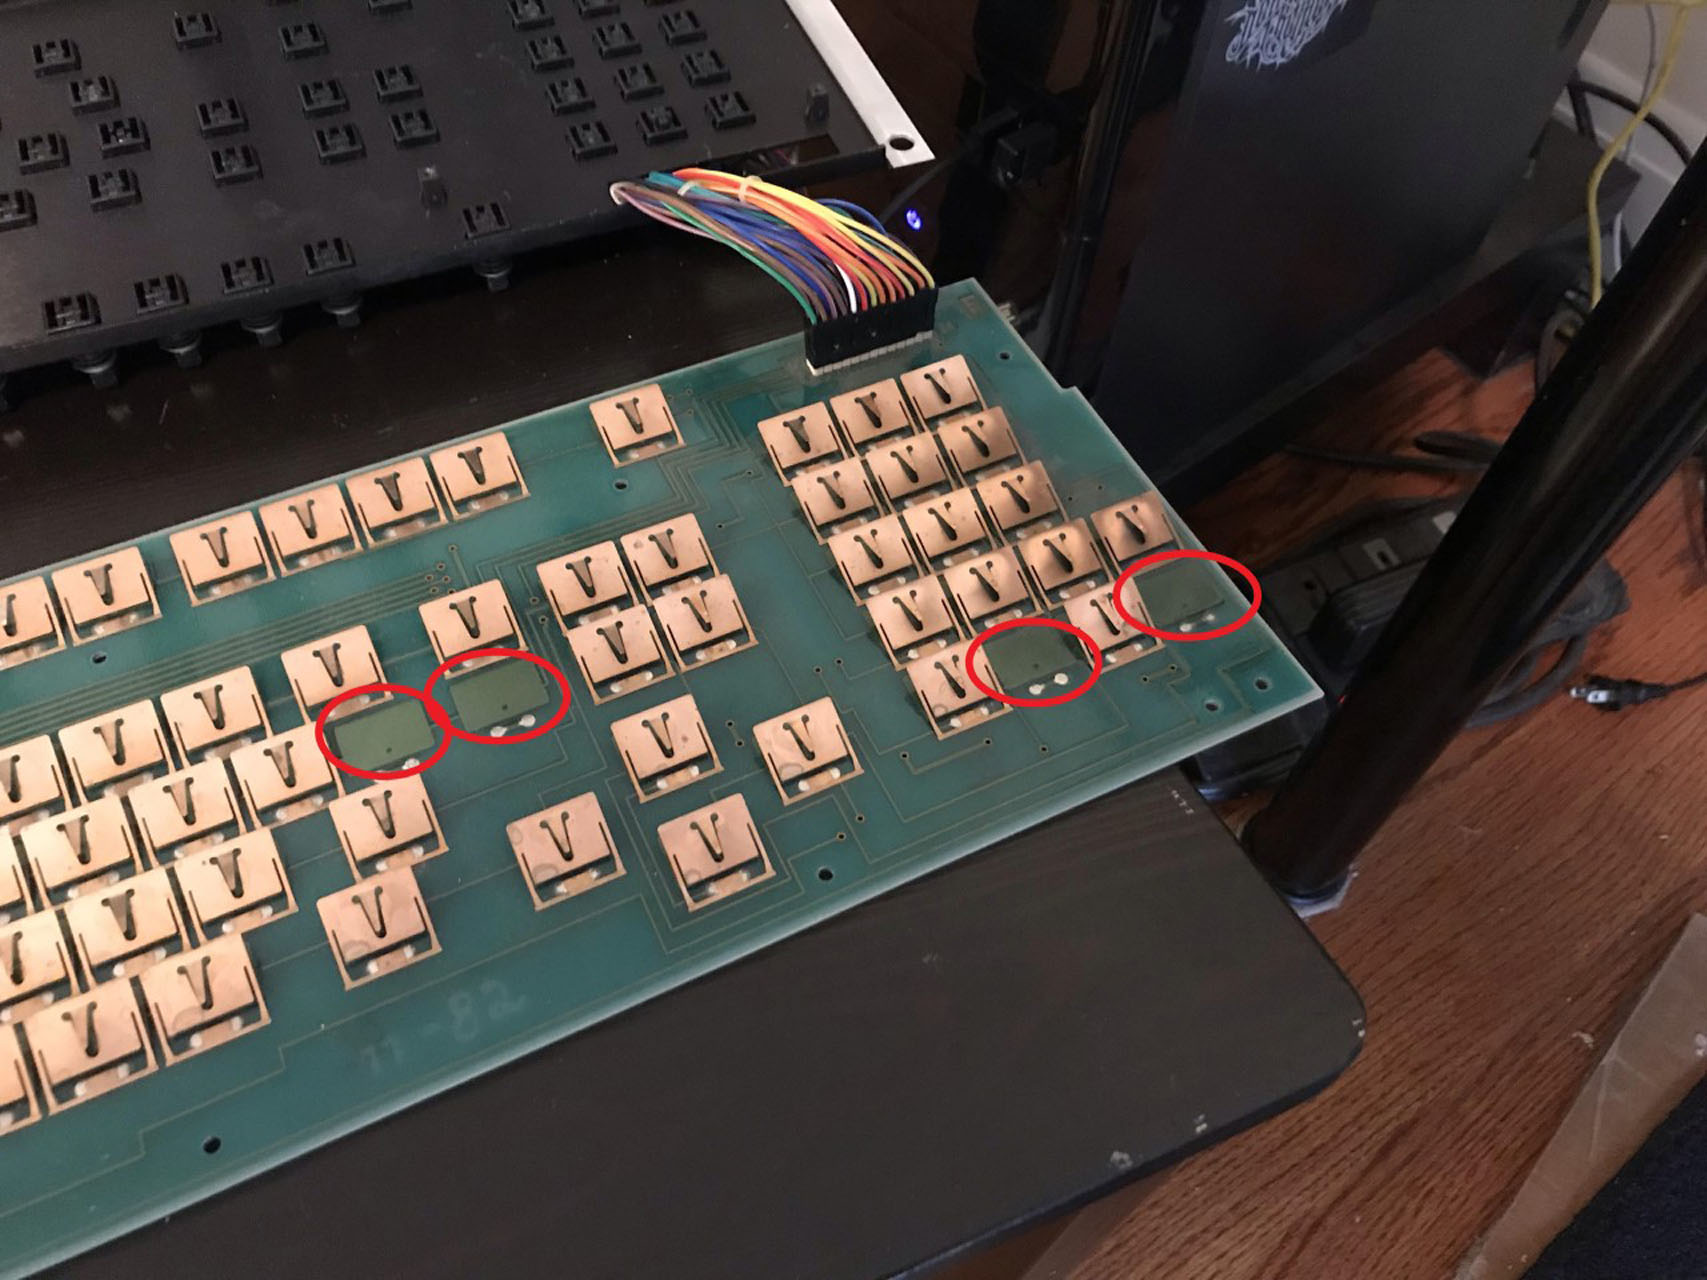
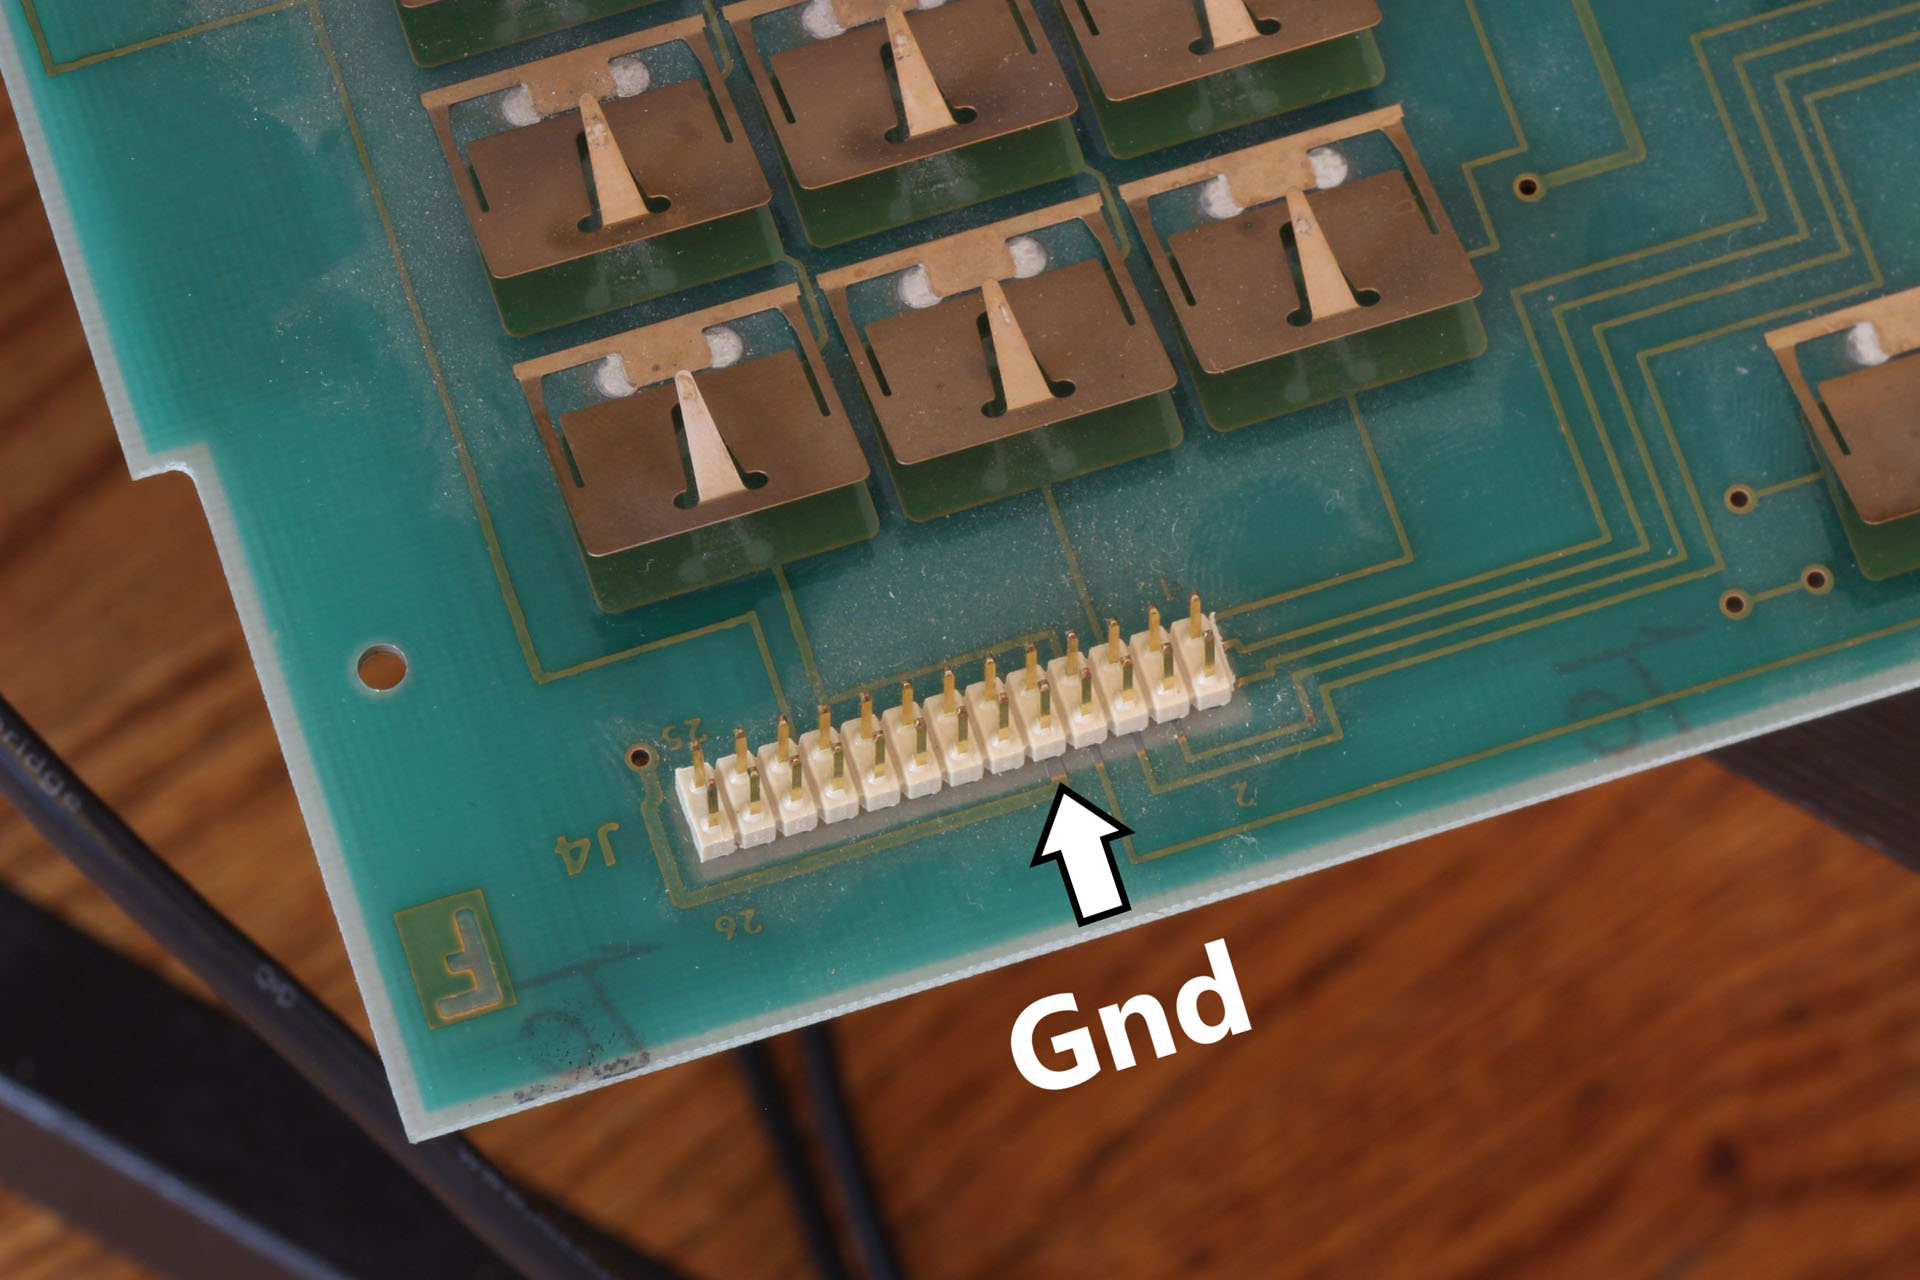
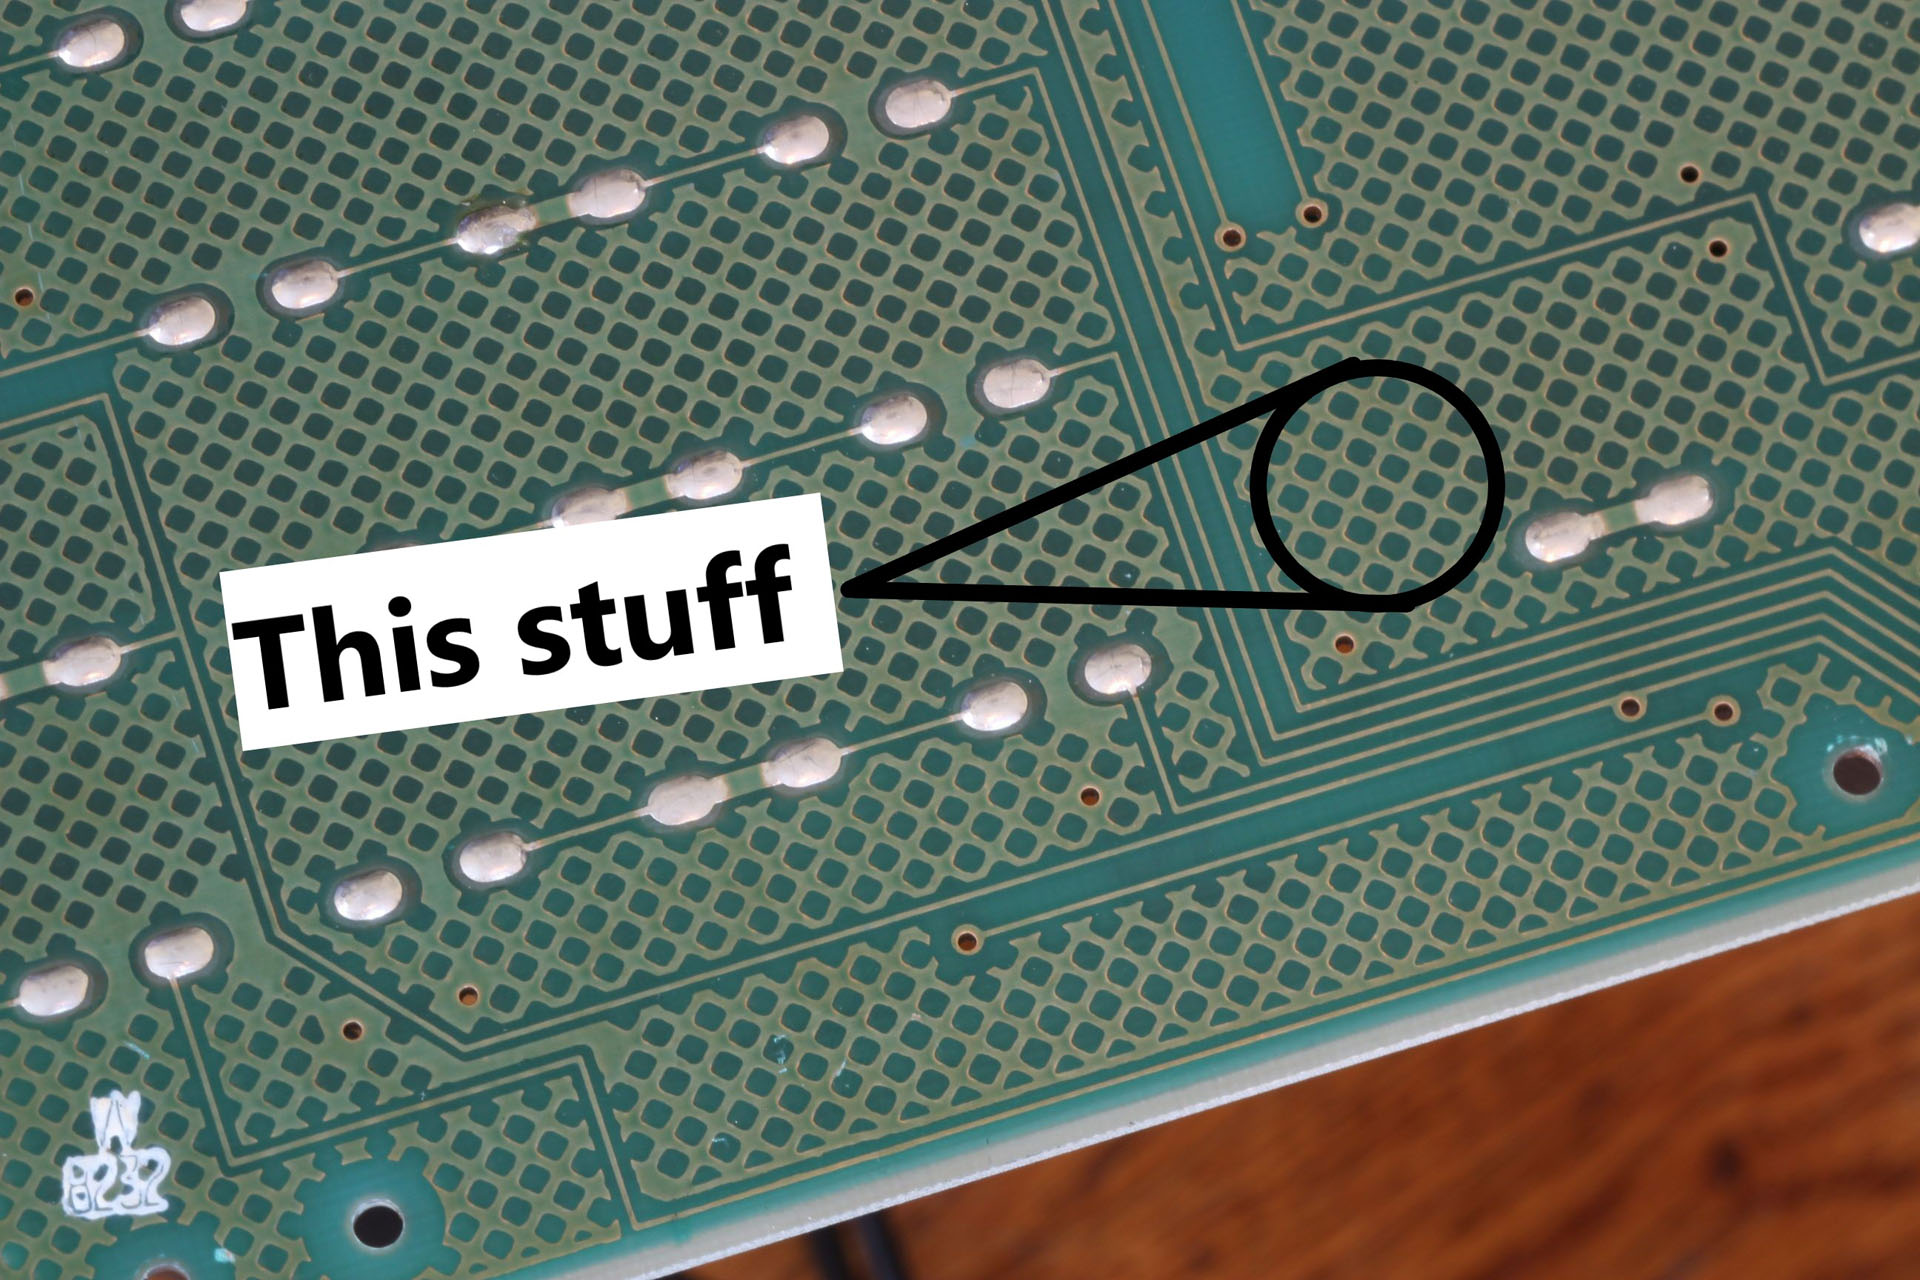
Then I identified the ground pin by tracing back from the lattice shaped stuff. It’s important to know where the ground connections are because the board must be properly grounded or it will go crazy.
Wiring
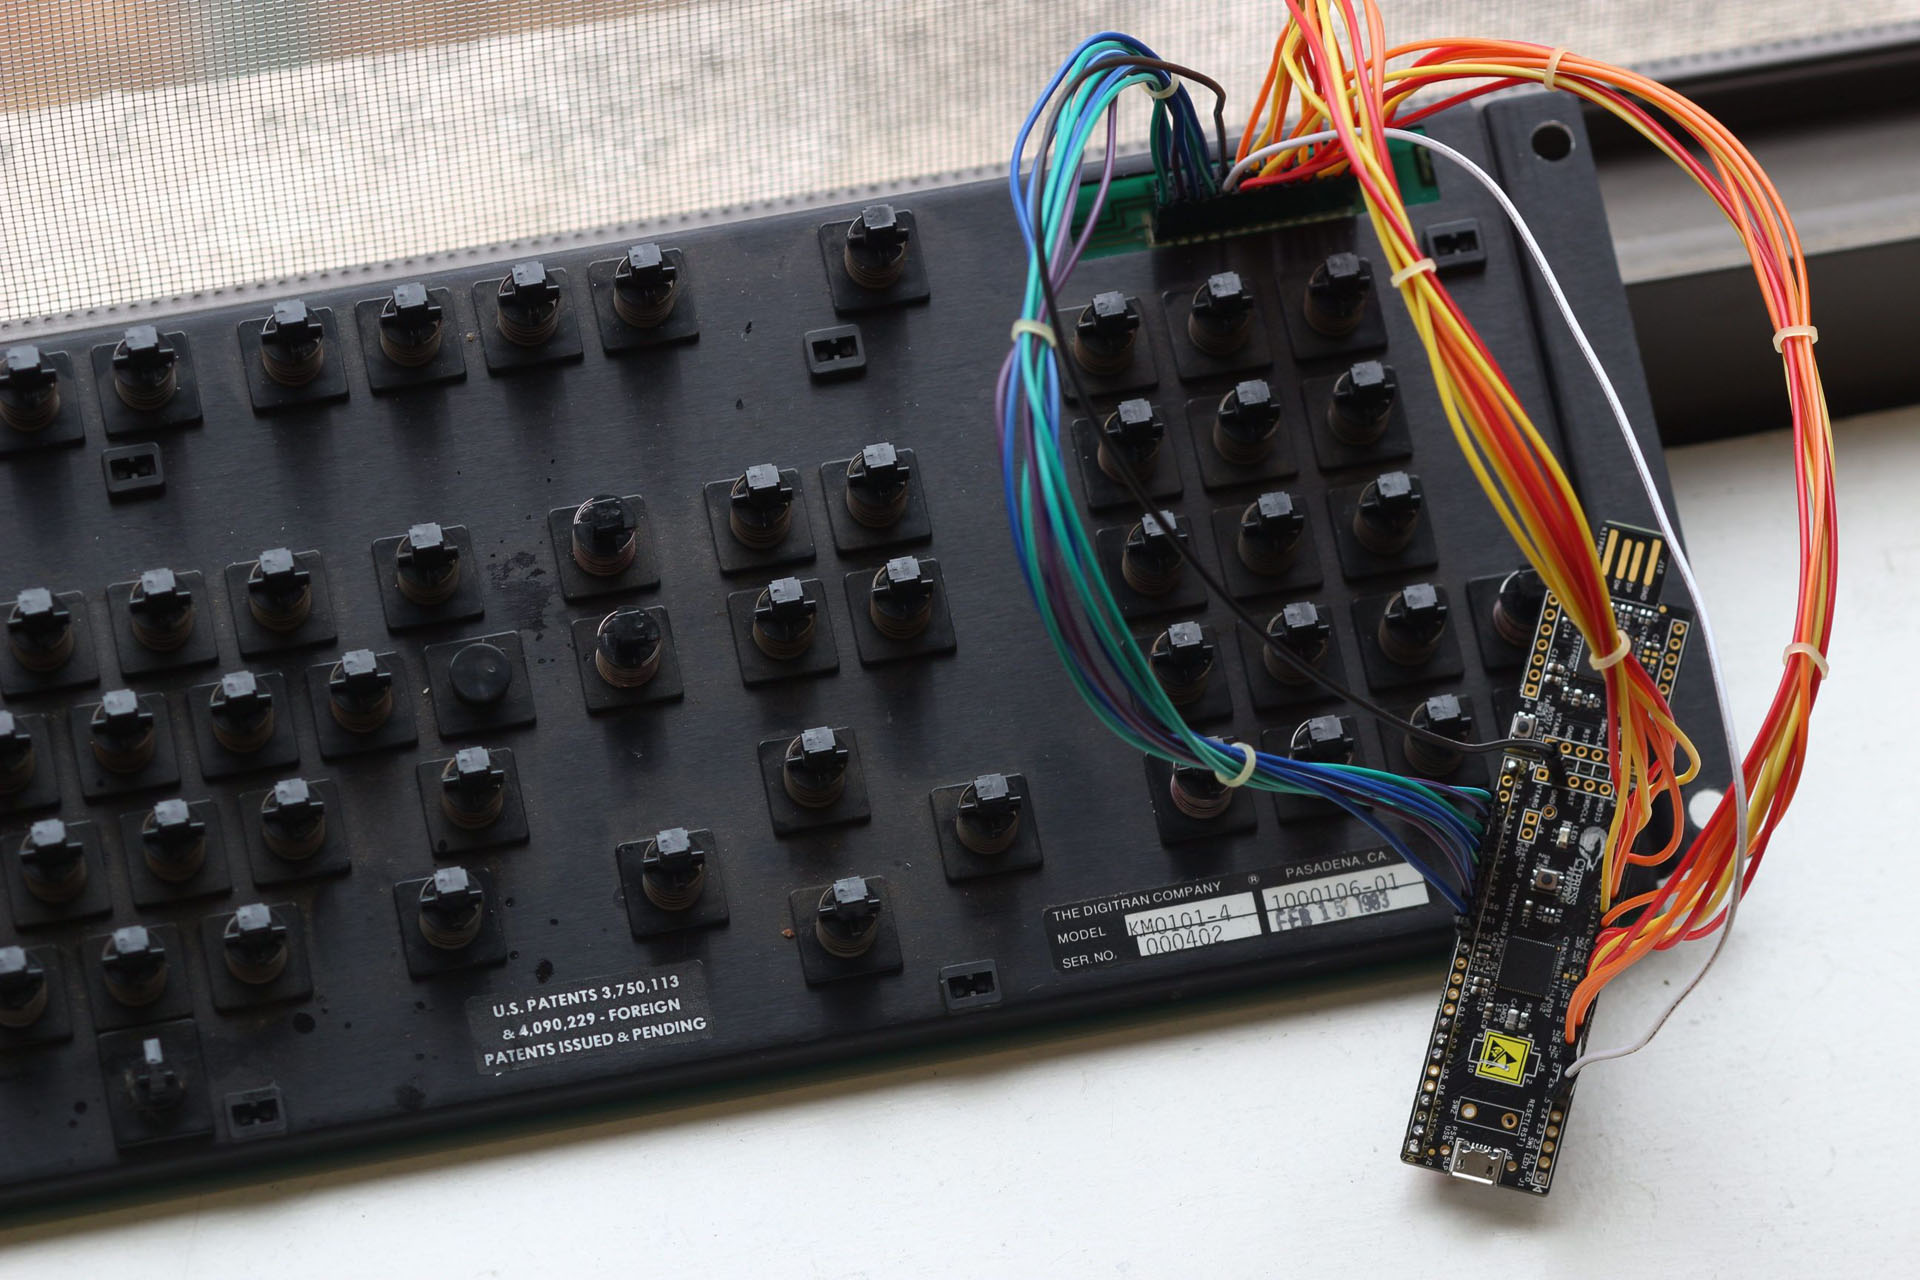
Next I soldered header pins onto the controller and hooked all the wires up.
- The bright colors (red/orange/yellow) are strobe/leaf.
- The cool colors (blue/purple/green) are sense/pad.
- Black is Gnd
- White is caps lock LED
Flashing
Once I got the wires all connected, it was time to flash the board. Setting up CommonSense can be a bit tricky, I’ve linked a guide I wrote in 2019 at the bottom of this post. Hopefully most of the concepts are still relevant today.
Configuring
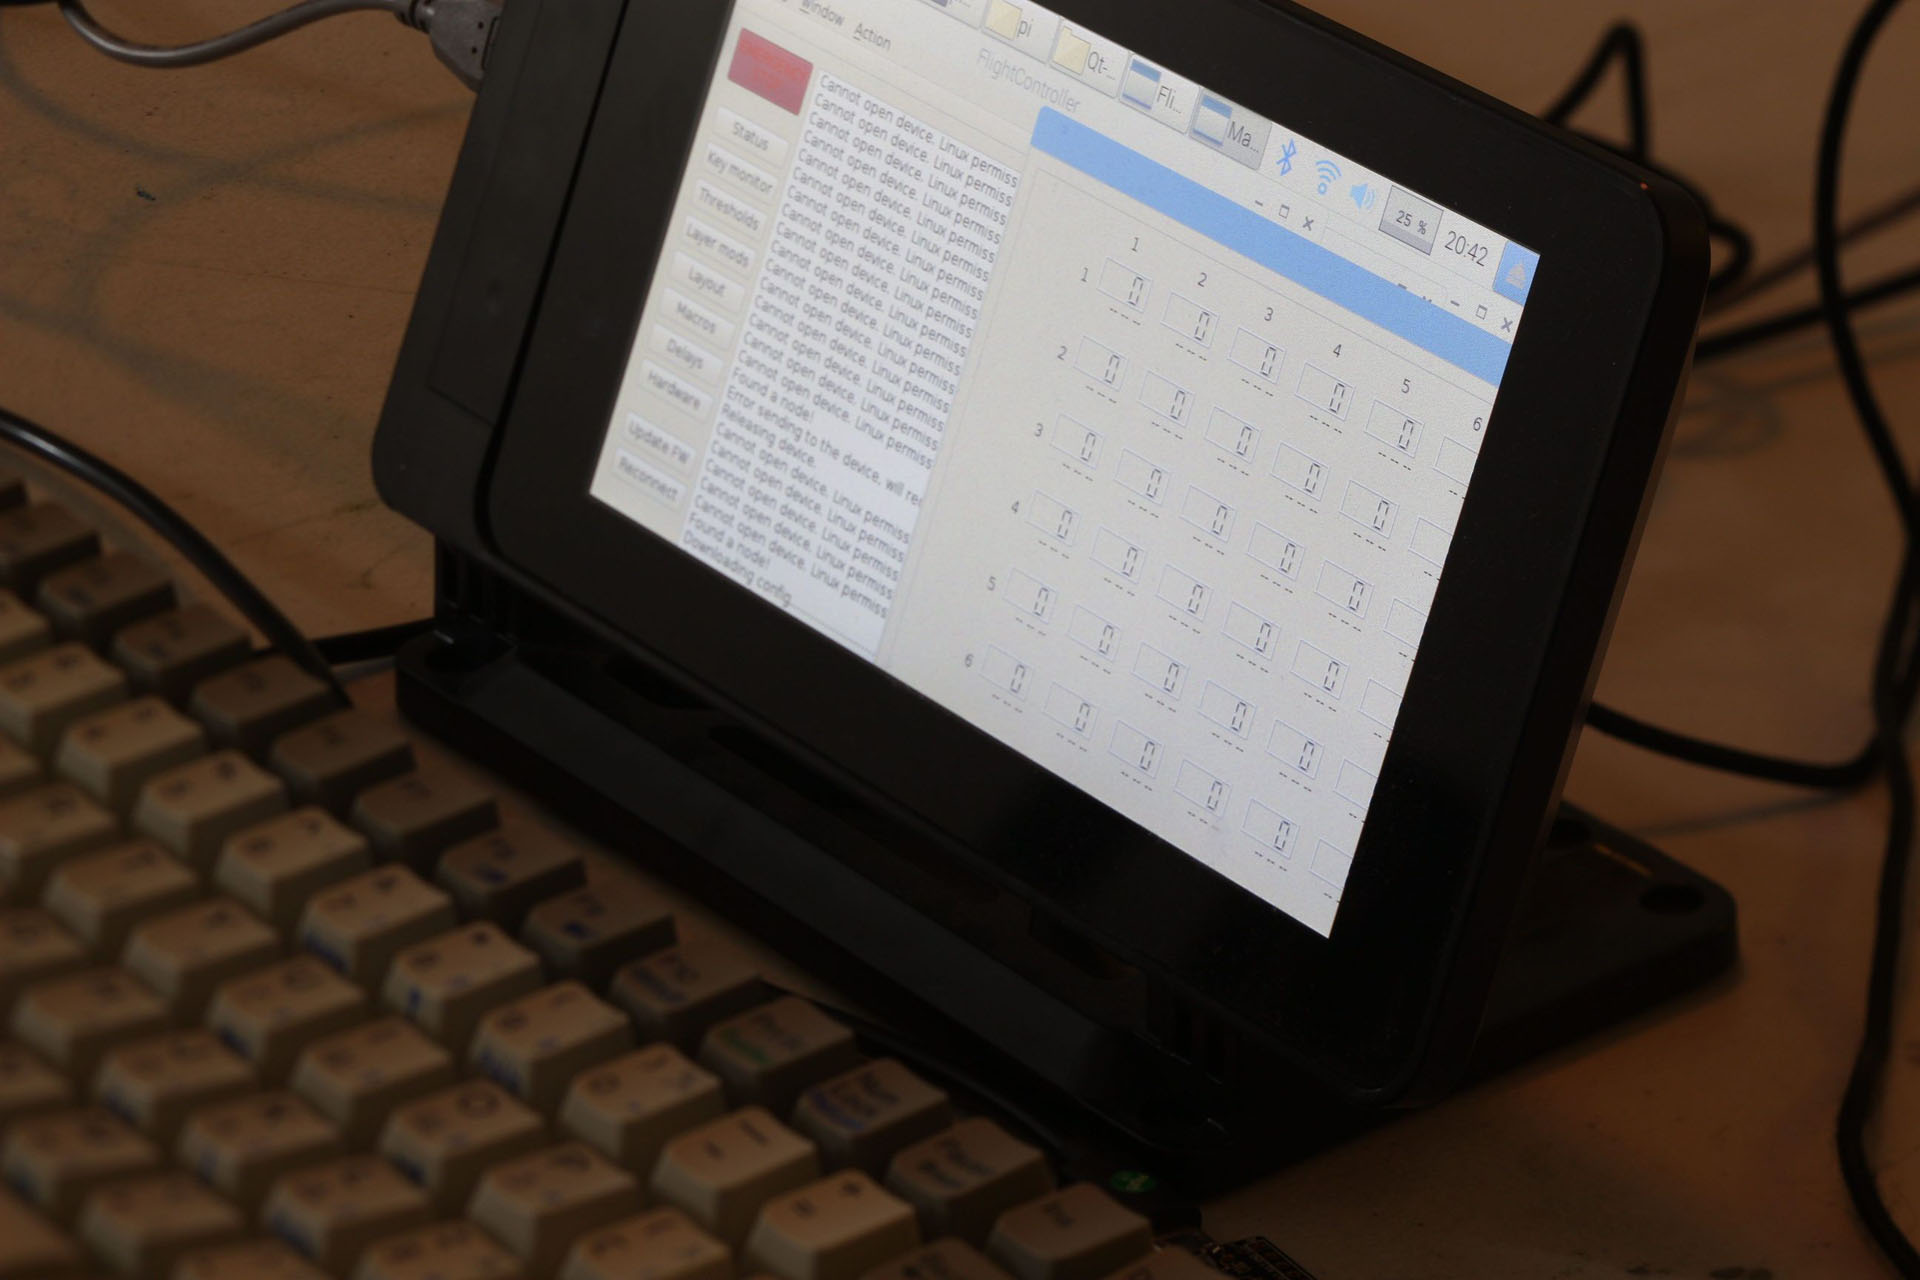
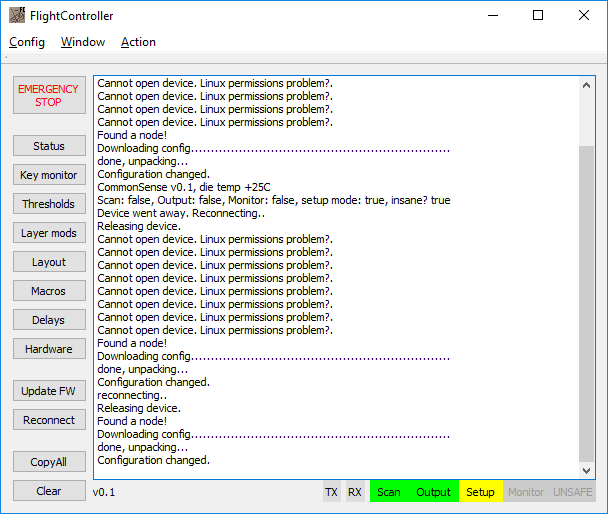
Once the board is flashed, you connect it to the computer and open the CommonSense tool called FlightController. This tool is used to configure things like how sensitive to sense, the keyboard layout, etc.
Testing
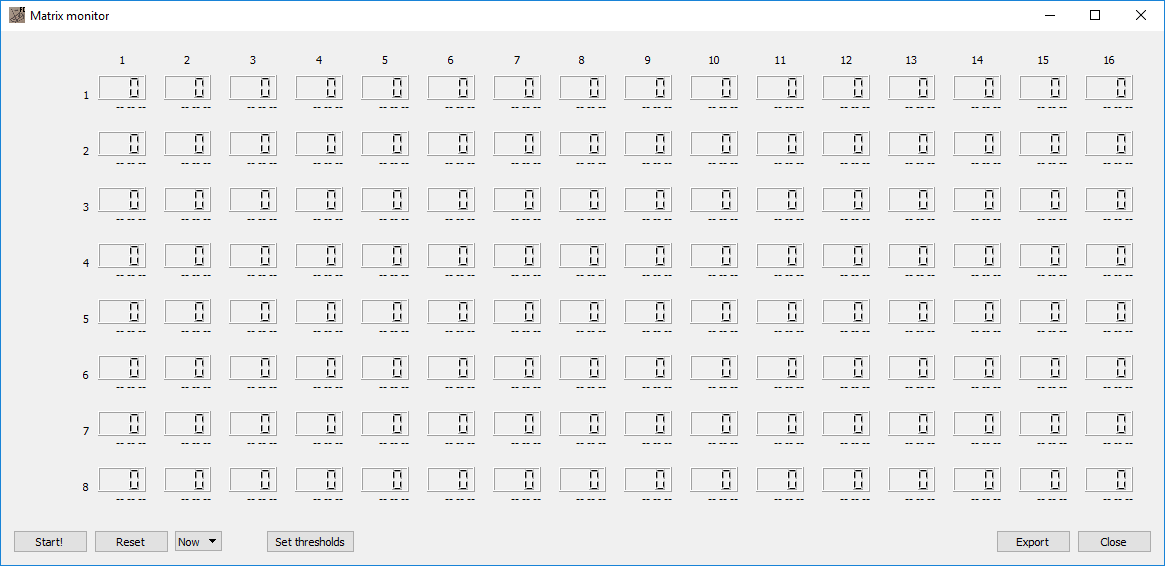
After much trial and error, I got the board working.
Restoration
I gave everything a good cleaning and took the board completely apart. To make the keys smoother I removed the rust from the springs and lubed the switch housings and sliders with PTFE spray.
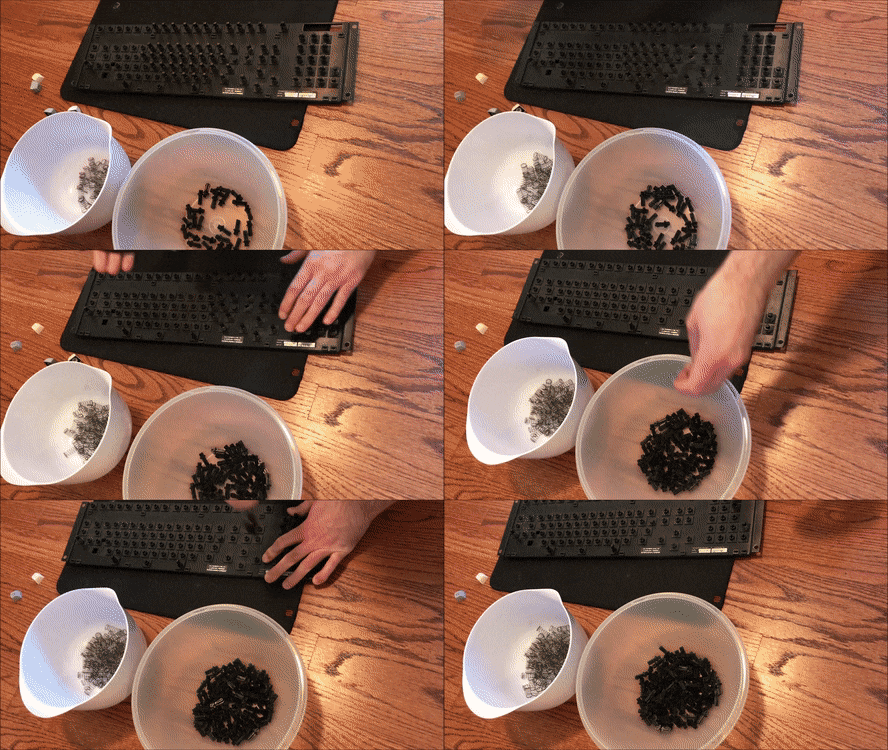

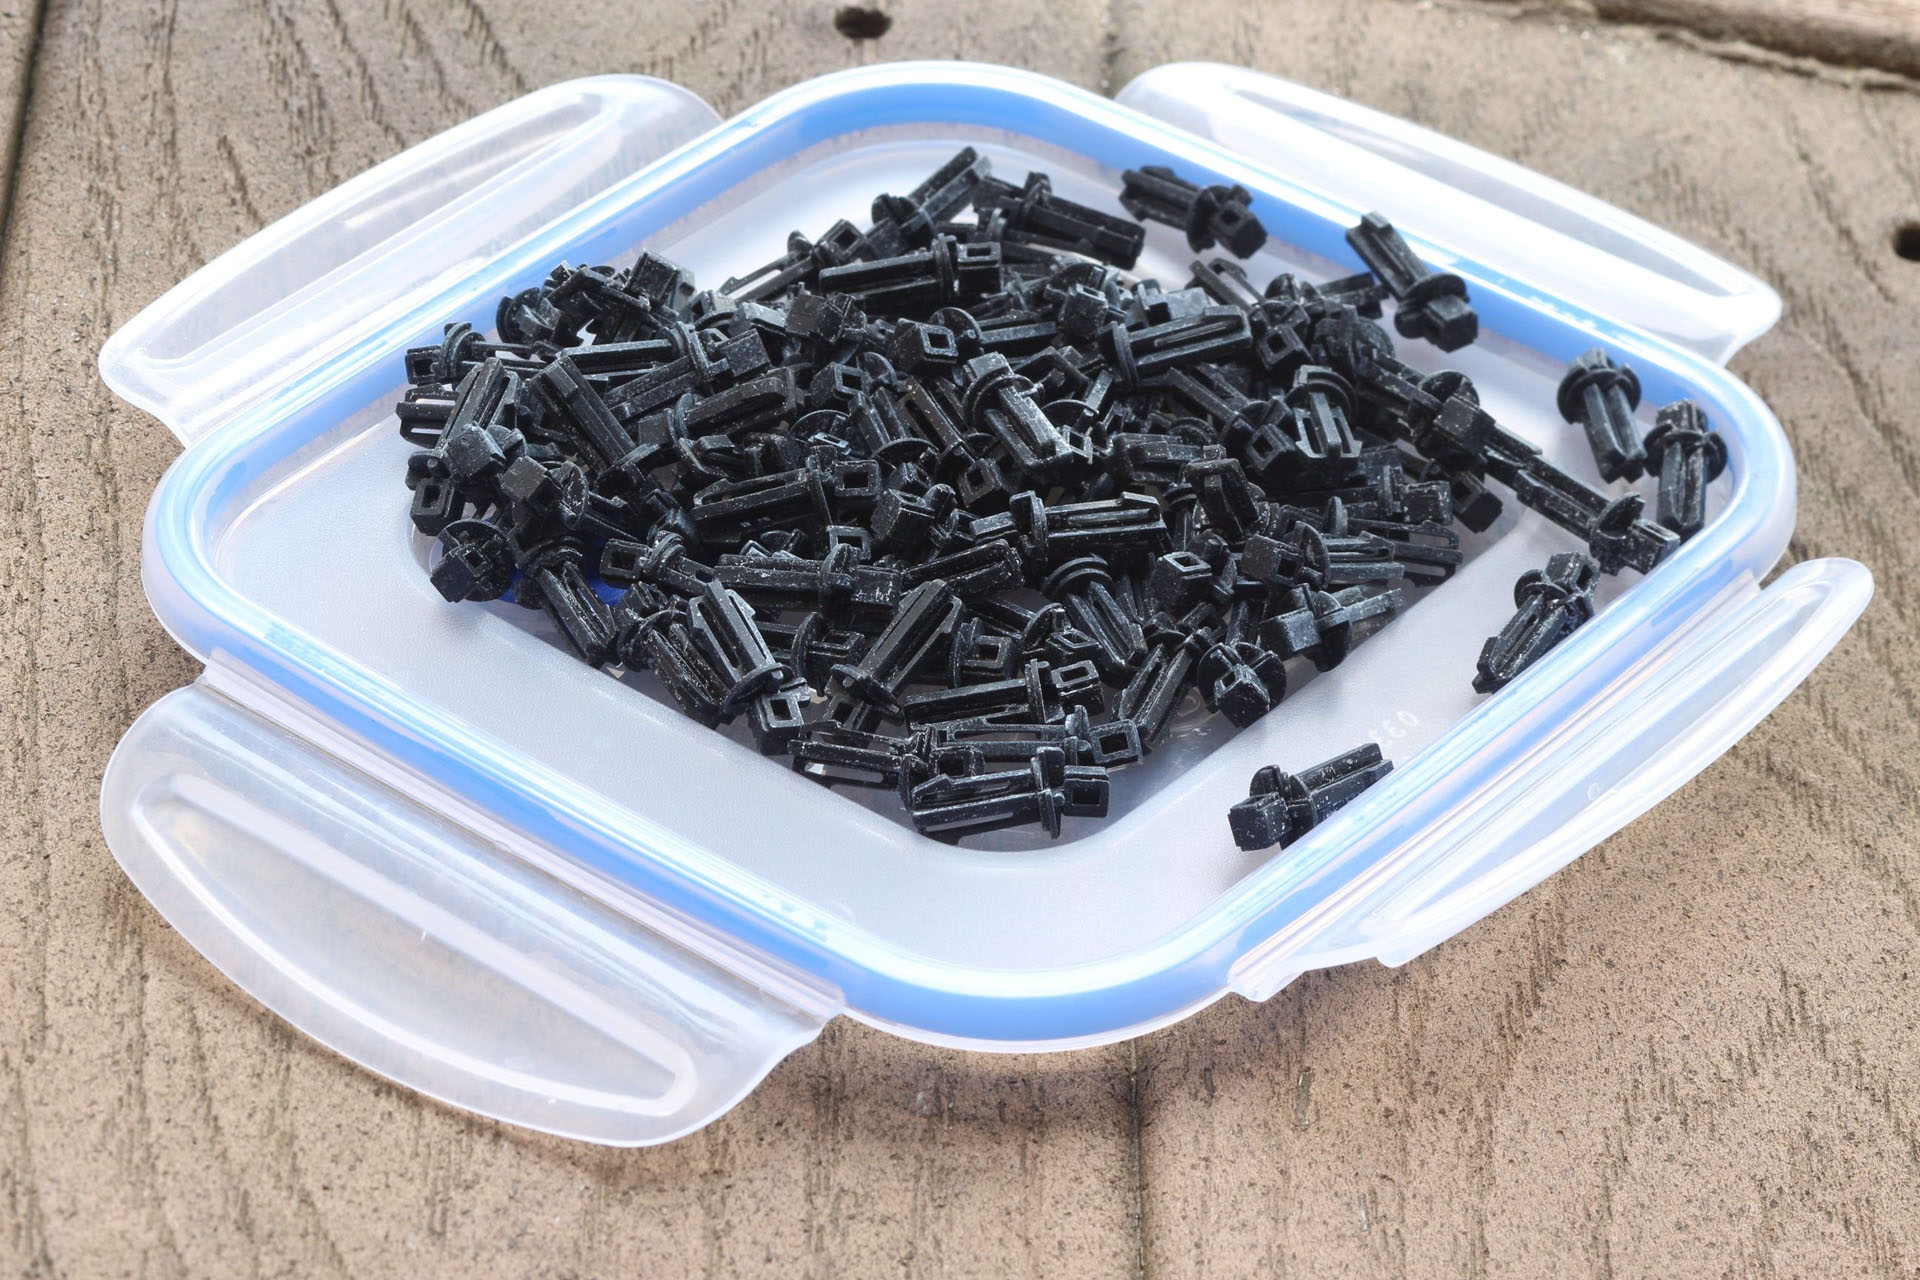
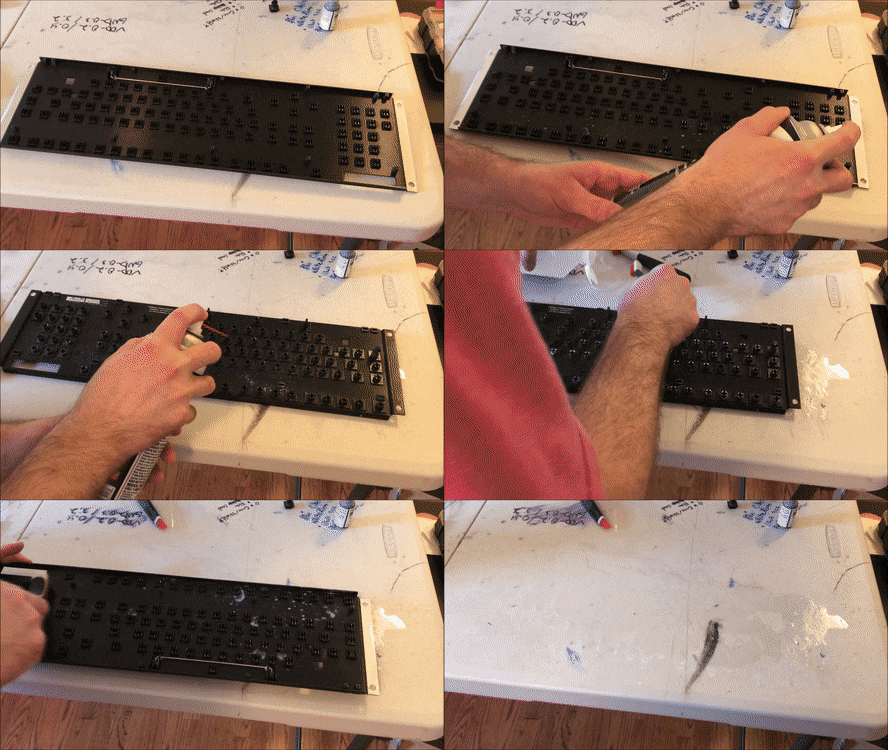
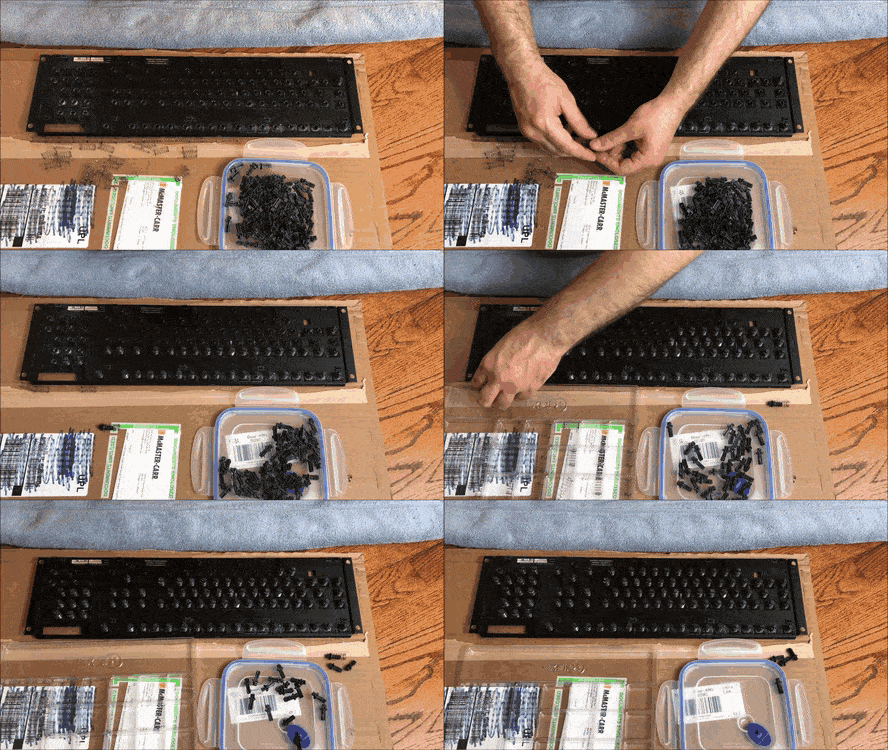
Buzzer
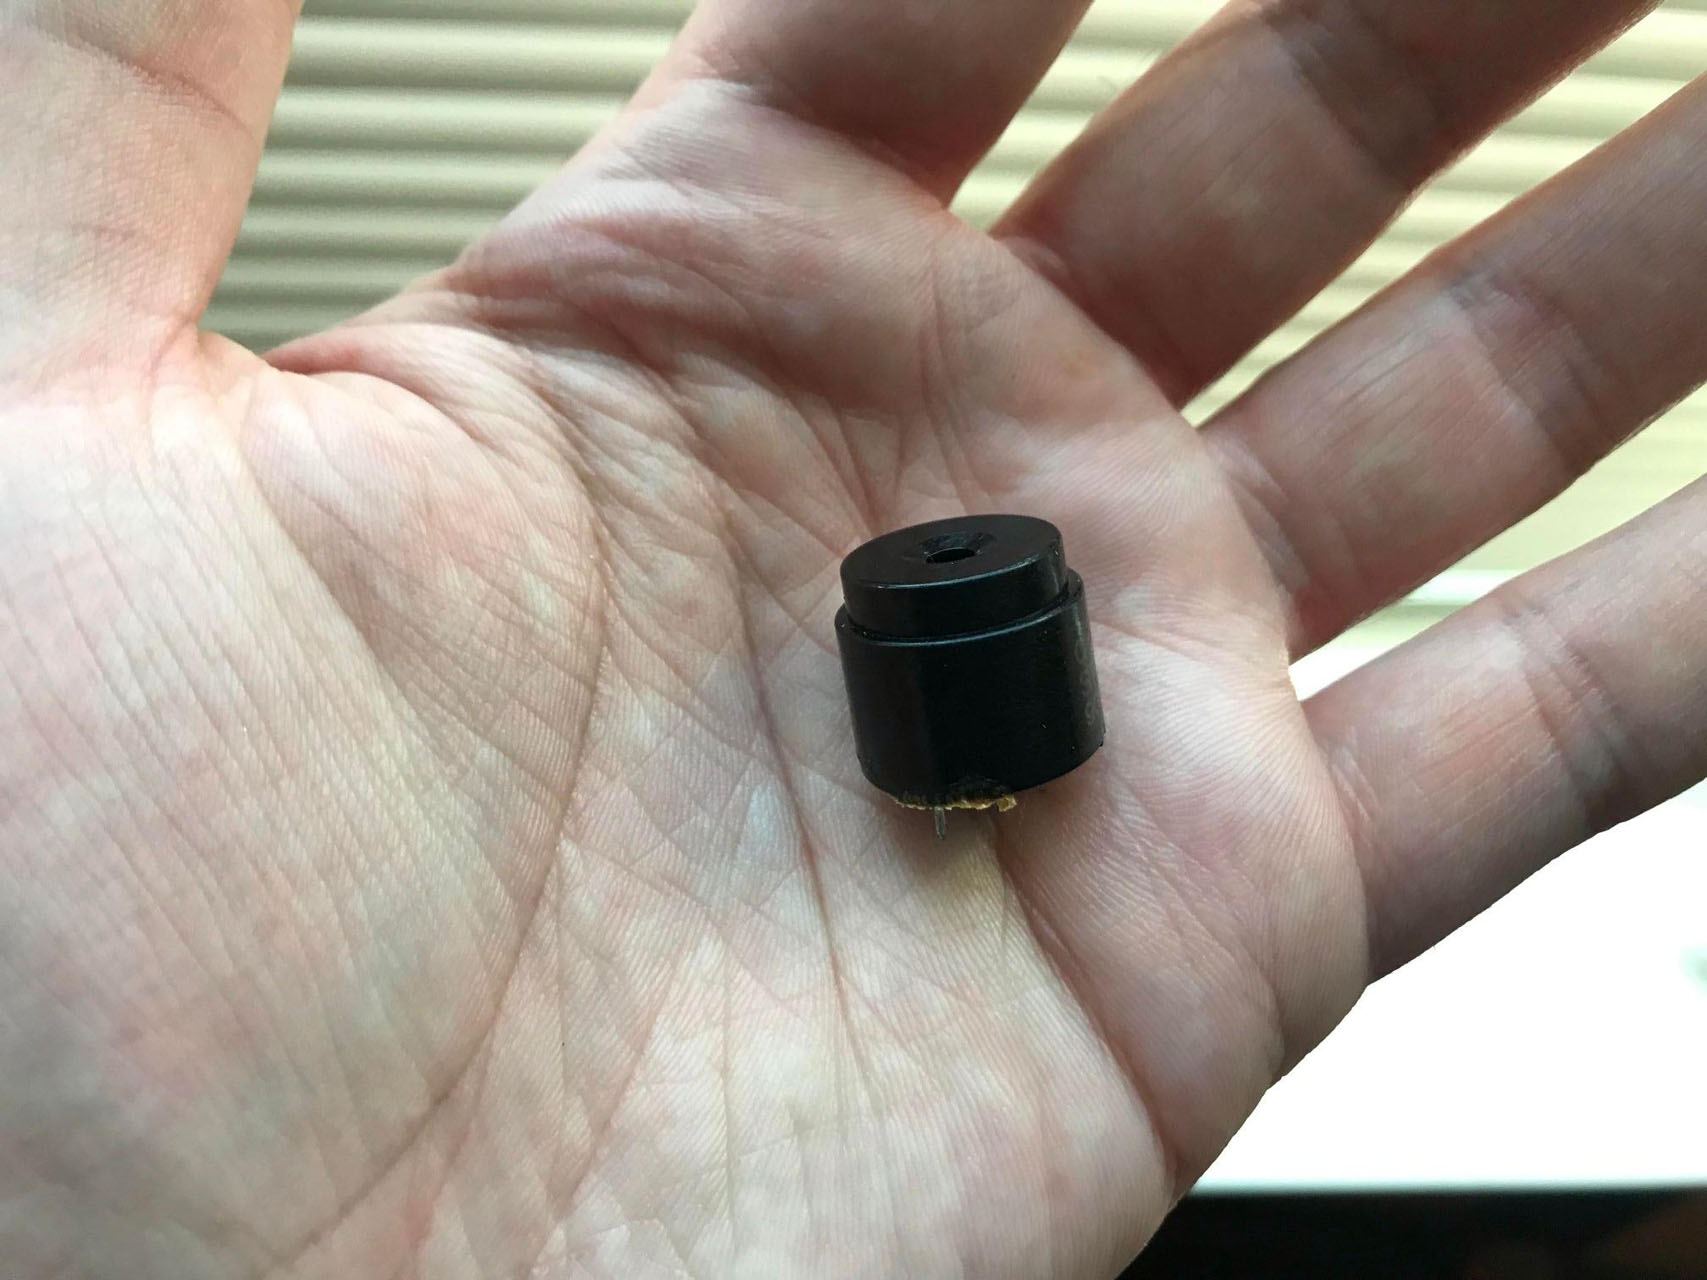
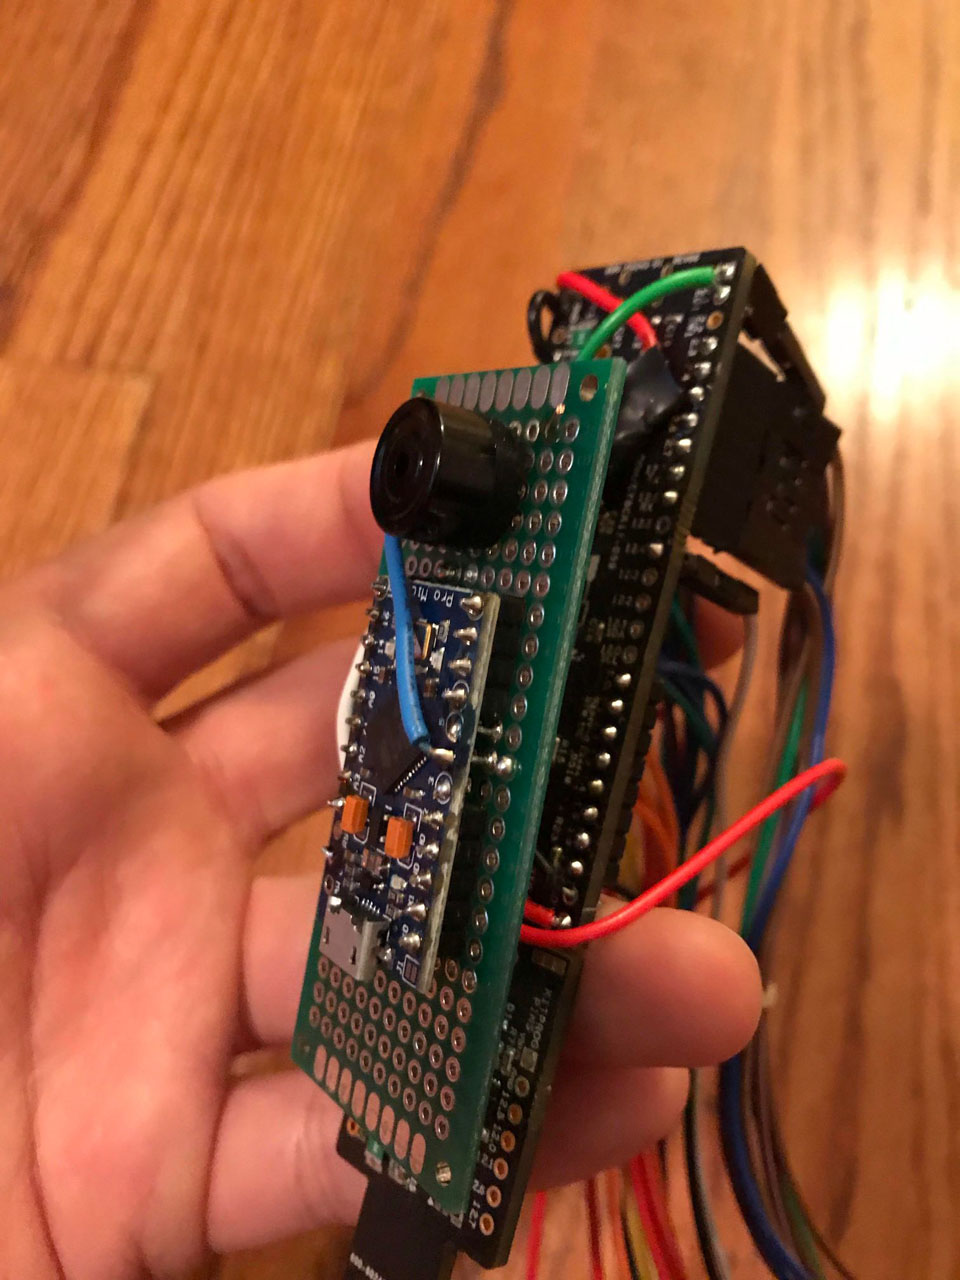
One thing that he wanted was for the buzzer to function. I know that this should be simple, but it’s just an I know nothing about. I don’t really remember the details of this part, but somehow this thing ended up with an arduino nano hooked to it. It aparently worked.
Other Info
Old Patent Docs
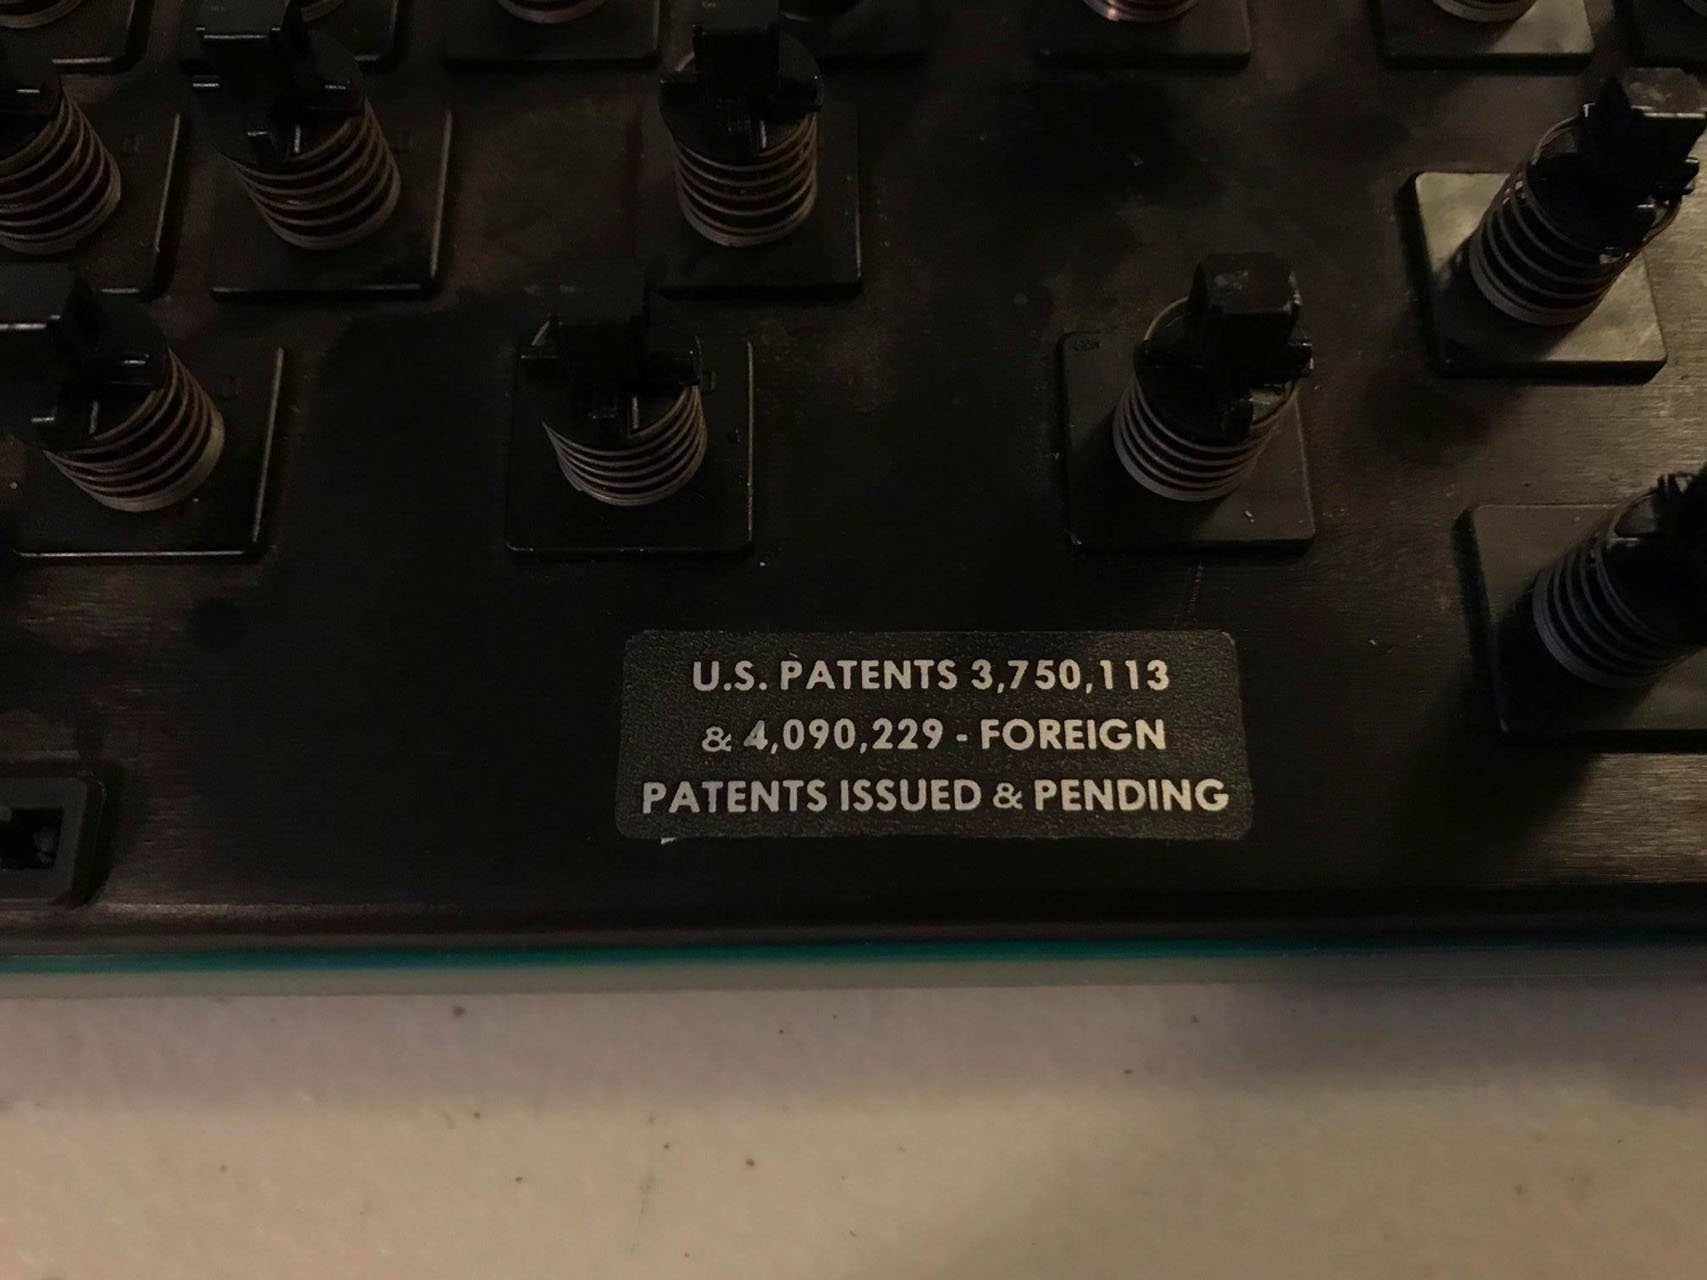
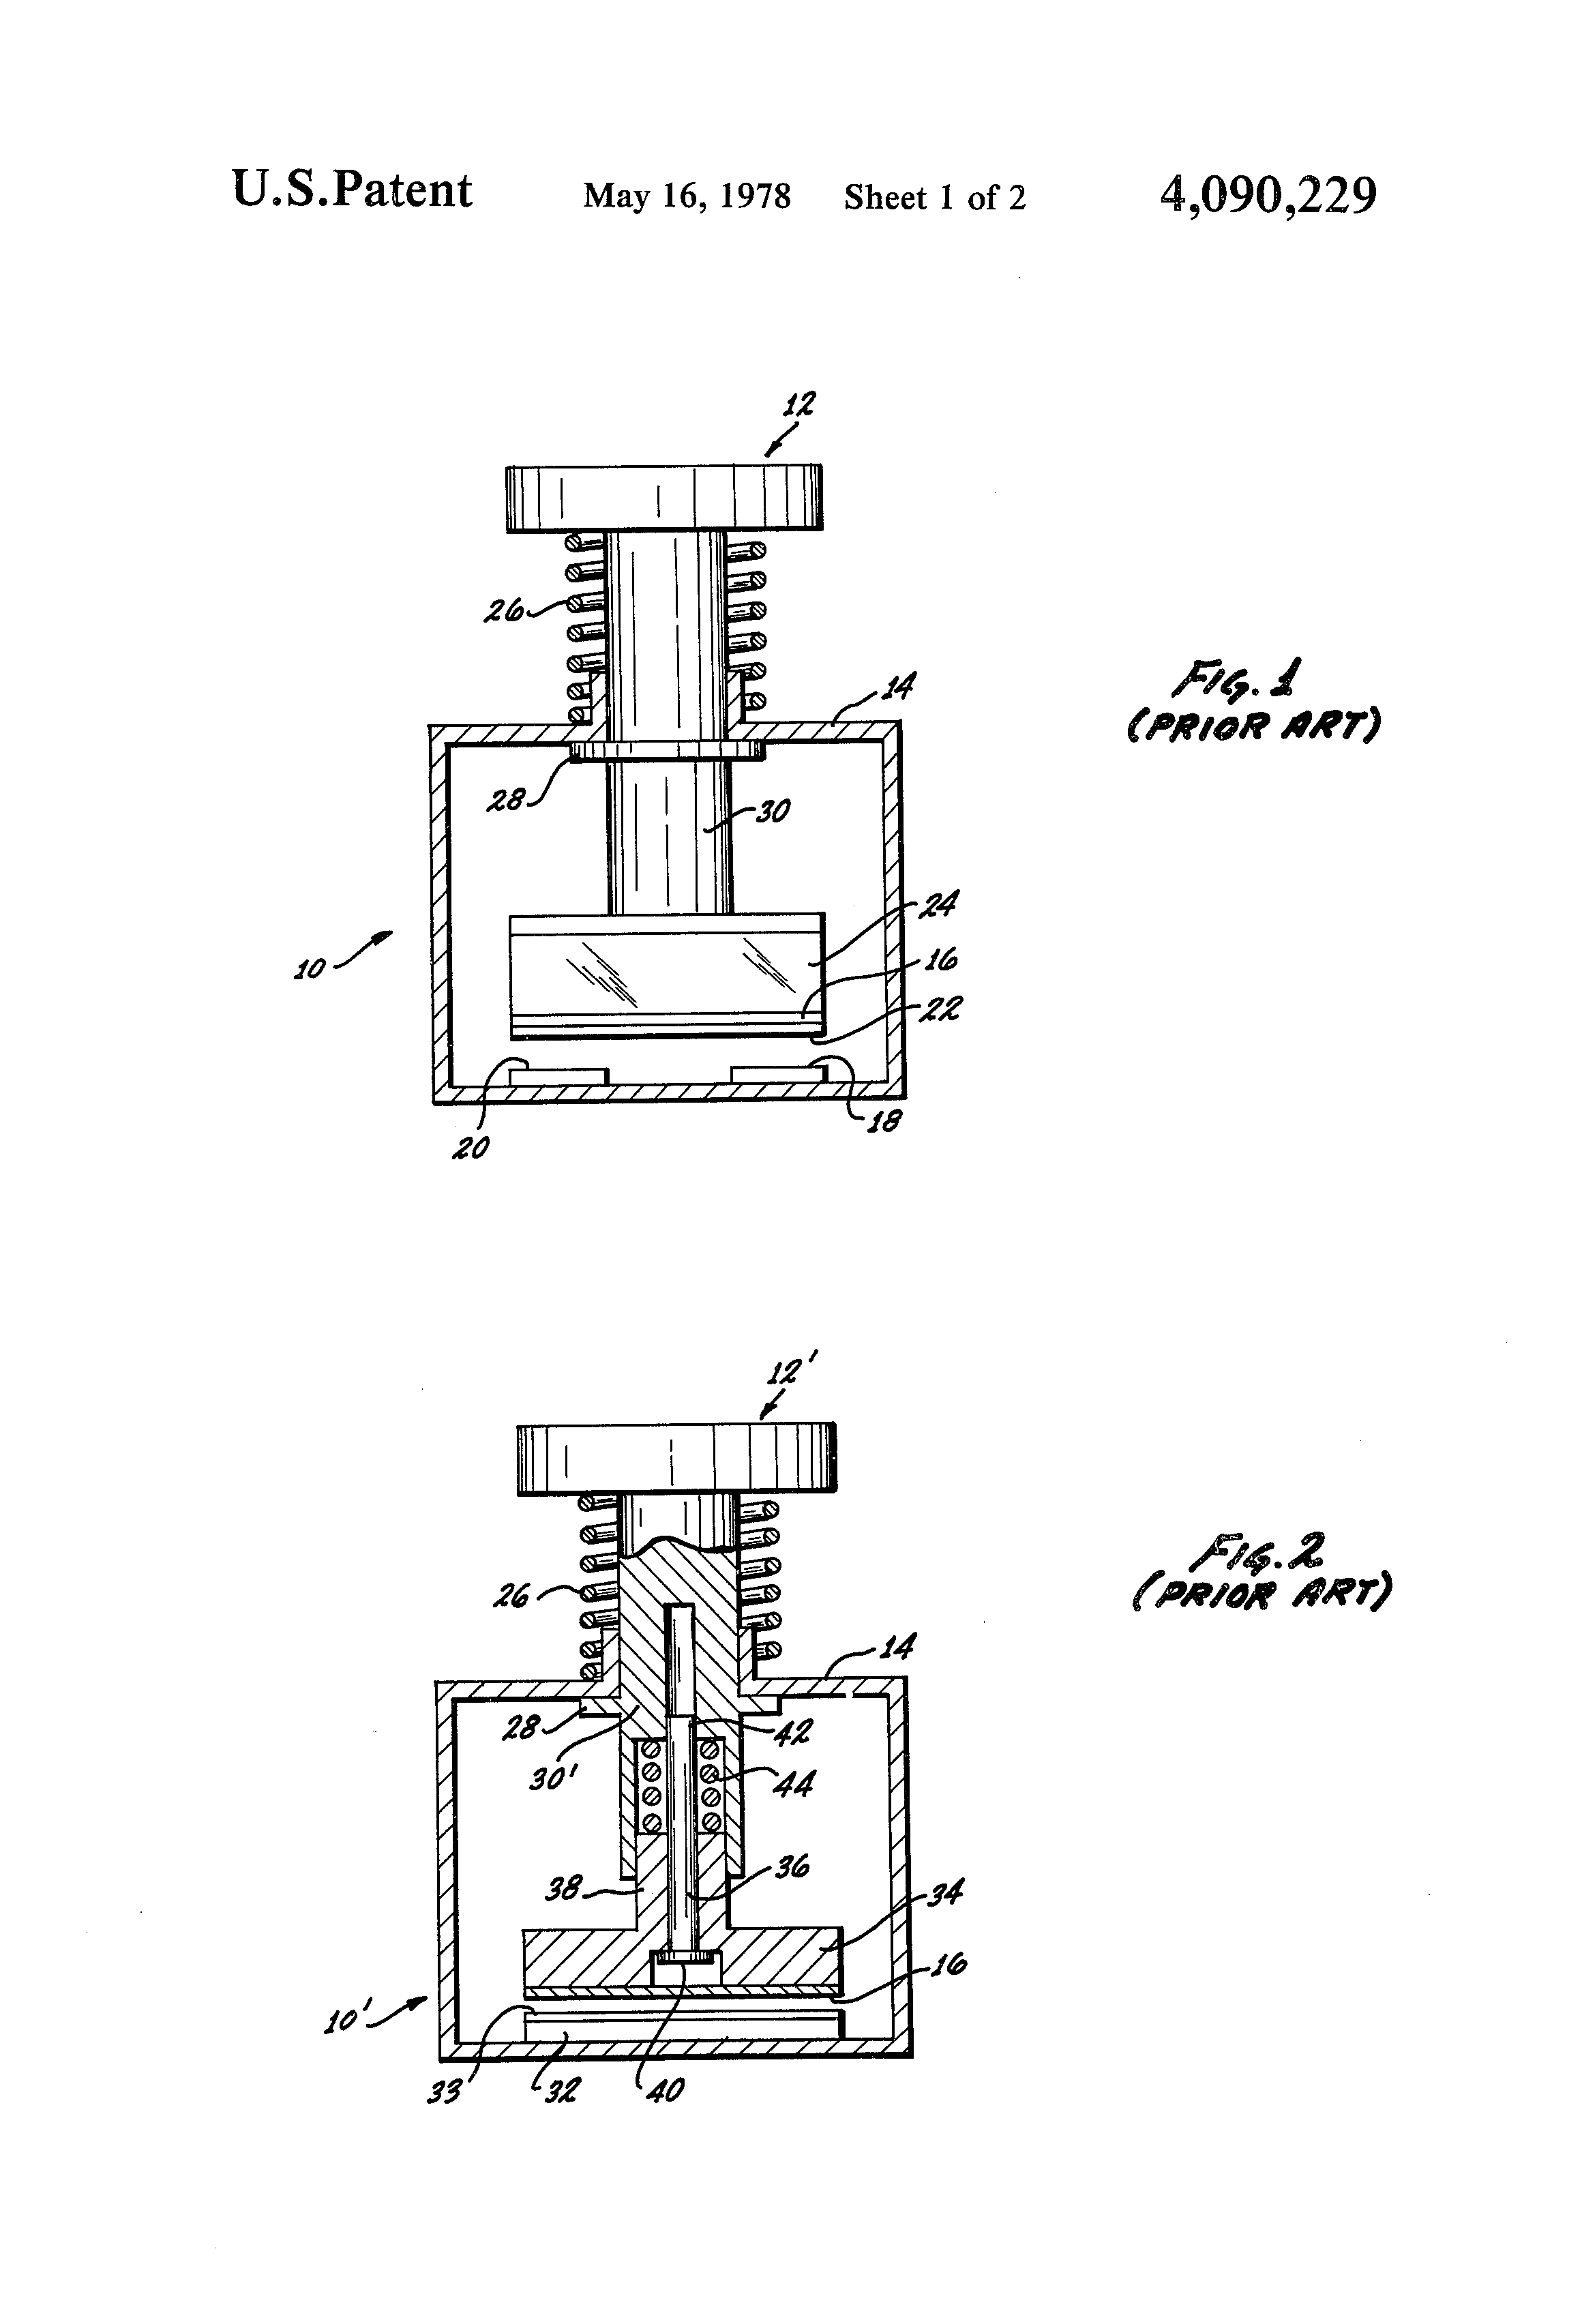
In the process of working on this and trading posts on the forum, a few people dug up some interesting information in the form of old patents from Digitran.
Typing Video
Here’s a typing video that I made. The keyboard sounds a good deal different with the top case on, though.
CommonSense Guide
This is a guide that I wrote in 2019 for how to setup CommonSense. Hopefully a lot of it’s still relevant today, but it very well might be outdated by now in at least some ways.
